
It has been almost three years since the truck pulled out of our driveway in Canada for the last time and started on its journey south. By the time we made it back to North America Lil’ Red had travelled through 15 countries and countless, well… actually about 50,000km of highways, potholed backroads, and washboard dirt roads. It was time for a little TLC.
ARB Front Bumper Install with ARB Intensity Lights
When our friends at ARB 4×4 USA heard that we were heading up to explore some of the Canadian wilderness they suggested that we add a little front end protection to our truck. We were fairly certain that any stray wildlife would have destroyed the original front bumper and anything behind it so we were stoked to beef up the truck. Sure, it’s kind of like putting lipstick on a pig, but I’m okay with that.
One of the things I wished I had done before leaving on our South America trip was more protective bumper, so it’s better late than never!
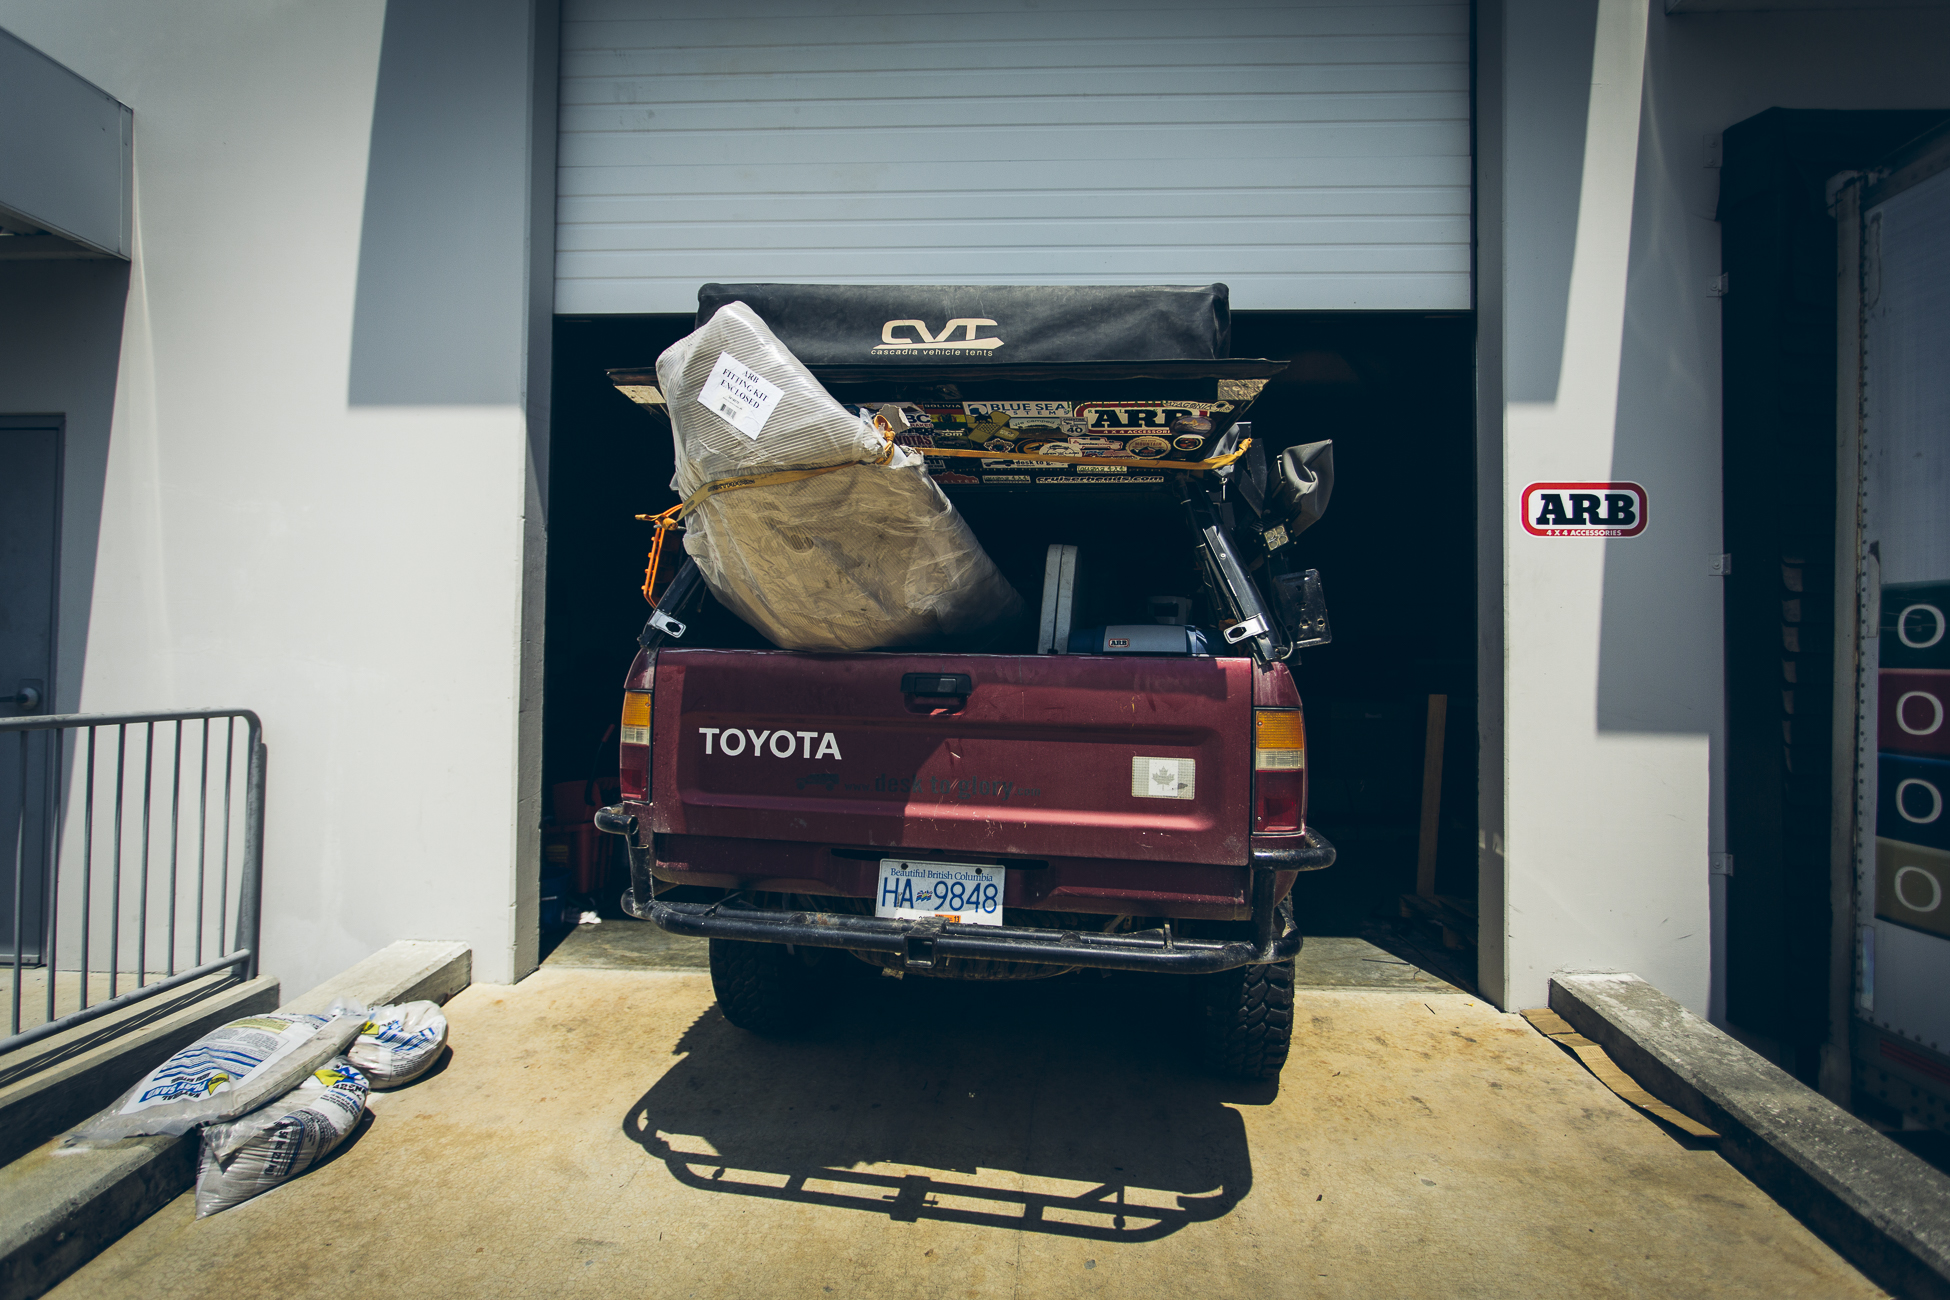
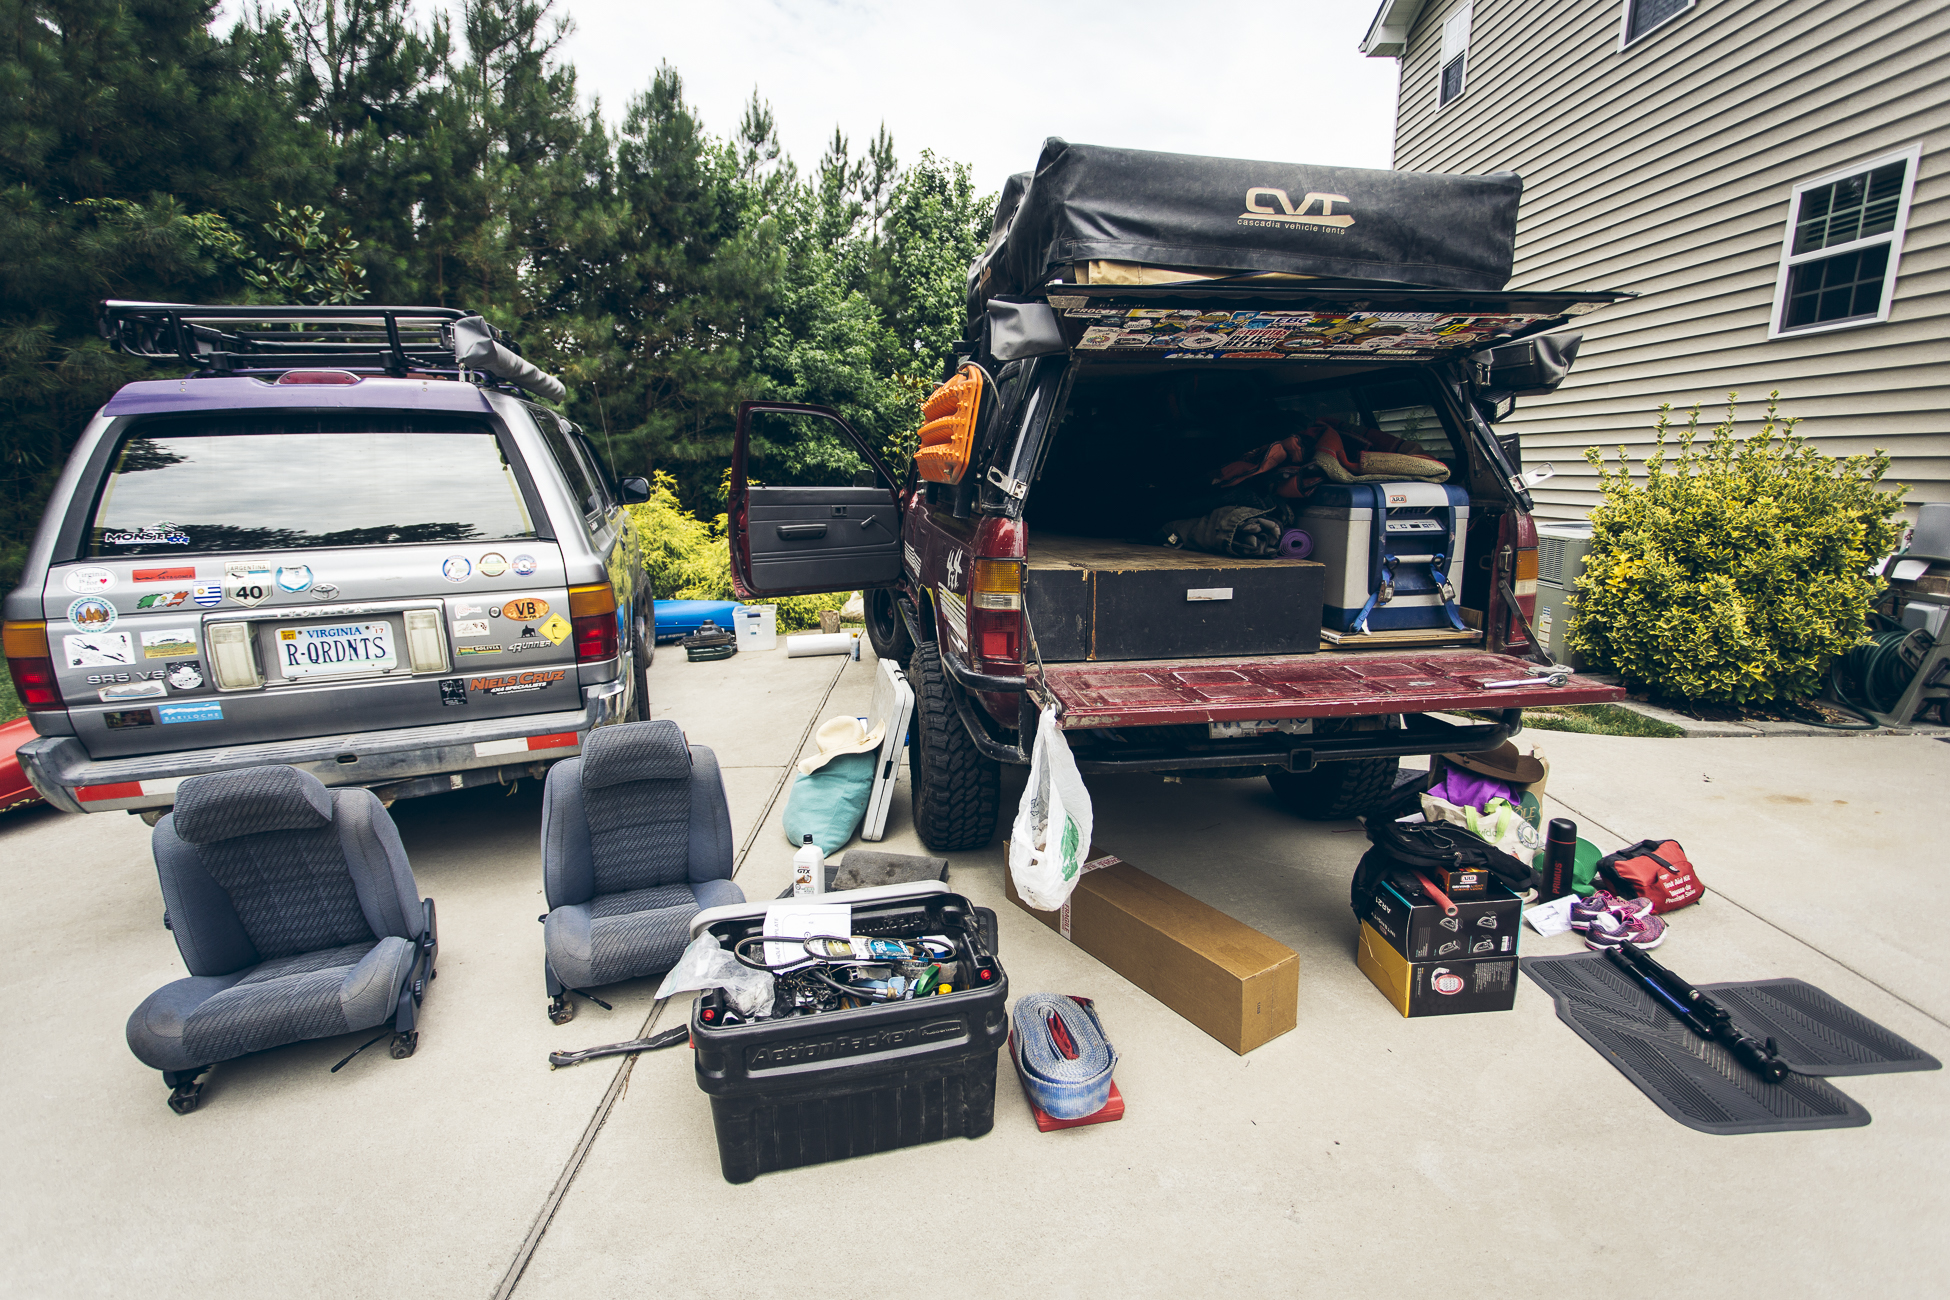
First thing to do was clear out some space in the truck and pick up our parts from ARB Jacksonville:
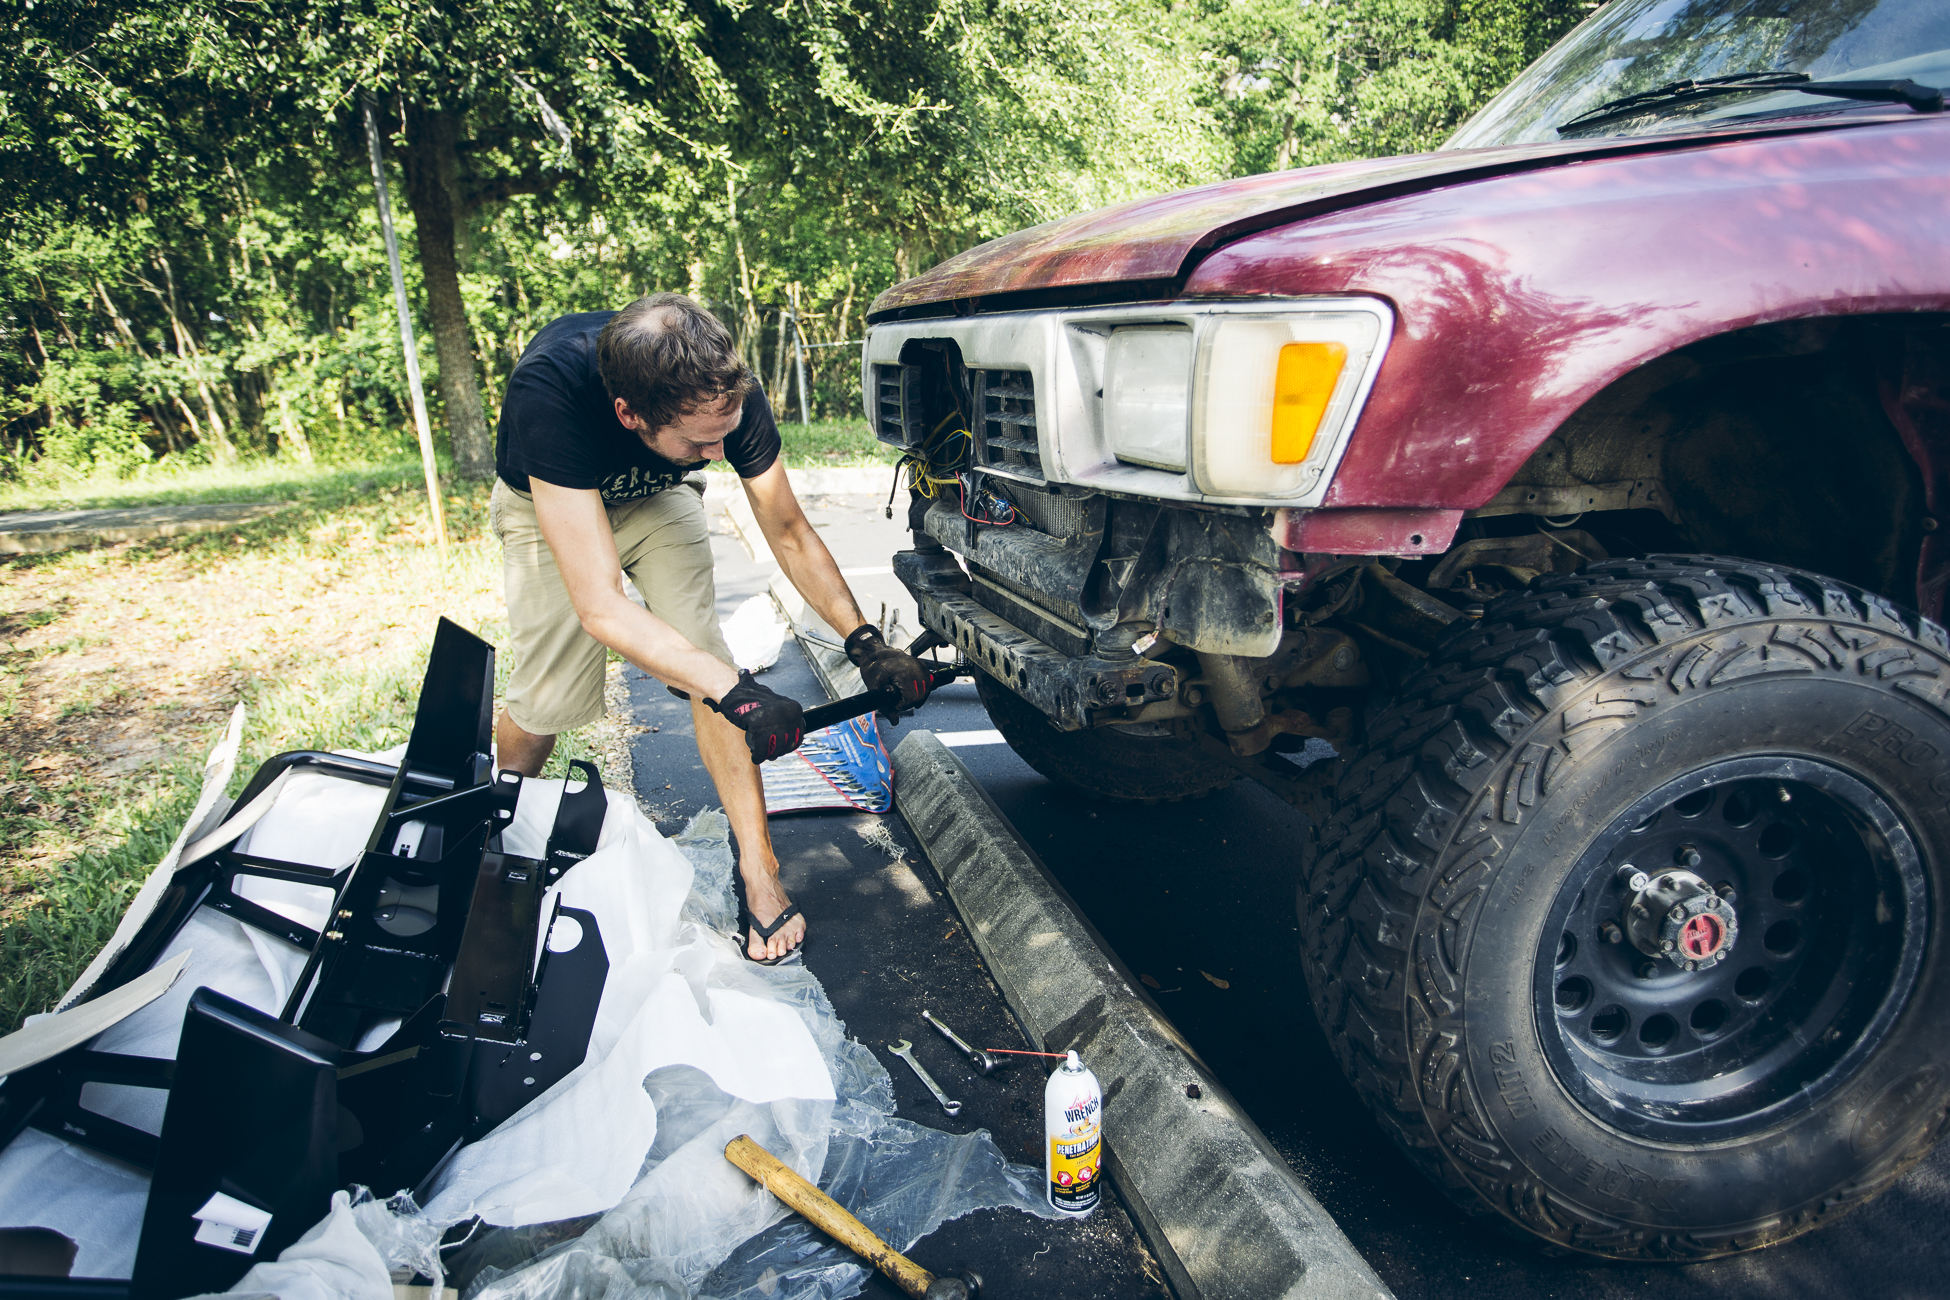
We didn’t have a place to work on the truck, so a temporary installation at the cheap motel was next. Value Place motel for the win! Oh yeah, don’t wear sandals when you’re installing a bumper. Probably not the safest idea.
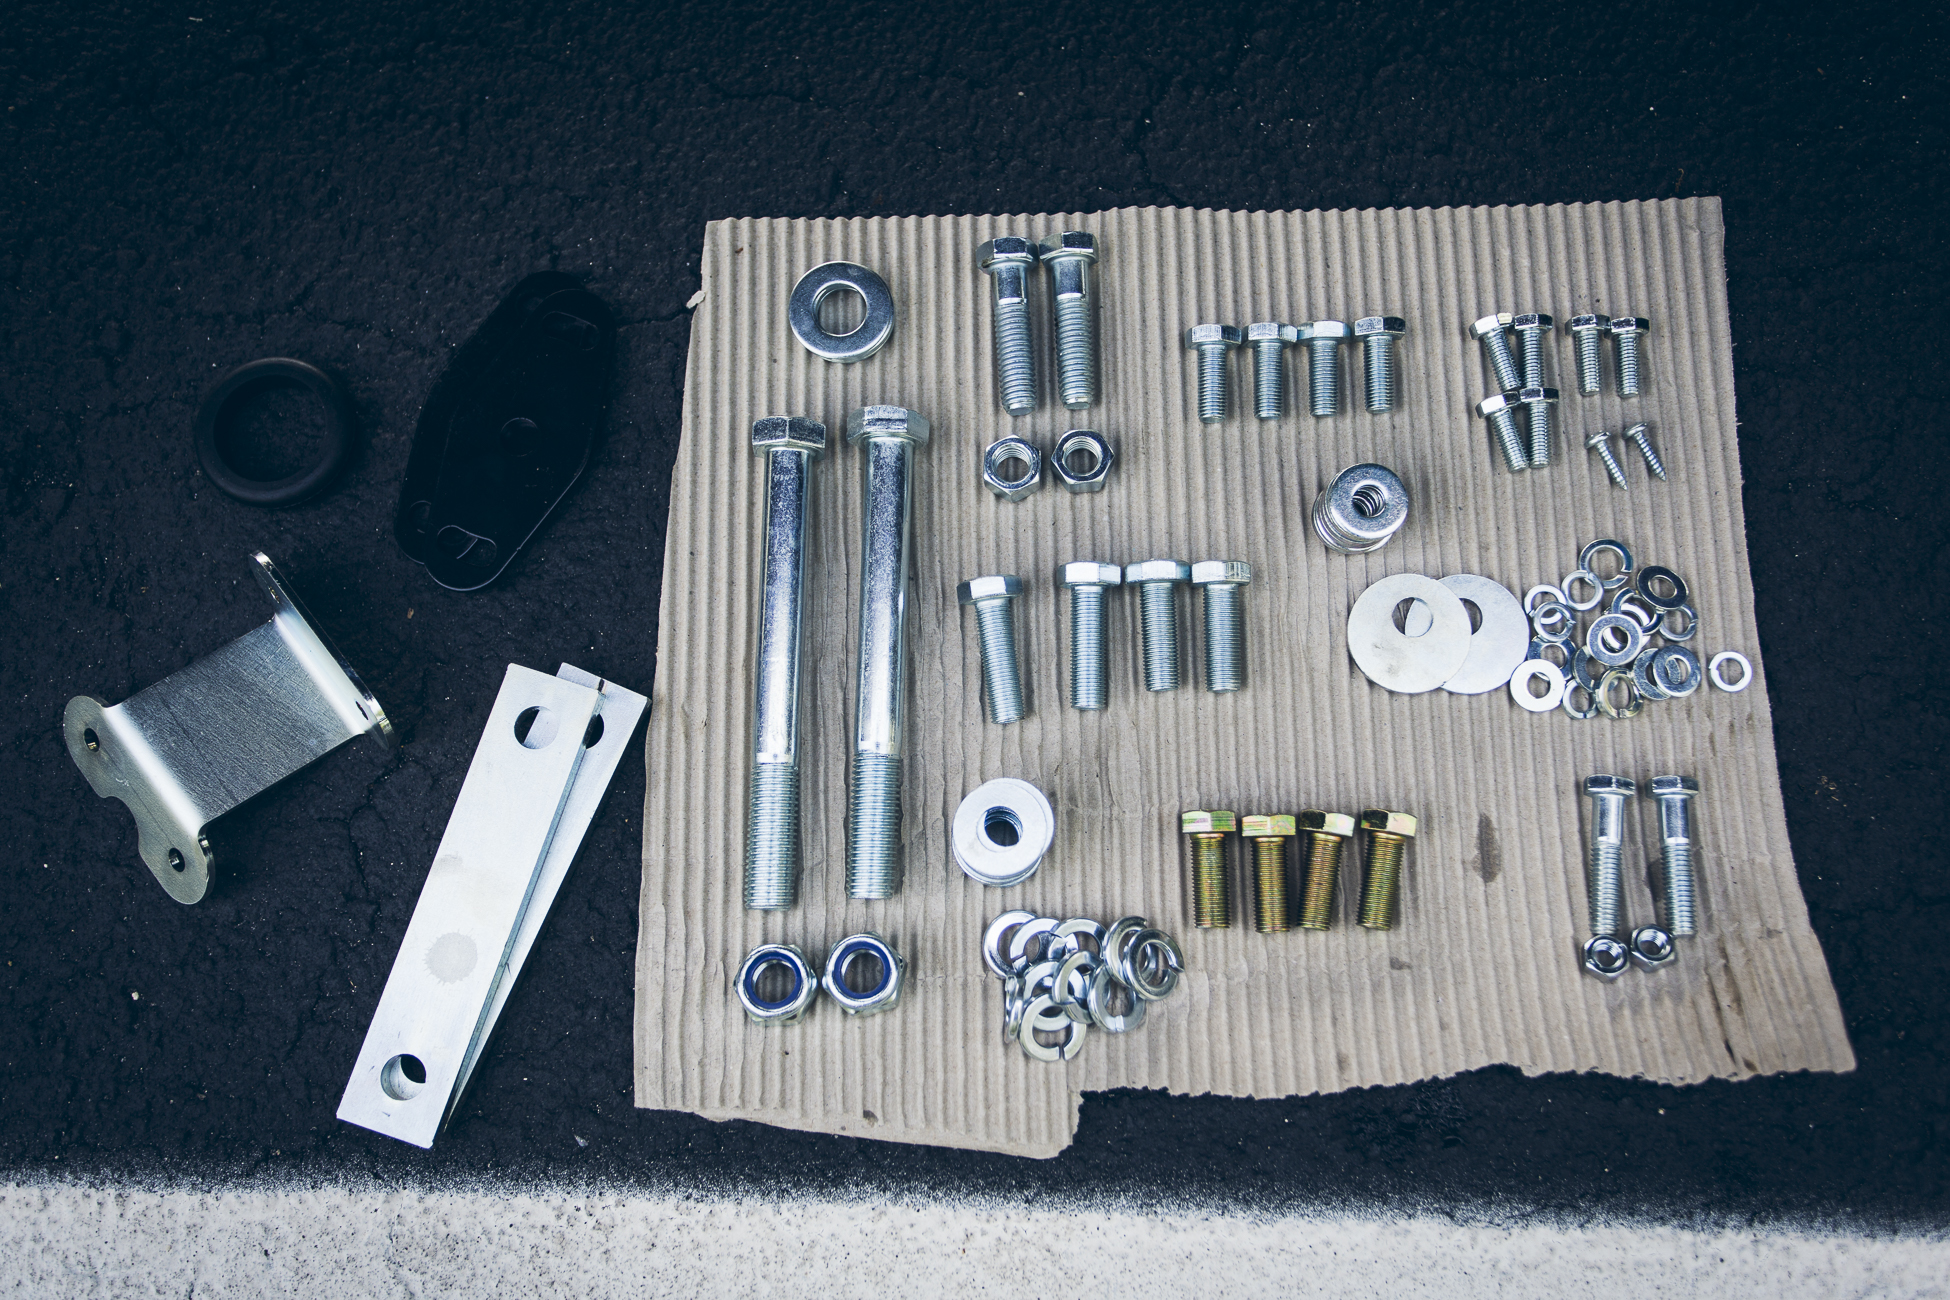
The ARB Bumper comes fully assembled and with plenty of hardware, winch solenoid mount, etc. For the temporary installation I used eight bolts and saved the rest.
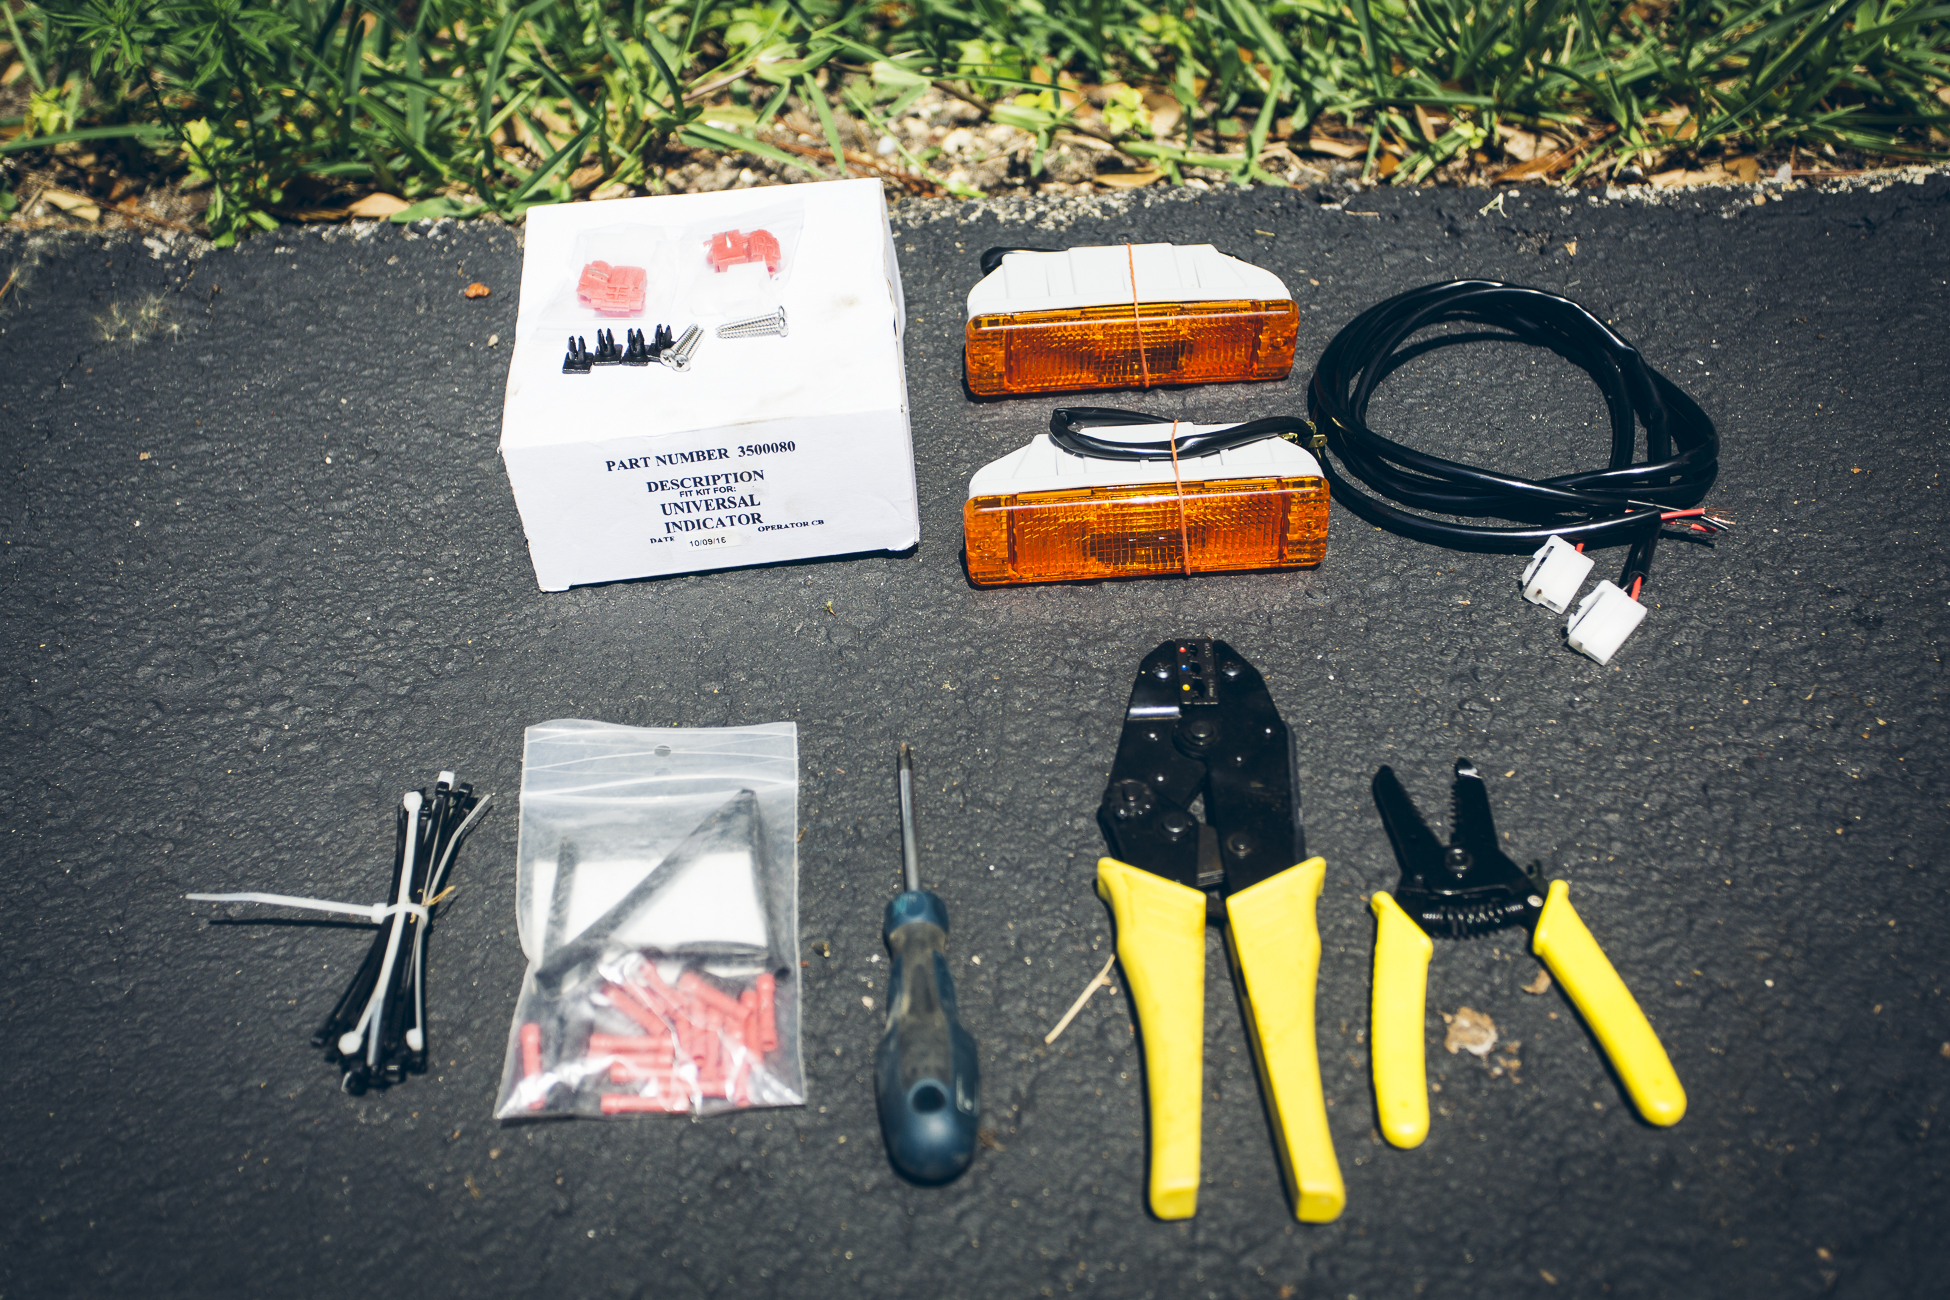
Turn signal lights and required connections are all included. I picked up some ratcheting crimpers from the Advance Auto Parts across the street from the hotel and couldn’t be happier with them. I have been using some seriously sub standard crimpers for years so this was a nice treat.
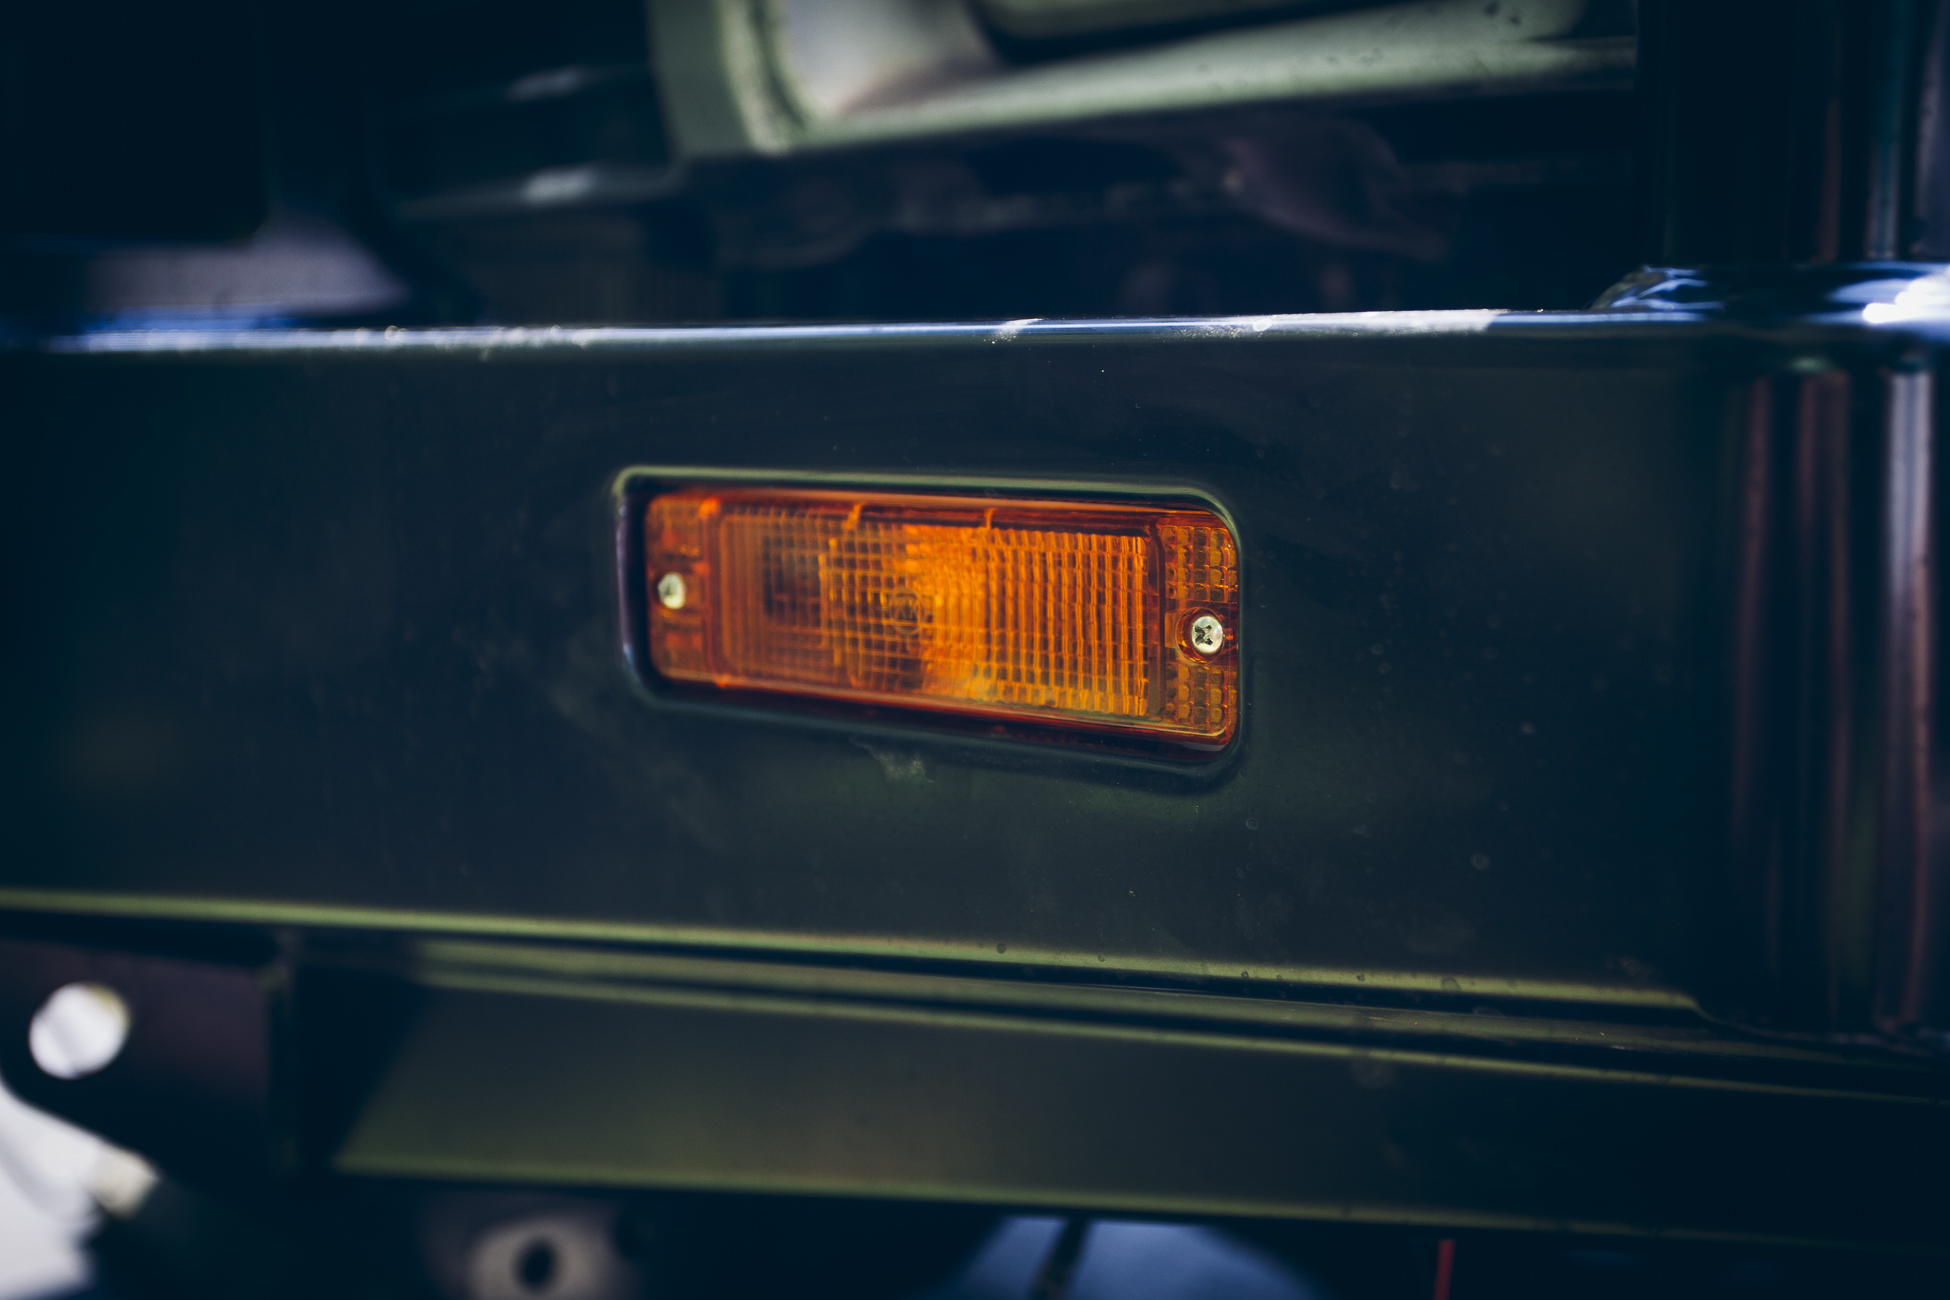
I removed the existing turn signals, connected the new ARB turn signals, and screwed them into the new bumper. ARB bumper install complete!
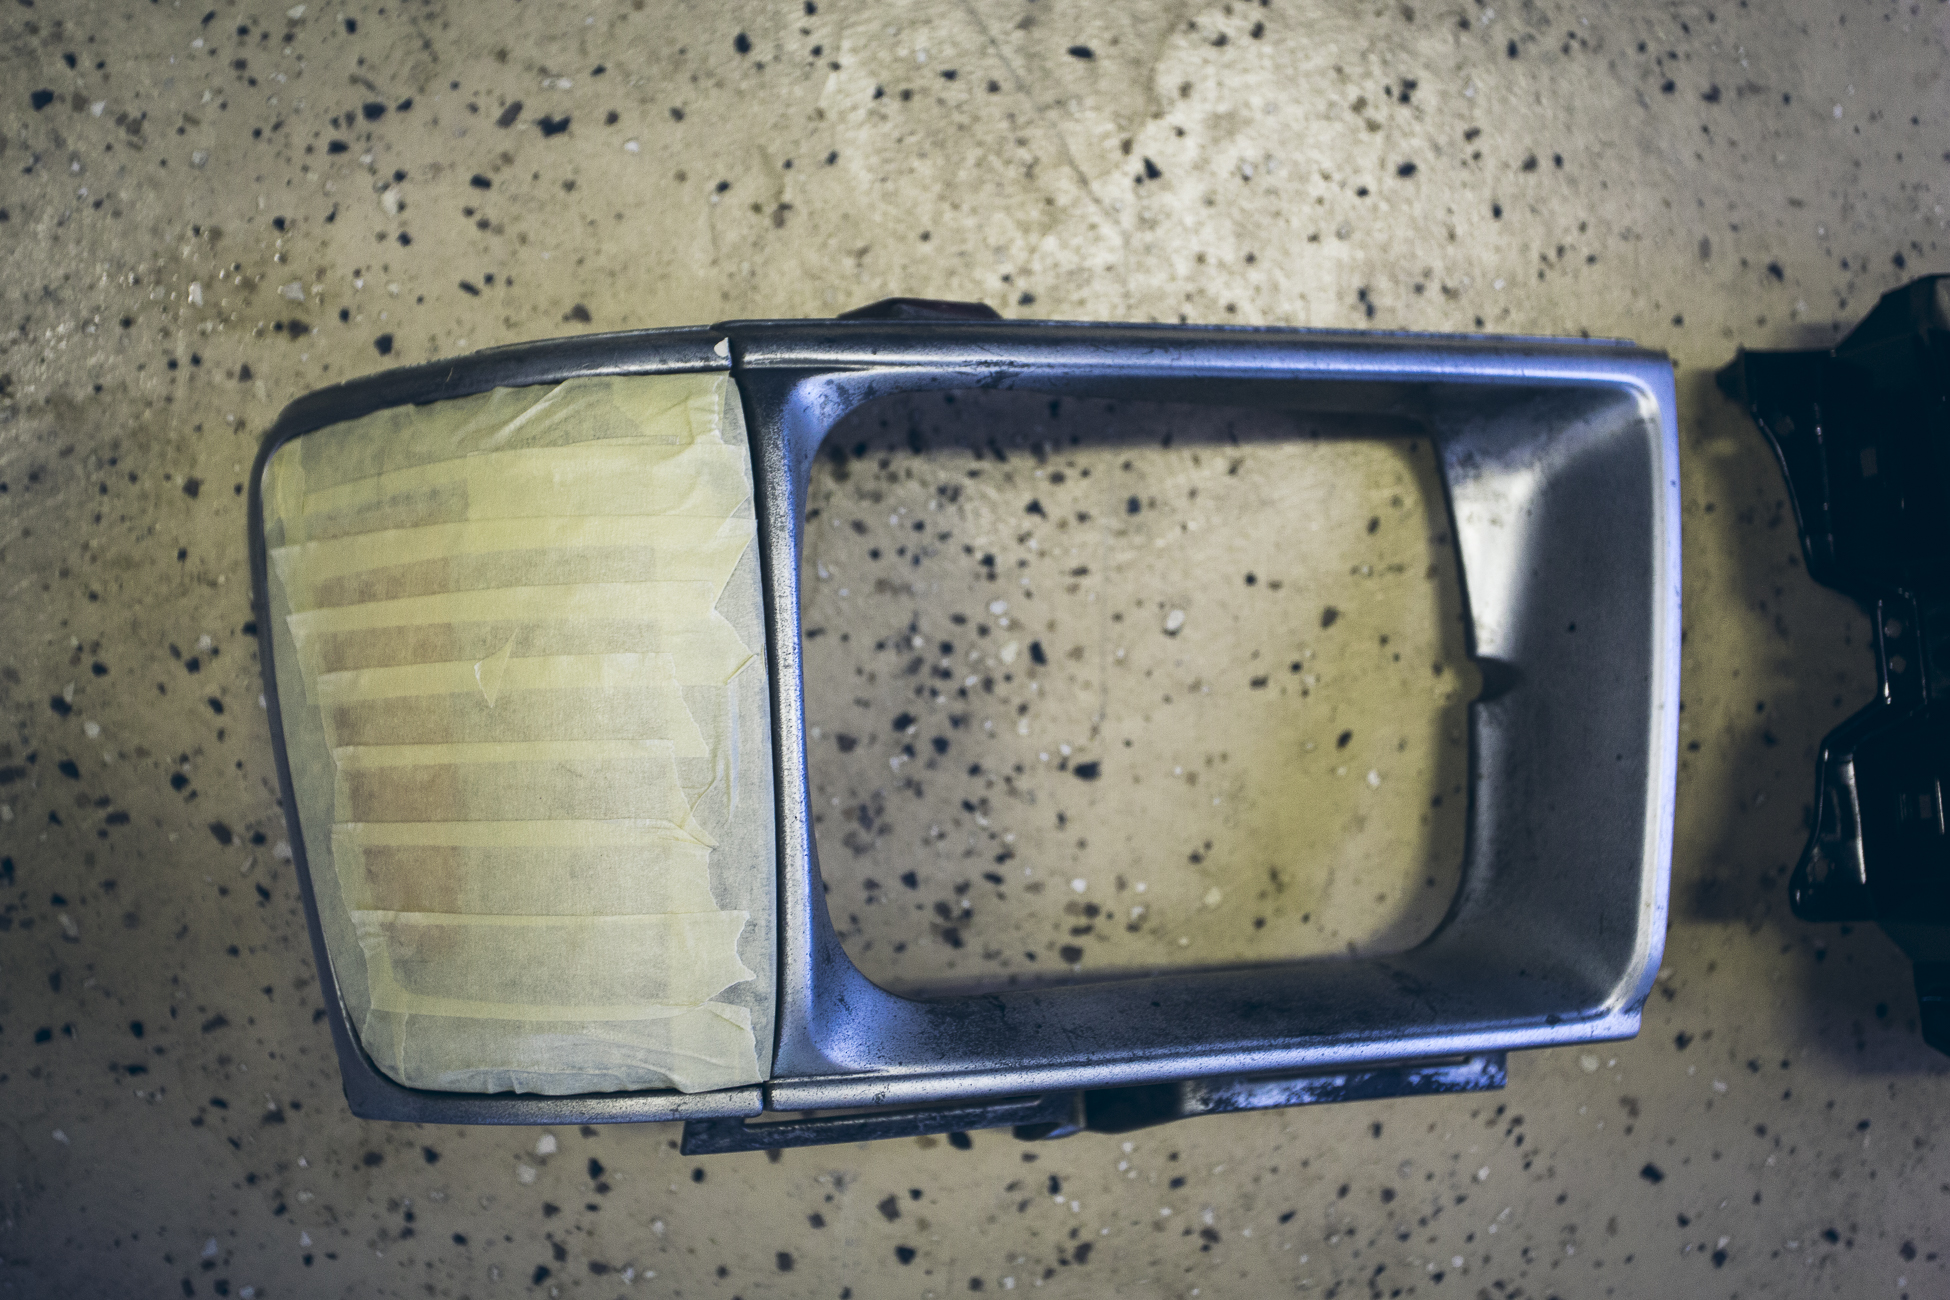
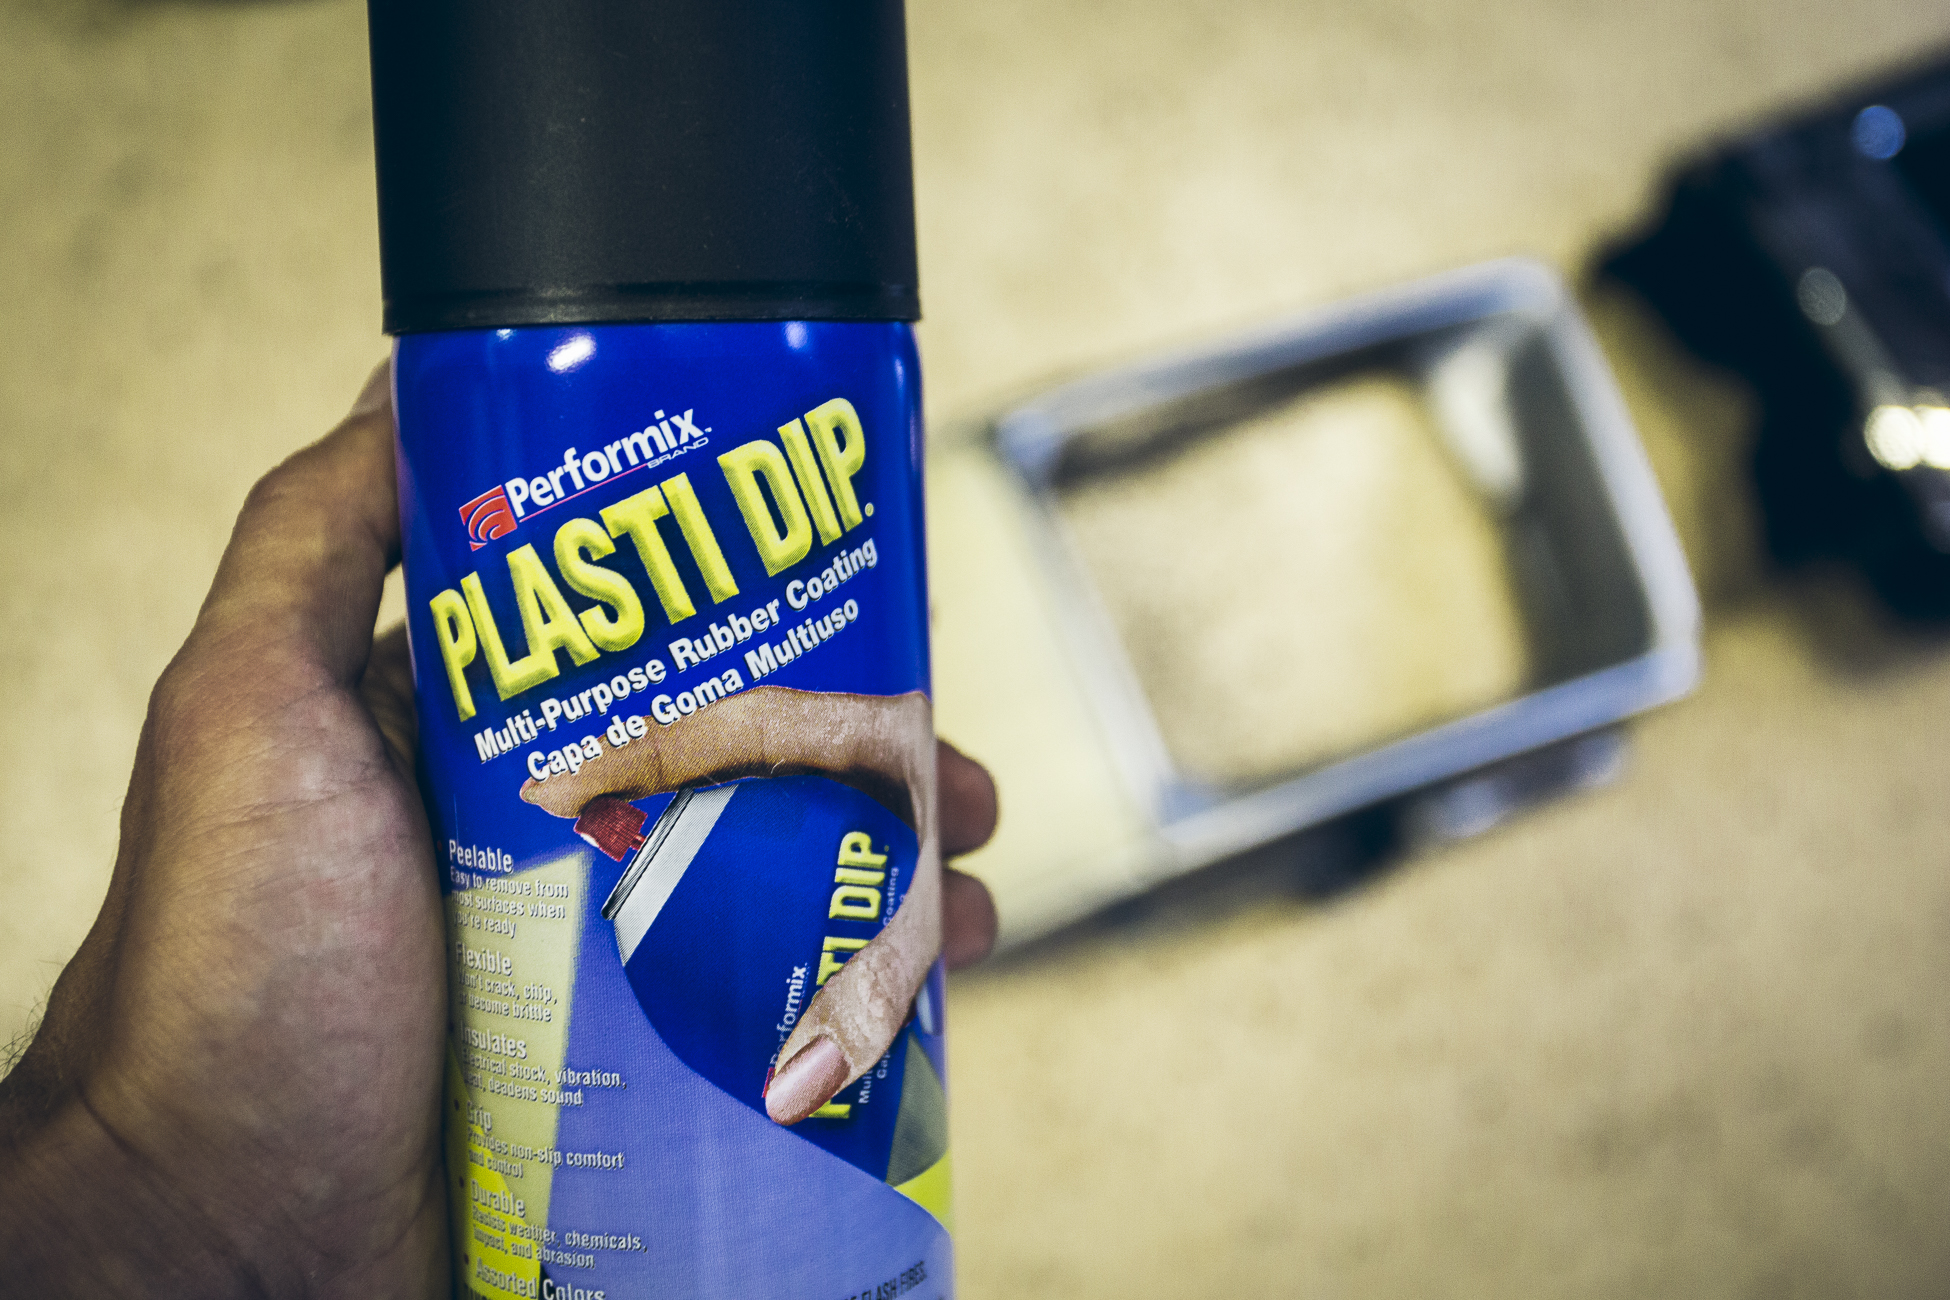
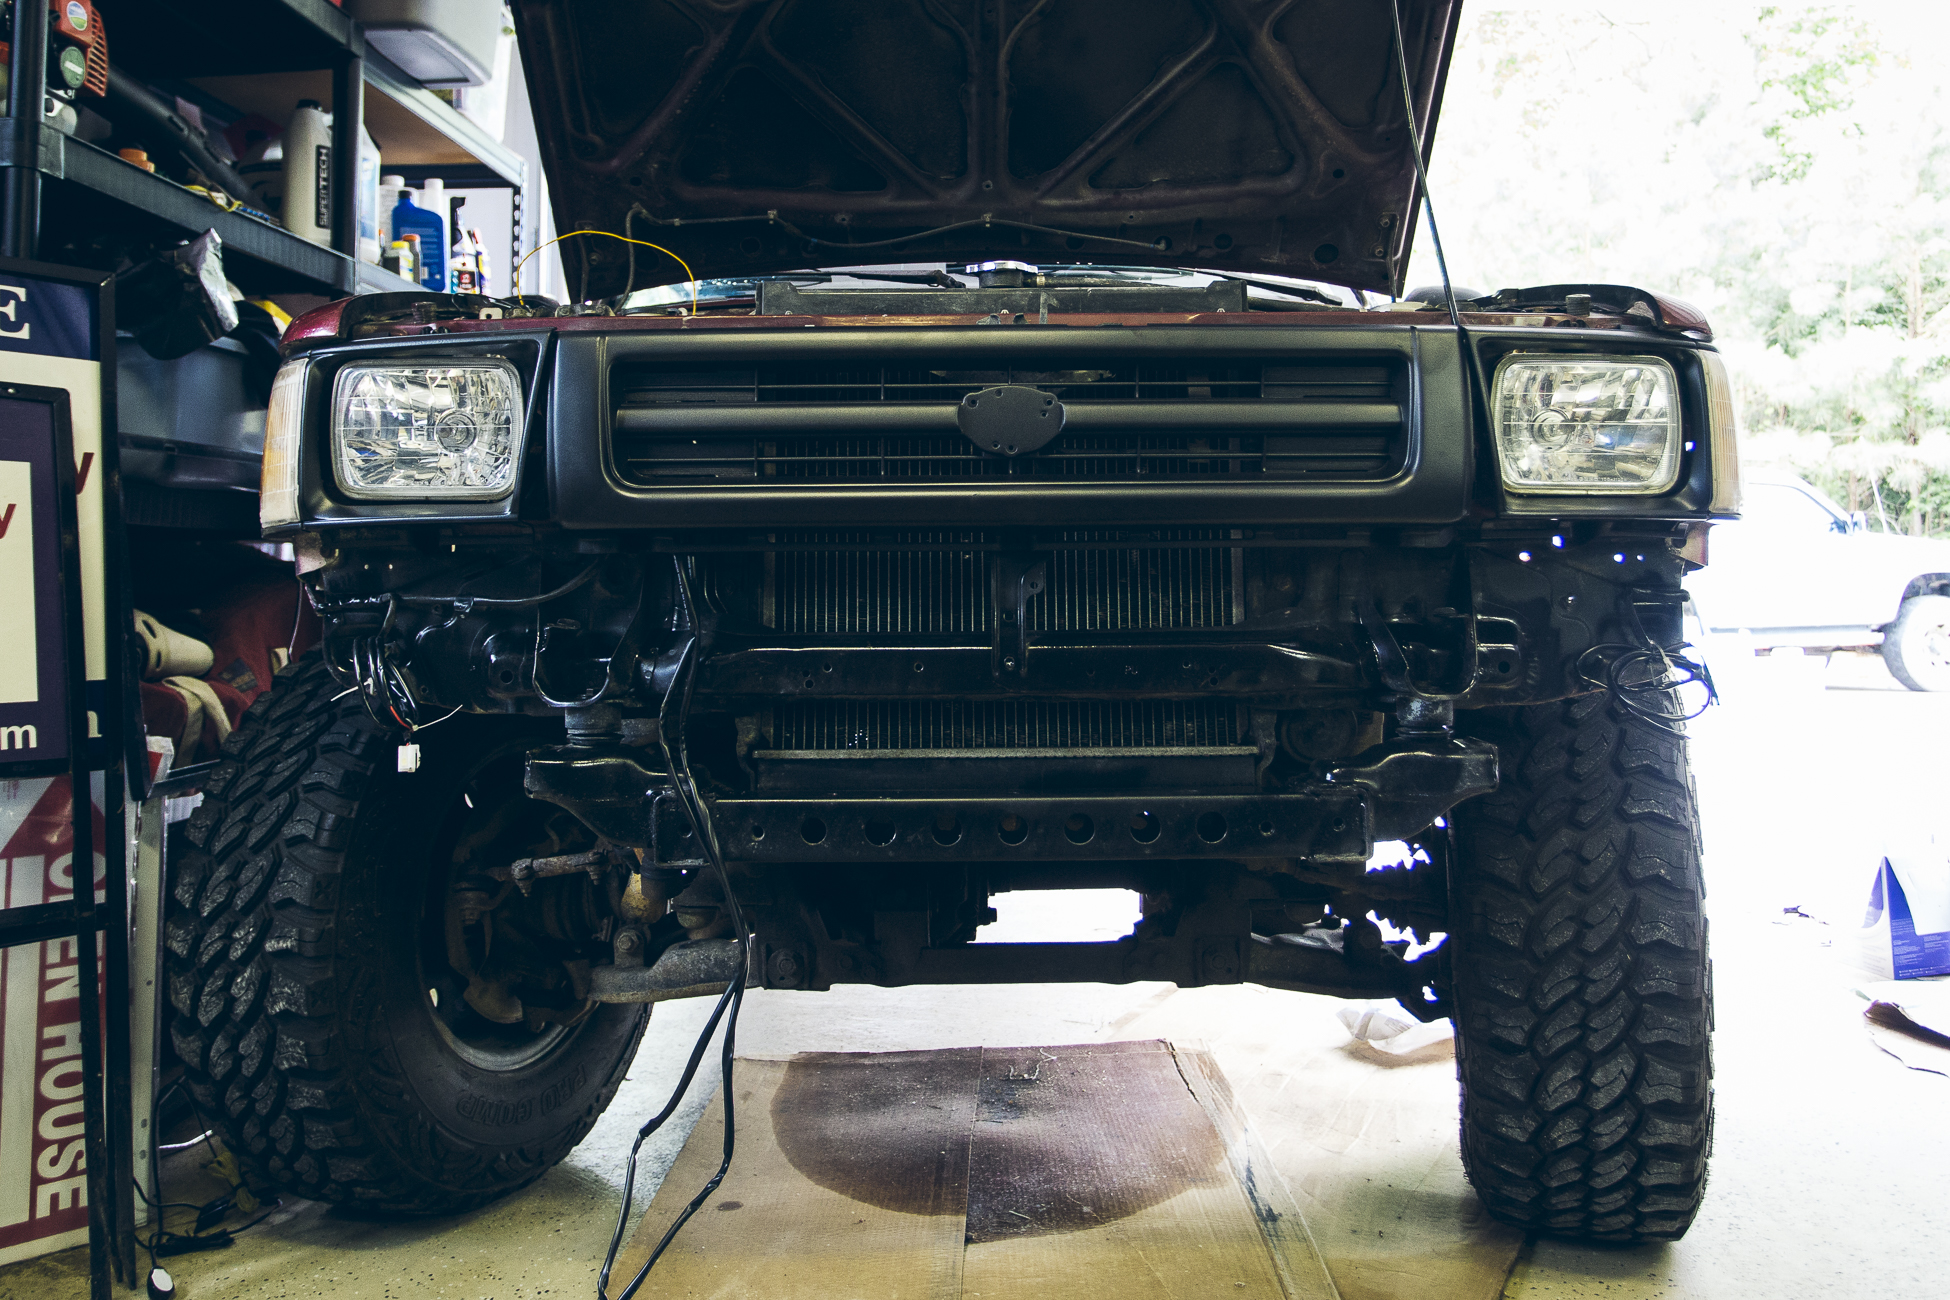
We eventually made it up to our friends house in Virginia Beach and were able to continue working on the truck. The original grille of the truck had taken a beating and was cut for the Hella Rallye 4000 lights. I ditched that relic, bought a grille for a ’93 Pickup on Amazon and fogged it with some Plastidip. The whole Plastidip craze seems to have taken off since we left North America originally (2013) so I figured that I would jump on the bandwagon and try it out. We’ll see how long it holds up to some abuse. The grille doesn’t fit perfectly since I didn’t buy new (the proper 1993) headlight housing pieces, but it’s definitely much better than what was in there.
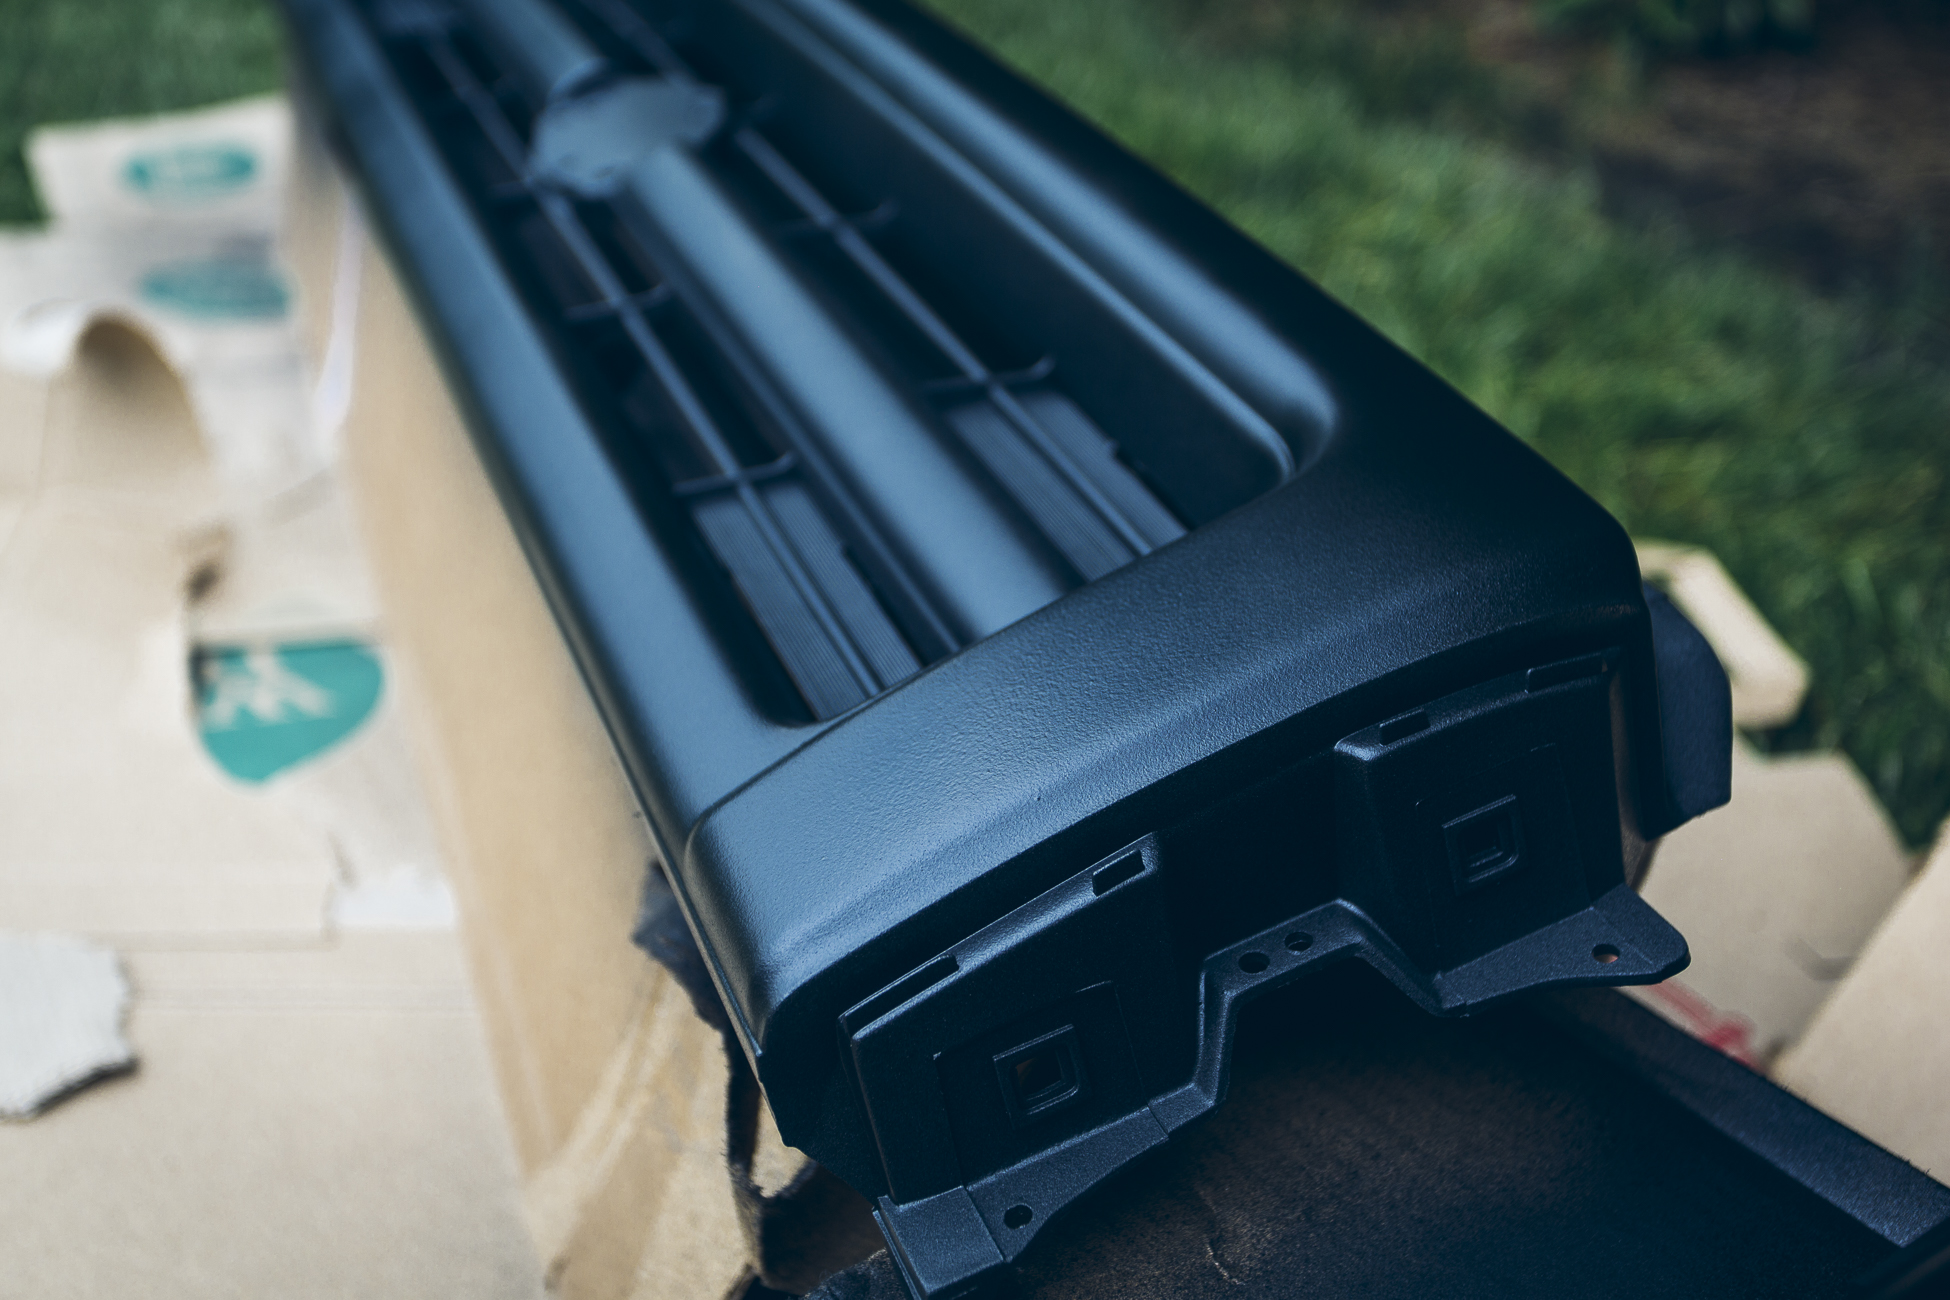
New grille installed! Don’t worry, that’s not our truck making a mess on the cardboard.
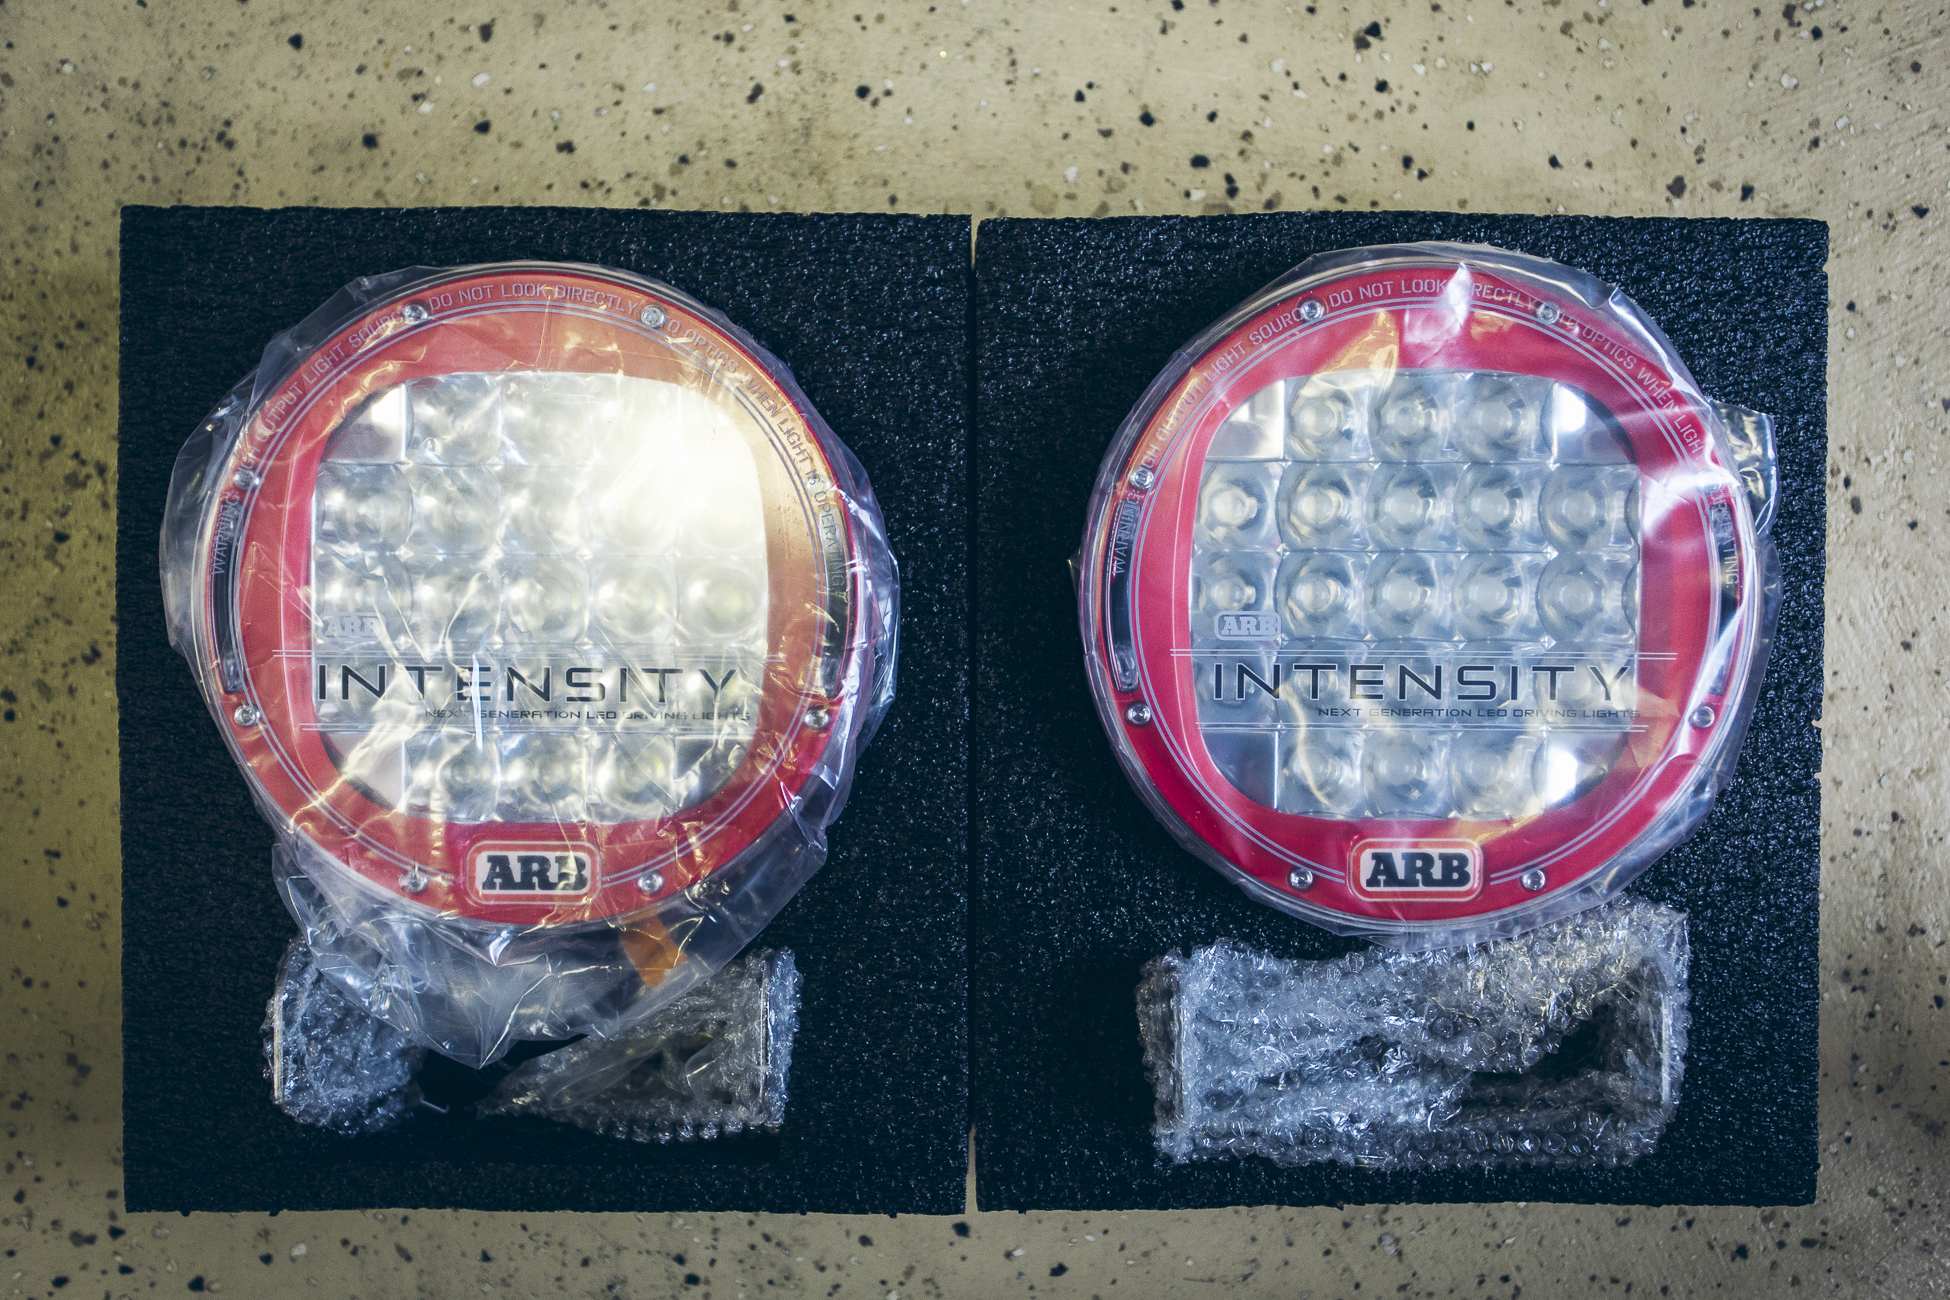
Check out these beauties!
1 – ARB Intensity AR21 Spot
1 – ARB Intensity AR21 Flood
1 – ARB Driving Light Wiring Loom
A couple of ground connections, one to power, and one to your highbeam switch was all that was needed. All required mounting bolts were included with the lights.

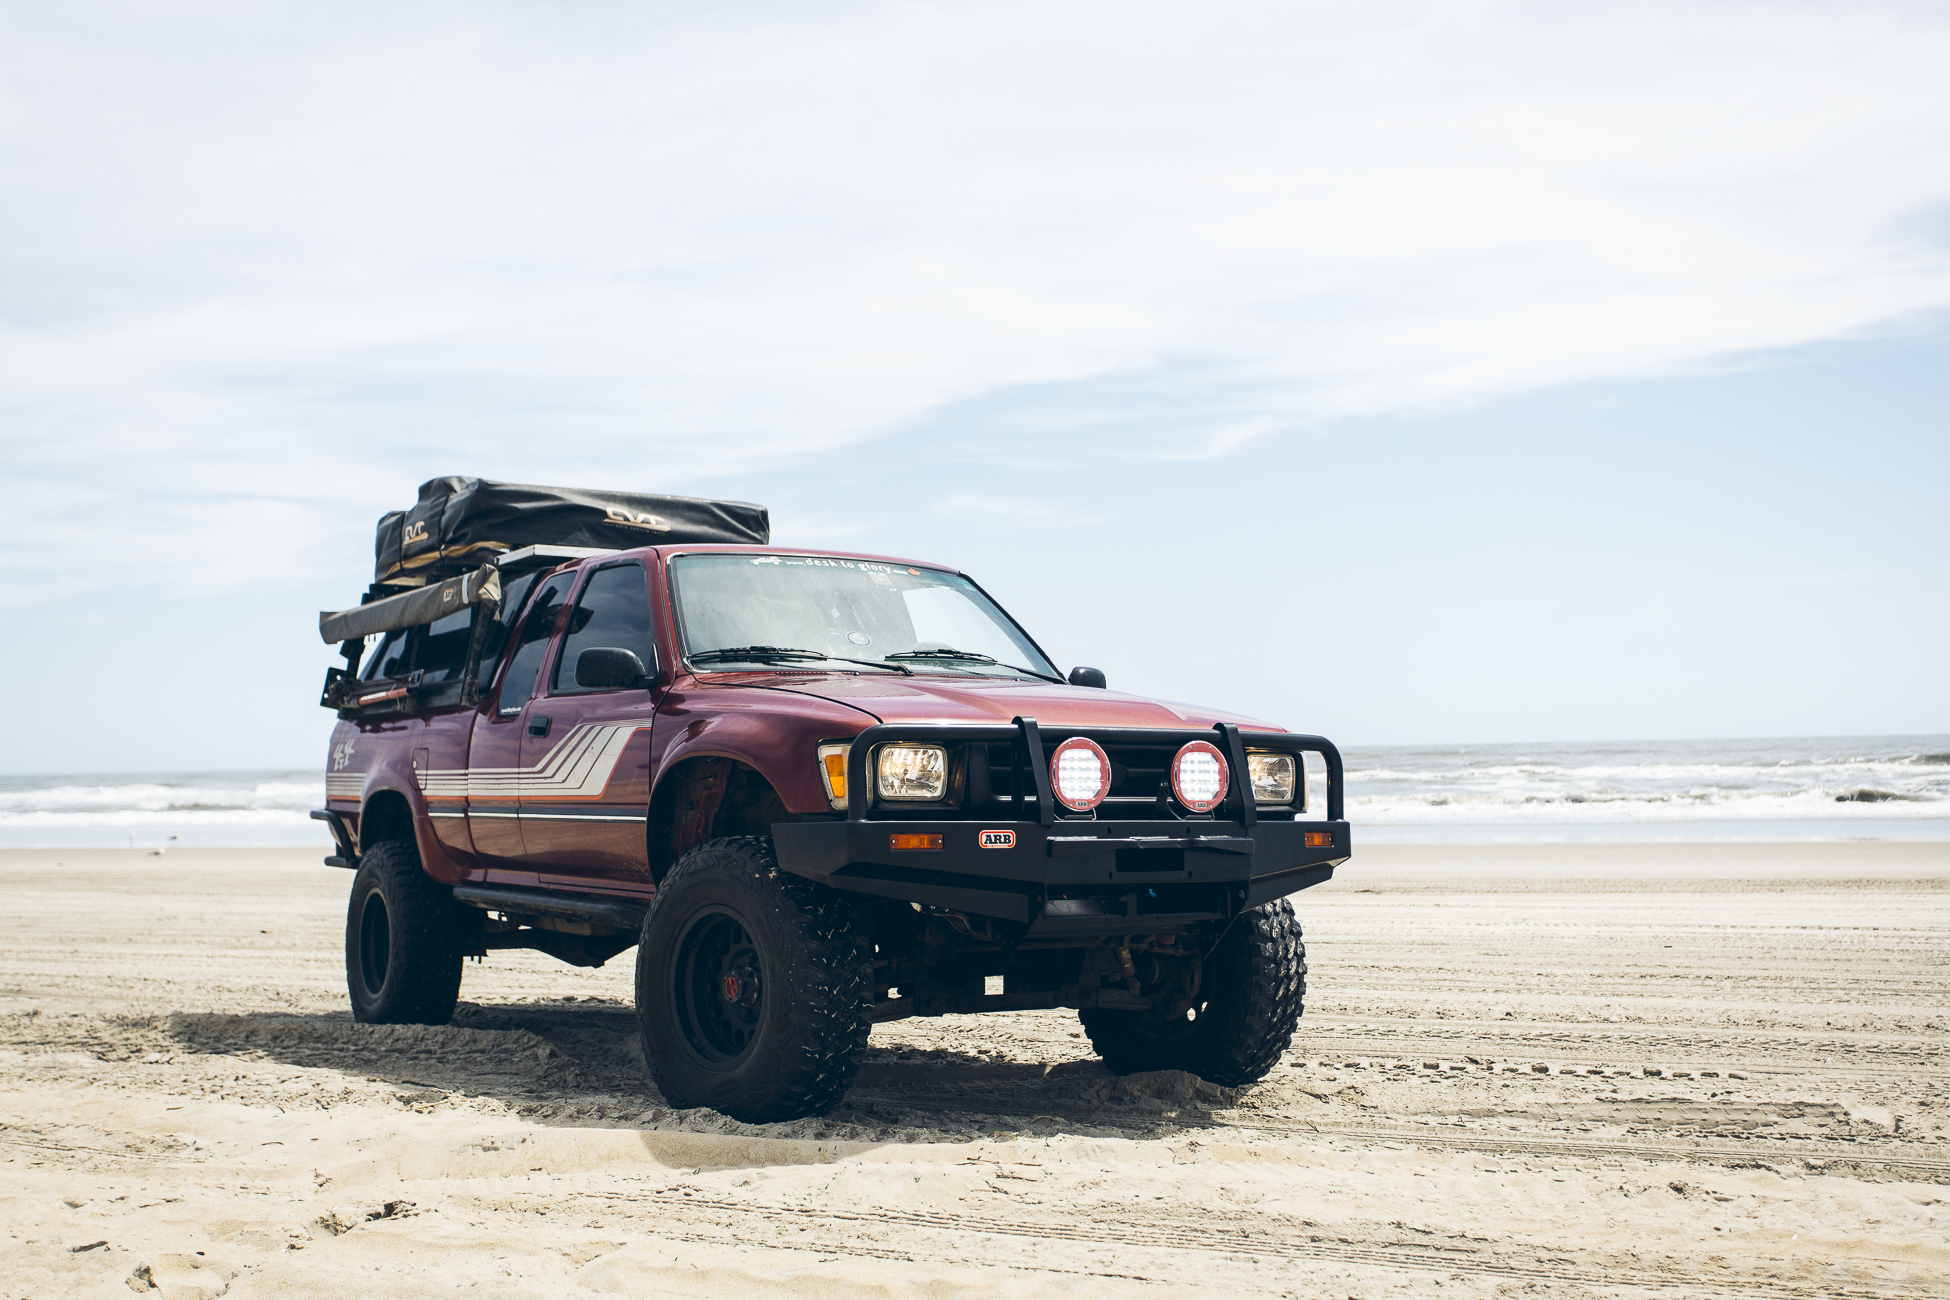
After a day in the shop the front end of the truck is looking a lot different, and I like it. We’re protected in the bush, on the road, have a winch mounting option if we ever decide to go in that direction (which we did eventually!), and the new lights are fantastic. Looks like it’s time to get out in the Canadian wilderness and explore in the dark! In the meantime we went out to play on the Outer Banks of North Carolina for the weekend.
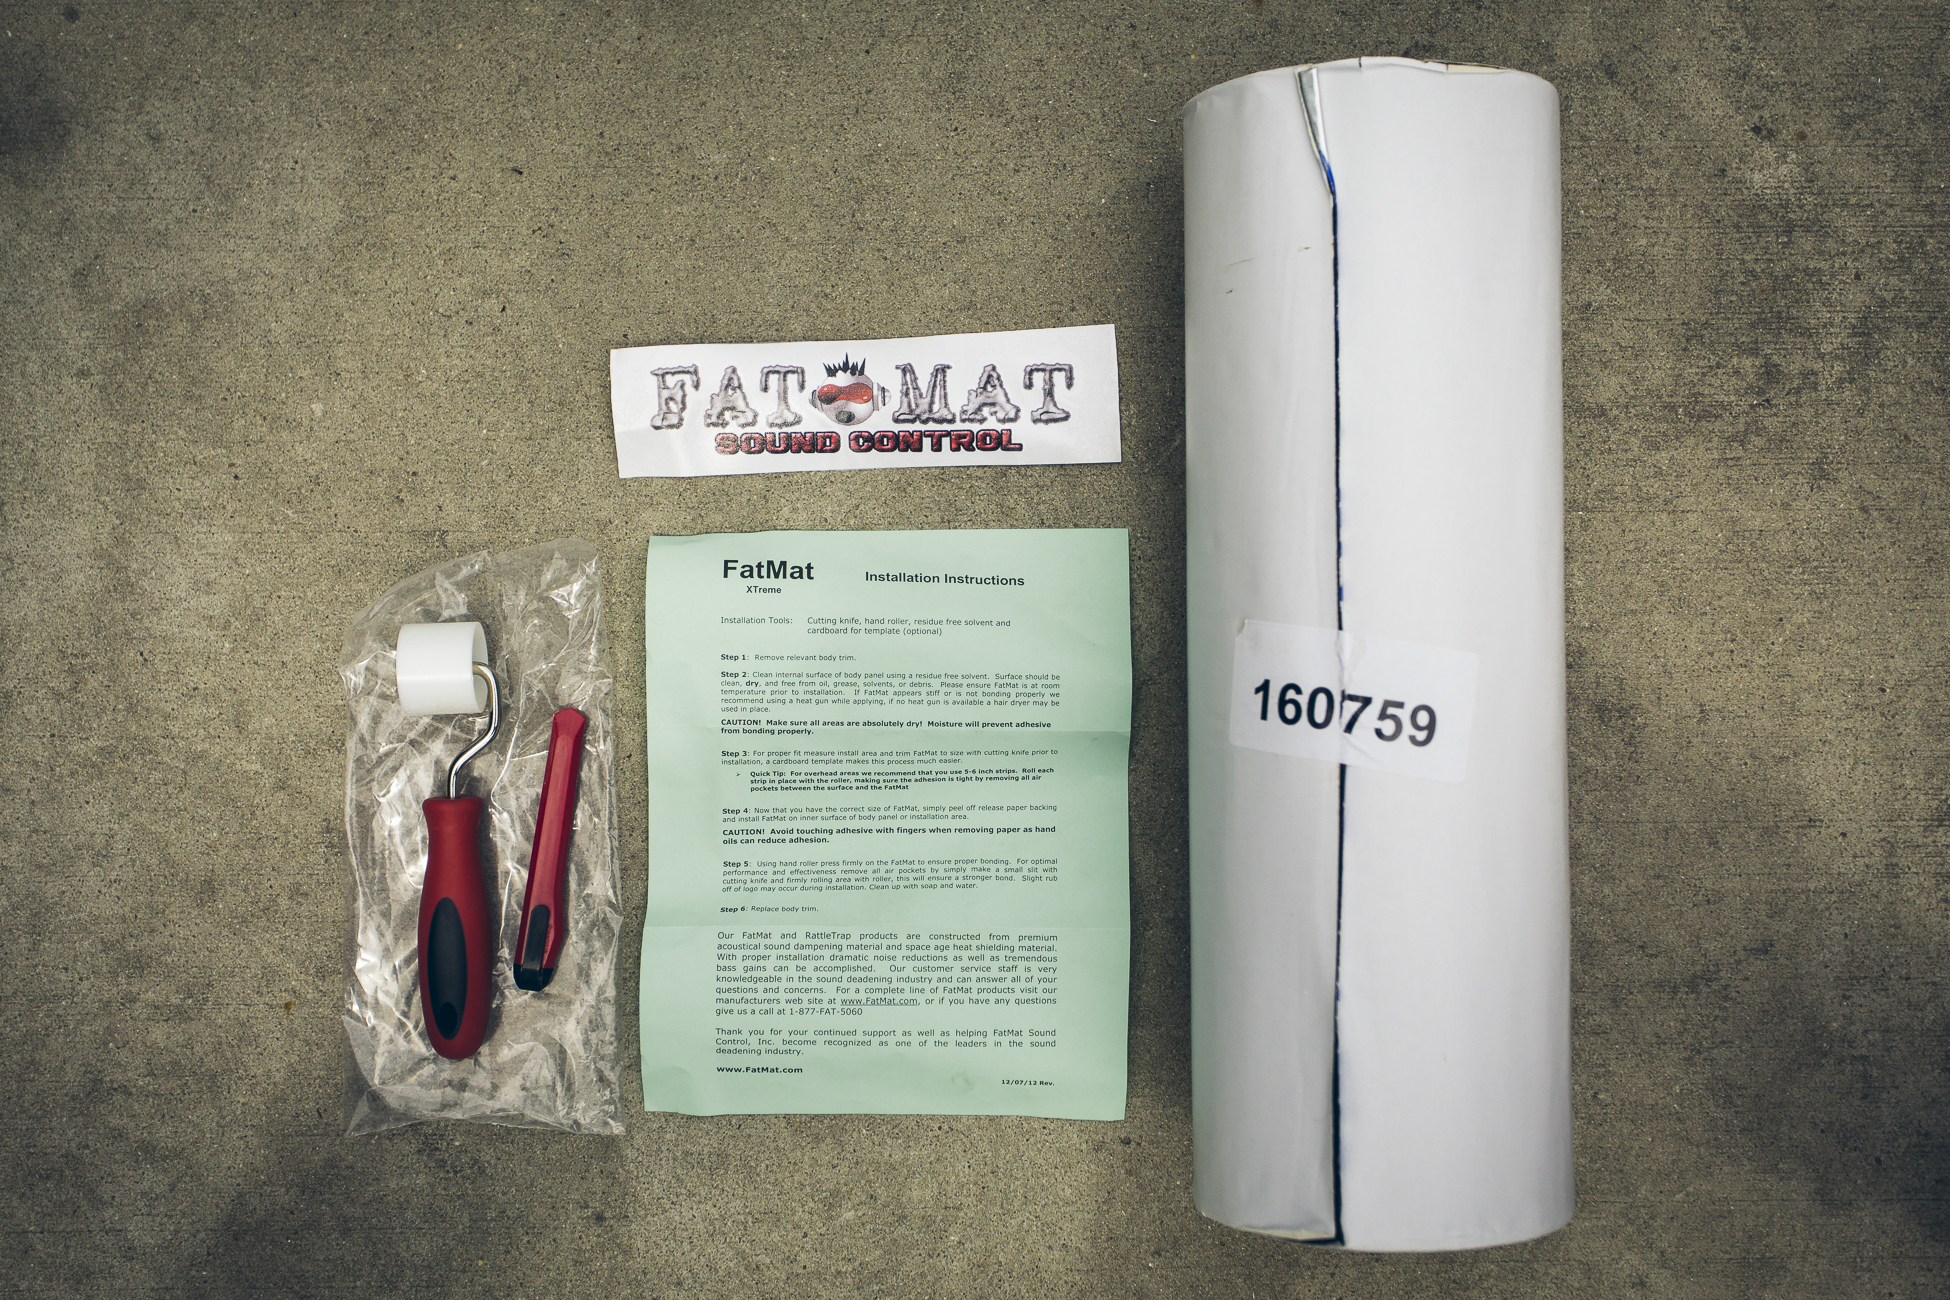
Fat Mat Sound Deadening
Included in the install kit:
- 50 Sq Ft of FatMat eXtreme
- Roller For Easy Installation
- FatMat Handy Cutting Knife
- FatMat Decal Featured Below
- Installation Instructions
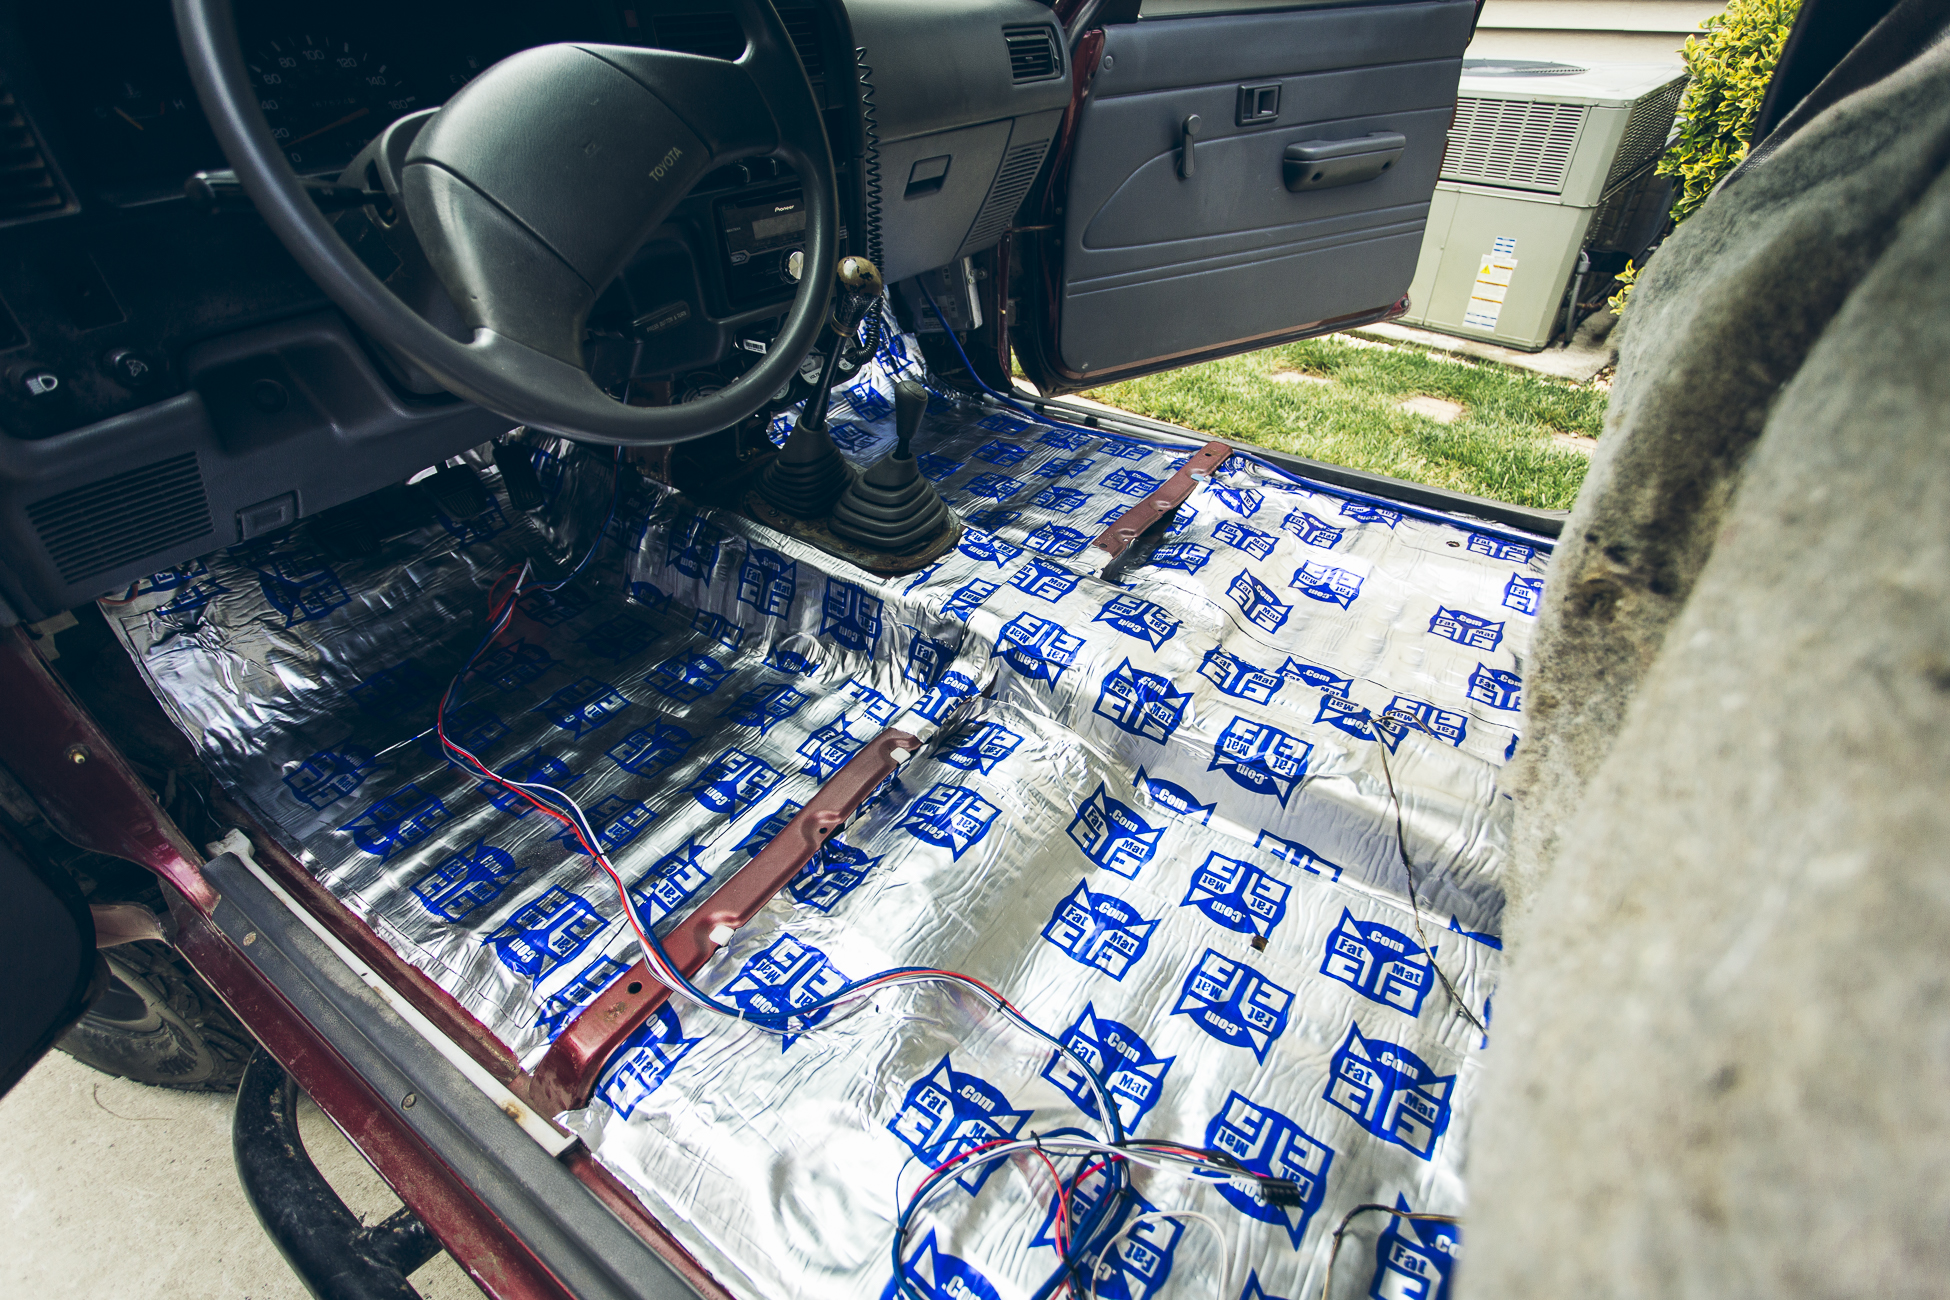
First thing was to vacuum the dirt, sand, silt, cookie crumbs, etc out of the upholstery/carpet, remove most of the interior, clean even more, and then add some sound deadener to the cab. This old truck can be pretty loud on the freeway so anything I can do to tone down the noise even a little bit will help. Plus, I’ll be adding a better stereo soon, so improving the sound of that by decreasing road noise is a big plus.

This 50 sq ft roll of sound deadening was enough to cover the floor of the cab, the doors, with enough left over to do the back of the cab in the future. We removed the rear seats and have a lockbox installed so we left that in place and didn’t add any sound deadener below the box or on the back of the cab at this point.
I expect that this could be difficult to install when it’s cold out and the material is stiff, but I did it in Virginia Beach when it was 95 degrees out. The material was very easy to get into the tight corners. We found some spray on carpet cleaner and went to town with the Shop Vac on before reinstalling the carpet/seats. Once we hit the highway there was a welcome reduction of road noise and for once, Ashley and I didn’t have to yell to talk to one another.
Basic Maintenance
You know what I love about being in North America? The abundance of auto parts! During the first time in AutoZone after returning from South America I must have spent an hour in the store just walking down the aisles one by one. In my distant past I never really liked spending money on maintenance parts, but after spending a year where it was difficult to find parts in the first place, let alone spend plenty of money, I’ll never take the easy access of parts for granted again.
I also couldn’t believe how inexpensive everything is! Chile stands out as the most expensive country for parts. For example, anything you buy there that you can buy here seems to cost 2 to 3 times as much. Huge importation fees and 19% tax adds up quickly!
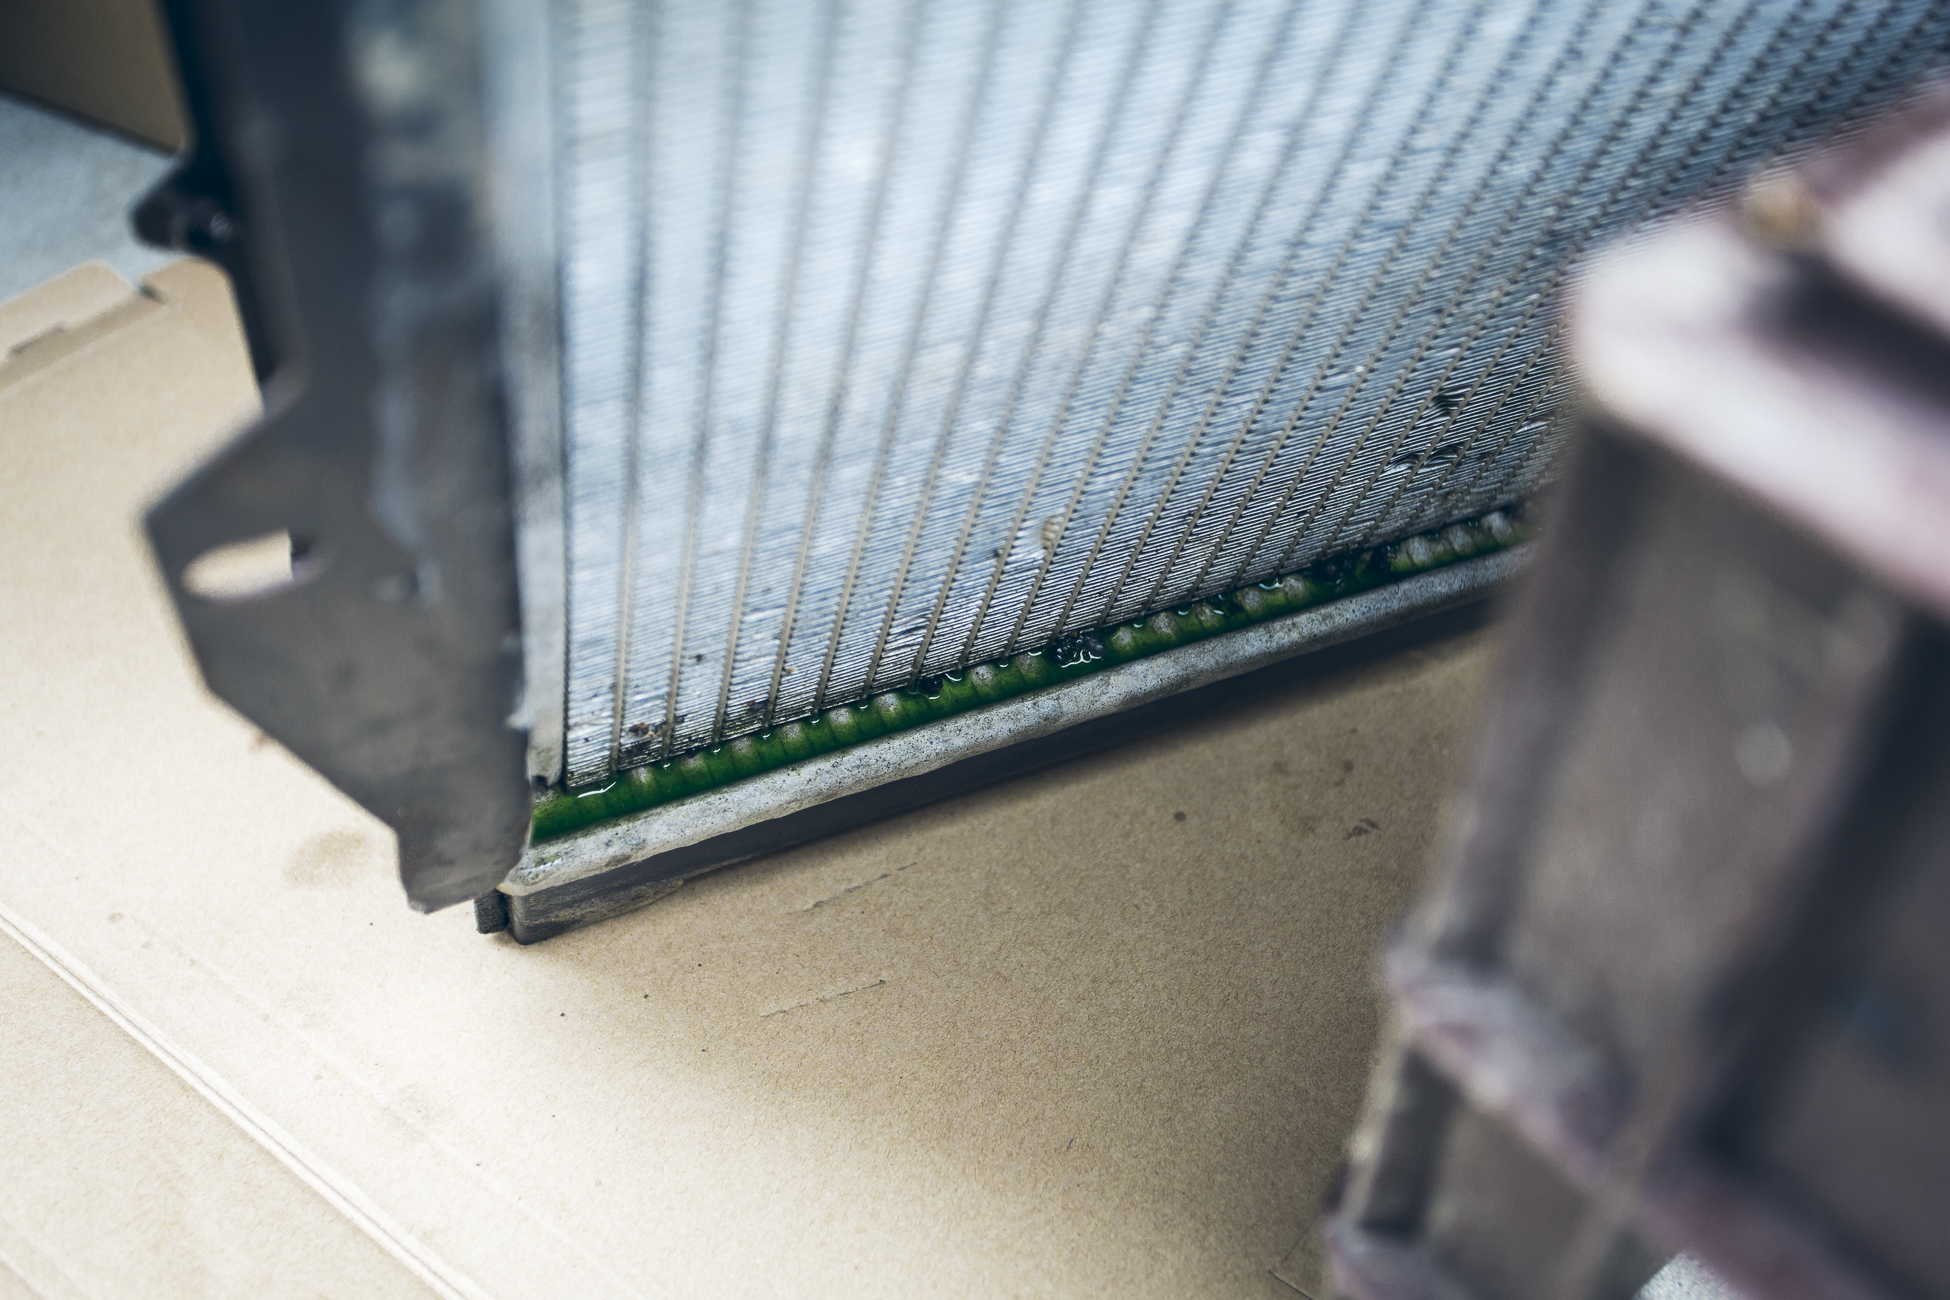
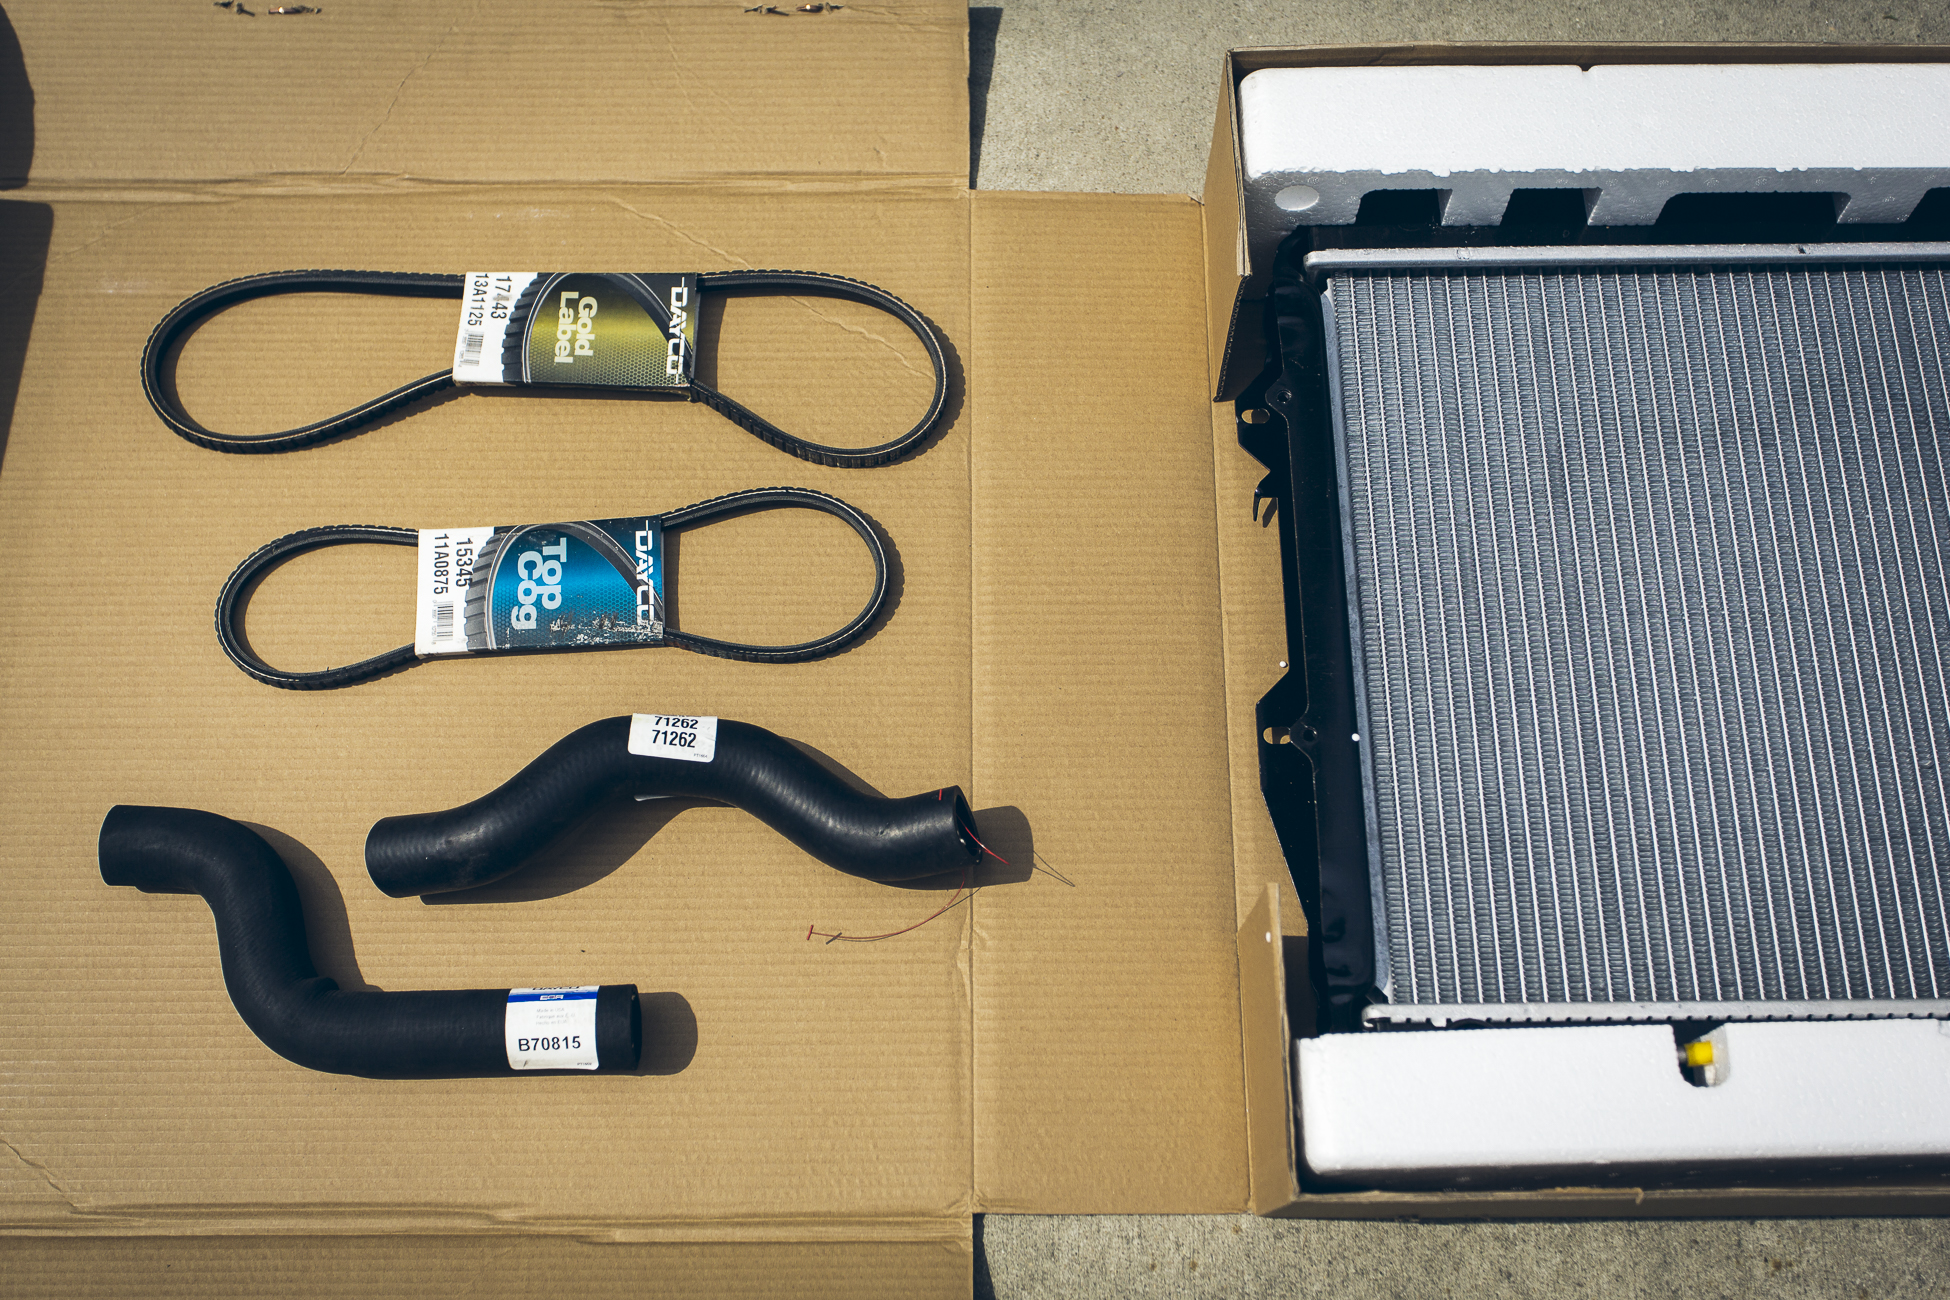
So, being back in the good ol’ US of A I thought it prudent to replace our radiator. The last replacement started leaking (run ins with some brush and thousands of kilometers of washboard roads seem to have taken a toll) and had been “repaired” by a Latin American “radiator shop” a couple of times. It recently started to slight leak again so I just wanted to replace it. I expect a copper rad or full aluminum radiator would be a smarter choice for longevity, but at least this replacement only cost $110 and comes with a warranty. While I was at it I put on new upper and lower hoses, coolant, and belts and then kept the old ones as spares. Cheap insurance.
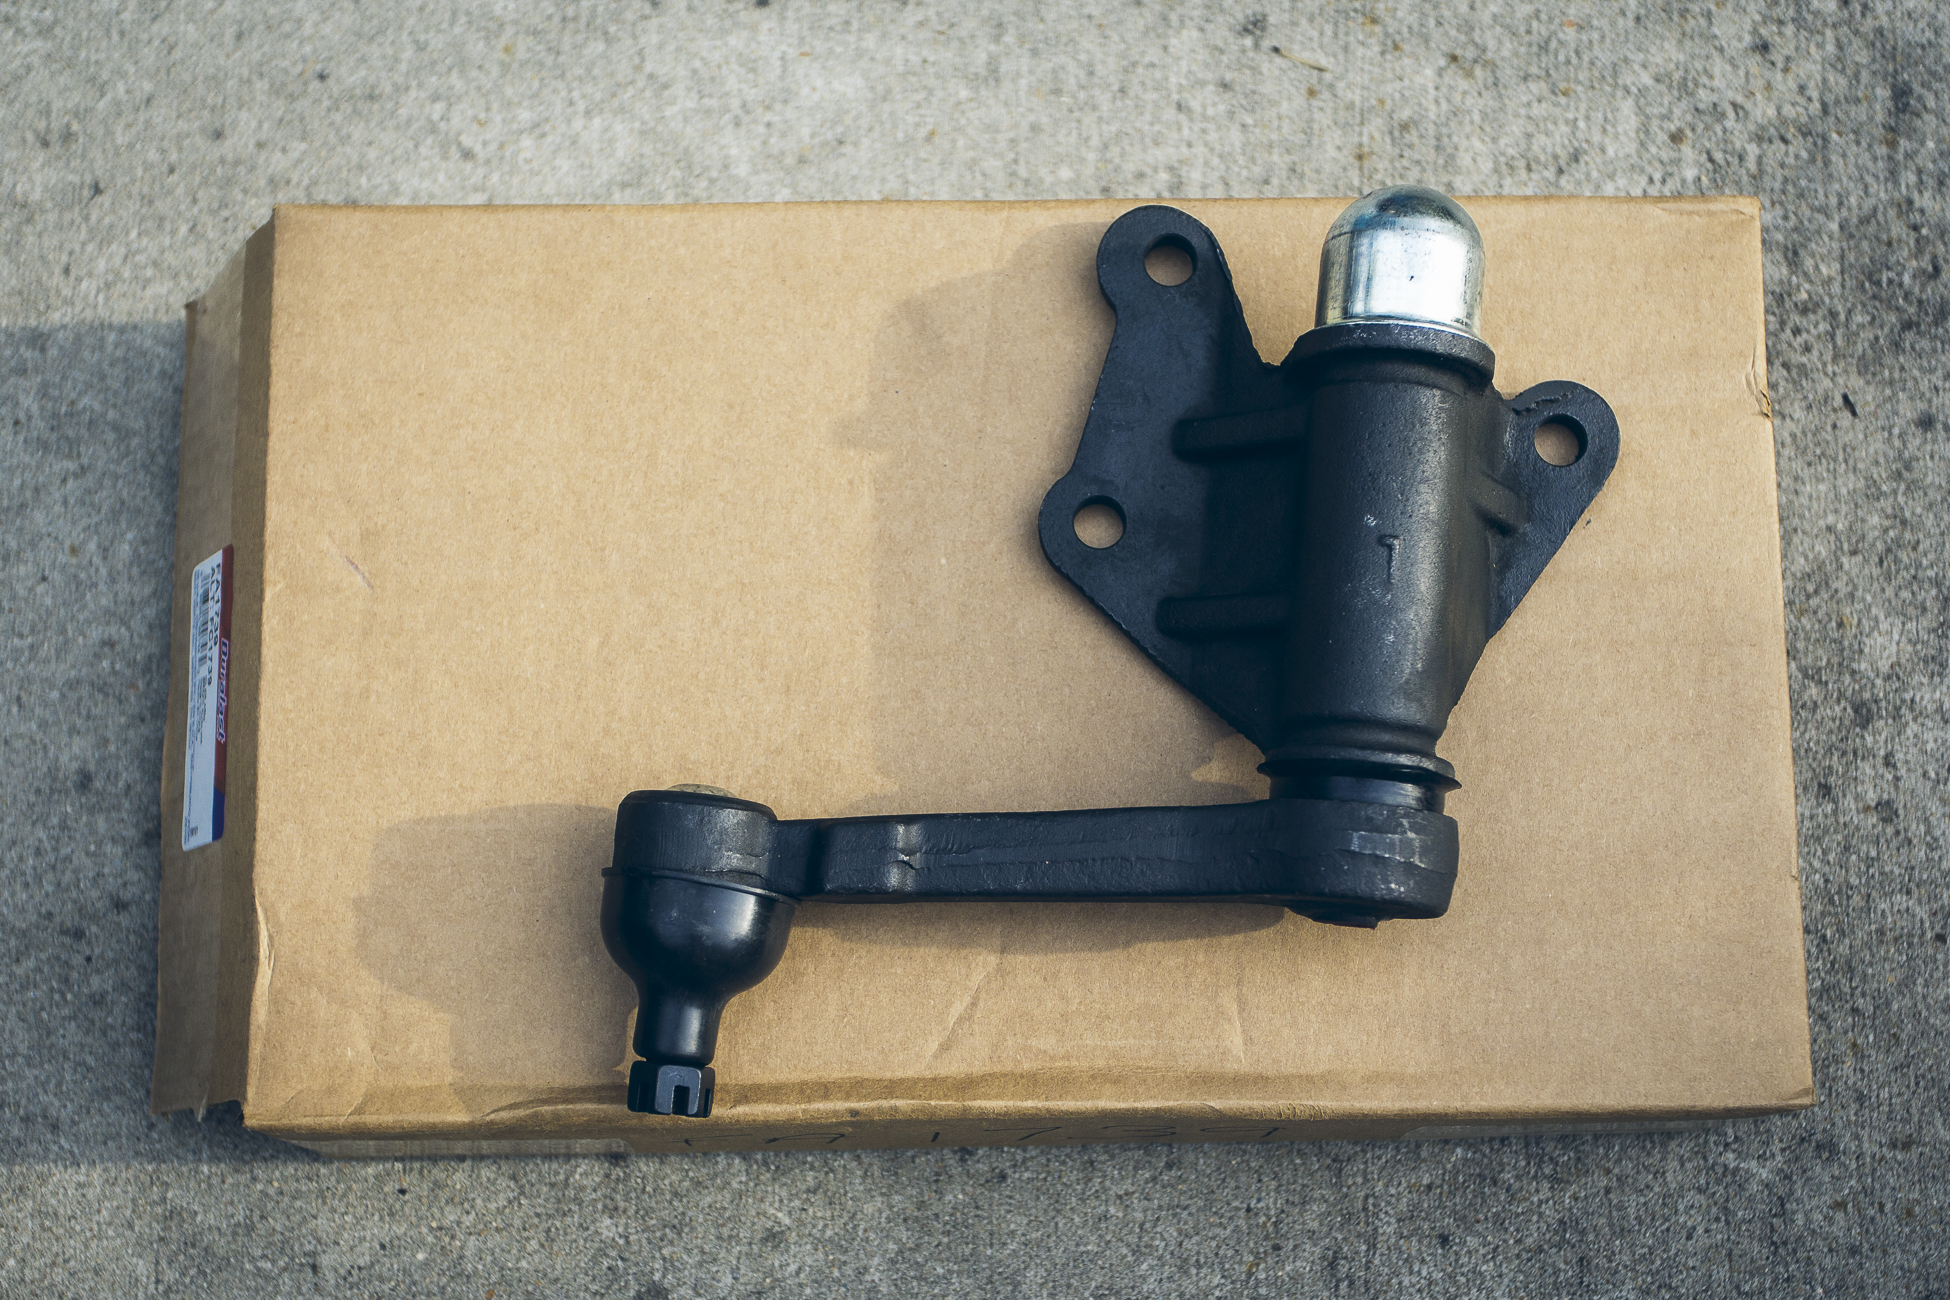
Another thing I had to replace was our idler arm. Fancy that, the aftermarket replacement from Peru didn’t hold up in the long run. I think it’s worth looking at the Total Chaos idler arm next time, but for now I went with the Duralast part from AutoZone. How could it not last with a name like that  I brought my torque wrench all of the way from BC to Argentina, but the first time I had to use it was in a driveway in Virginia. A little penetrating fluid and pickle fork made quick work of the swap.
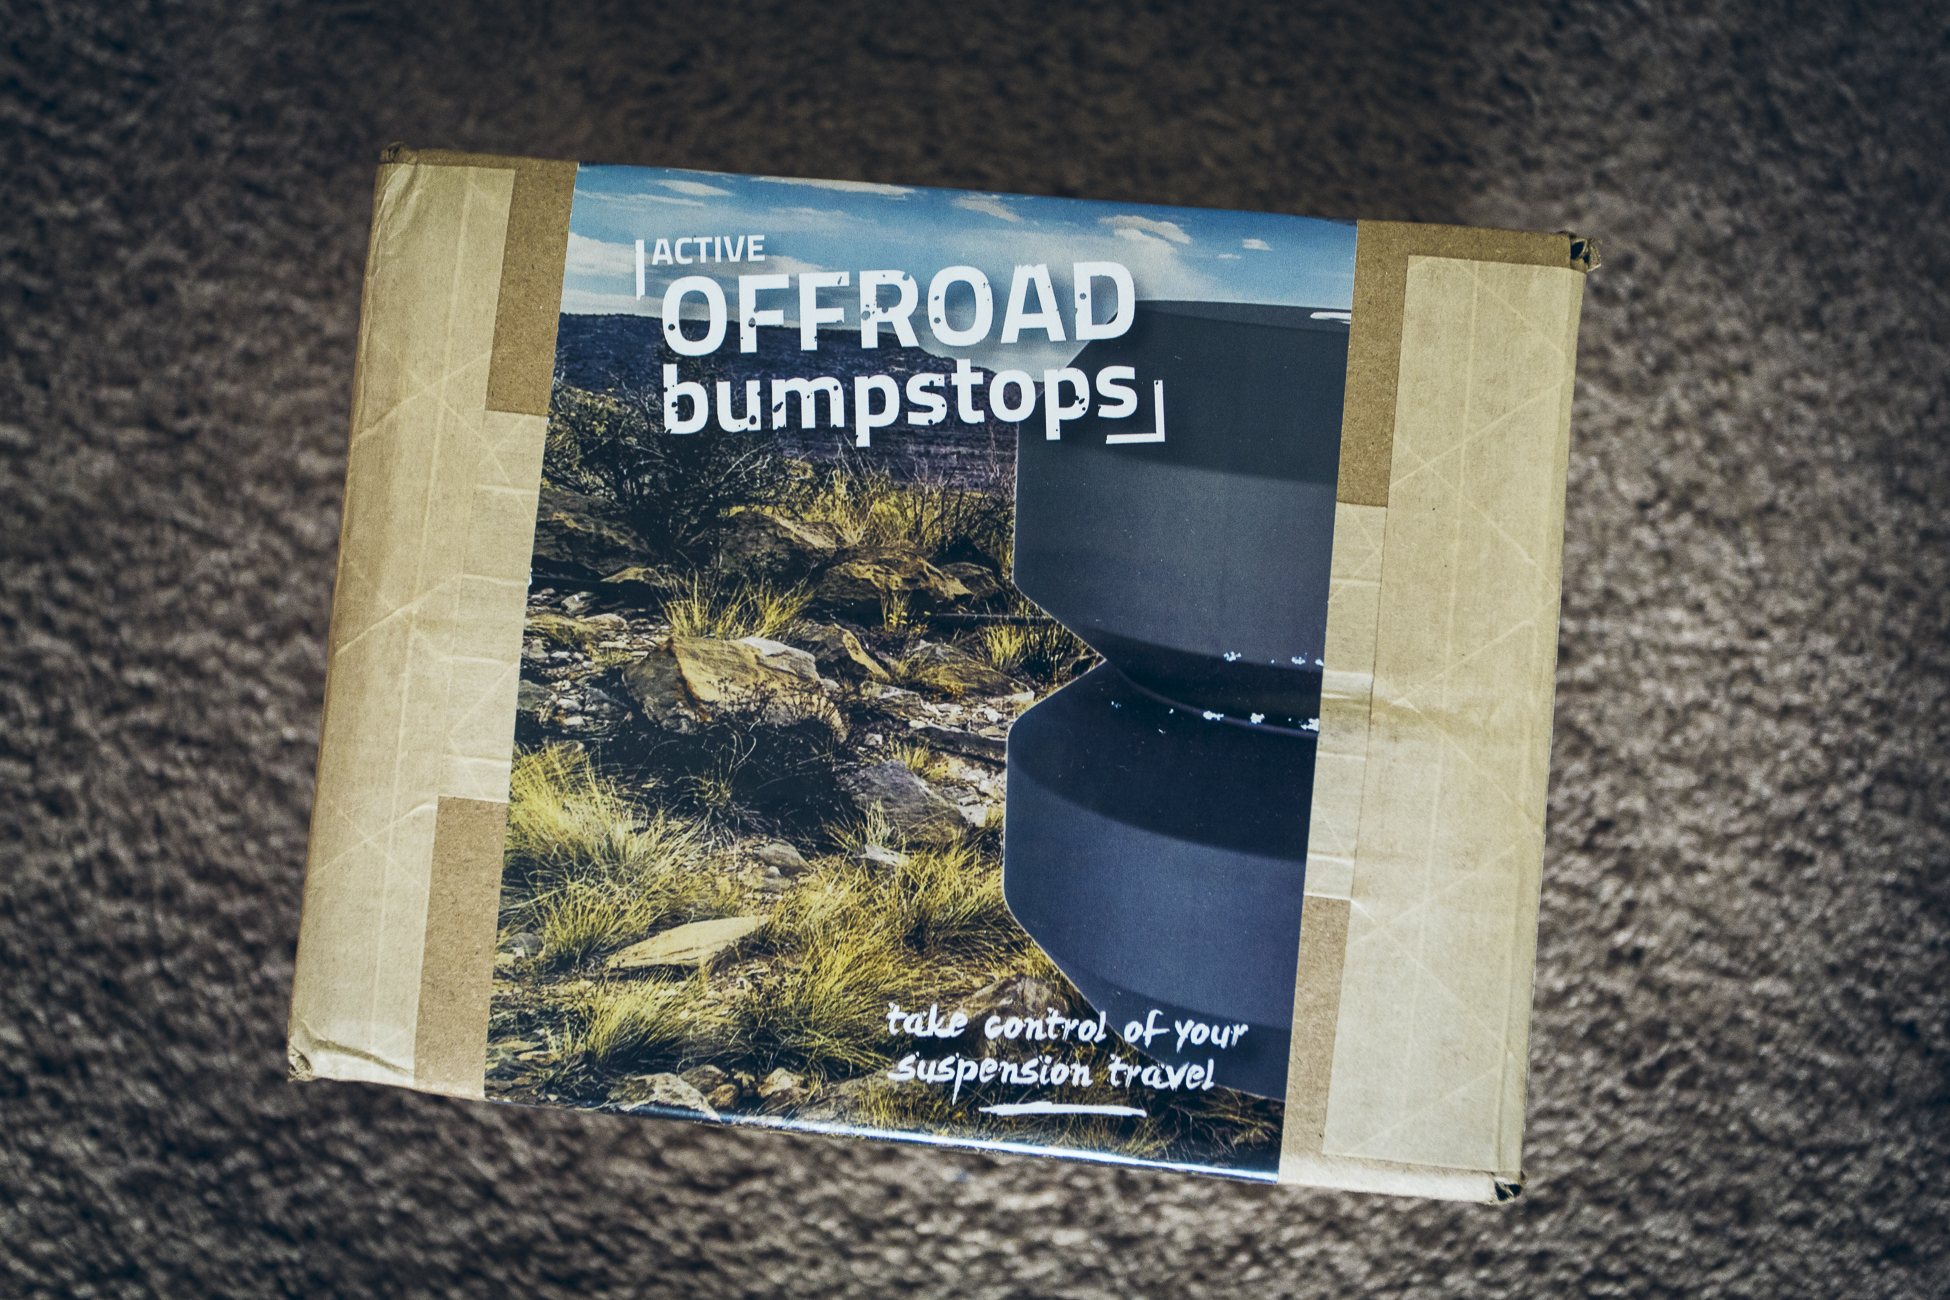
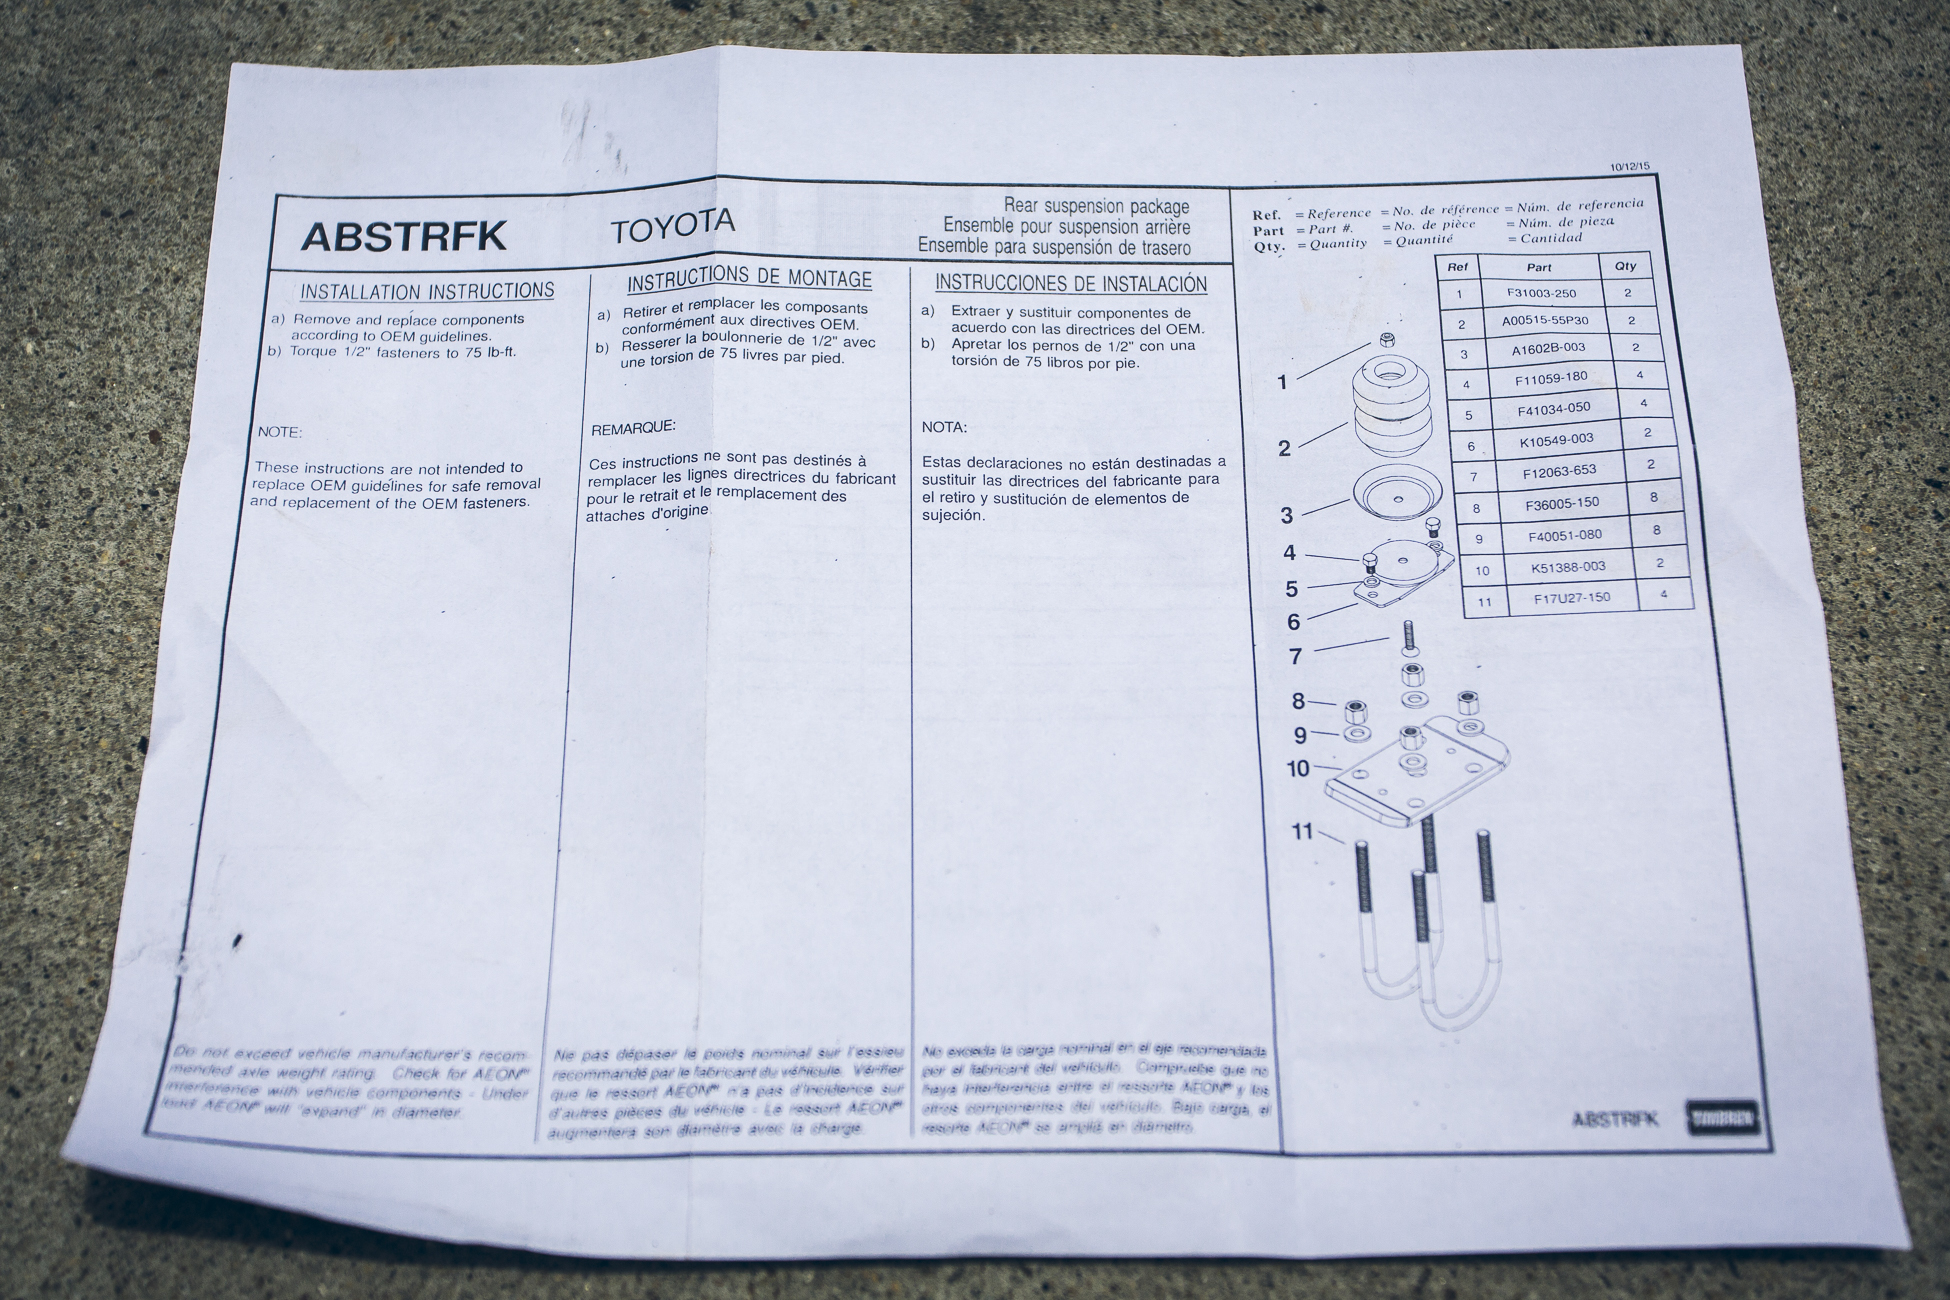
Timbren Off Road Active Bumpstops
“The Active Off-Road Bumpstops enhance bottom-out resistance while delivering smooth engagement and disengagement of your vehicles axle. Designed with a progressive spring rate to absorb additional energy and return the axle in a more controlled style than your OEM bumpstops.”
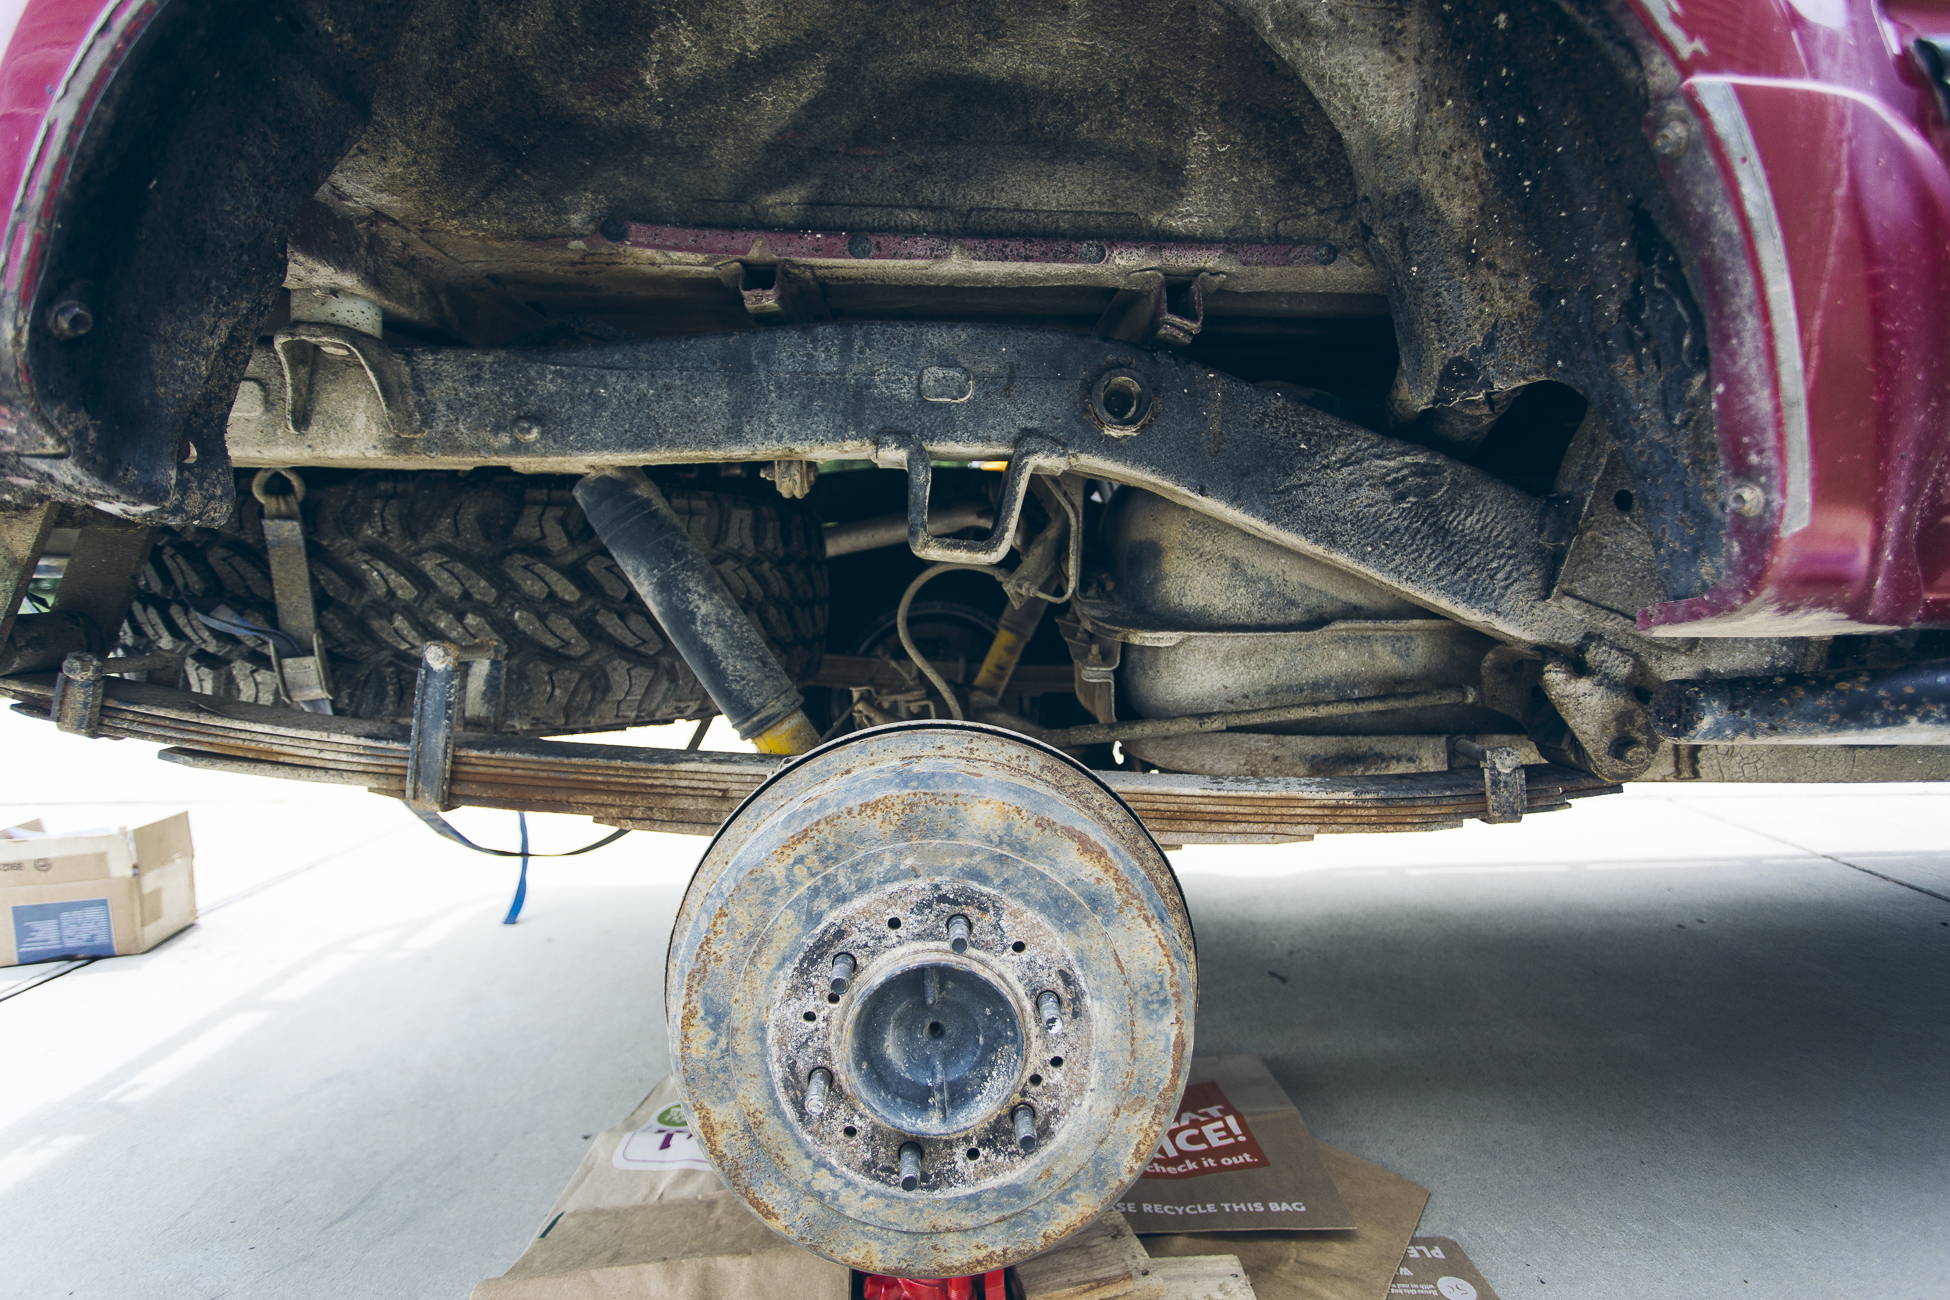
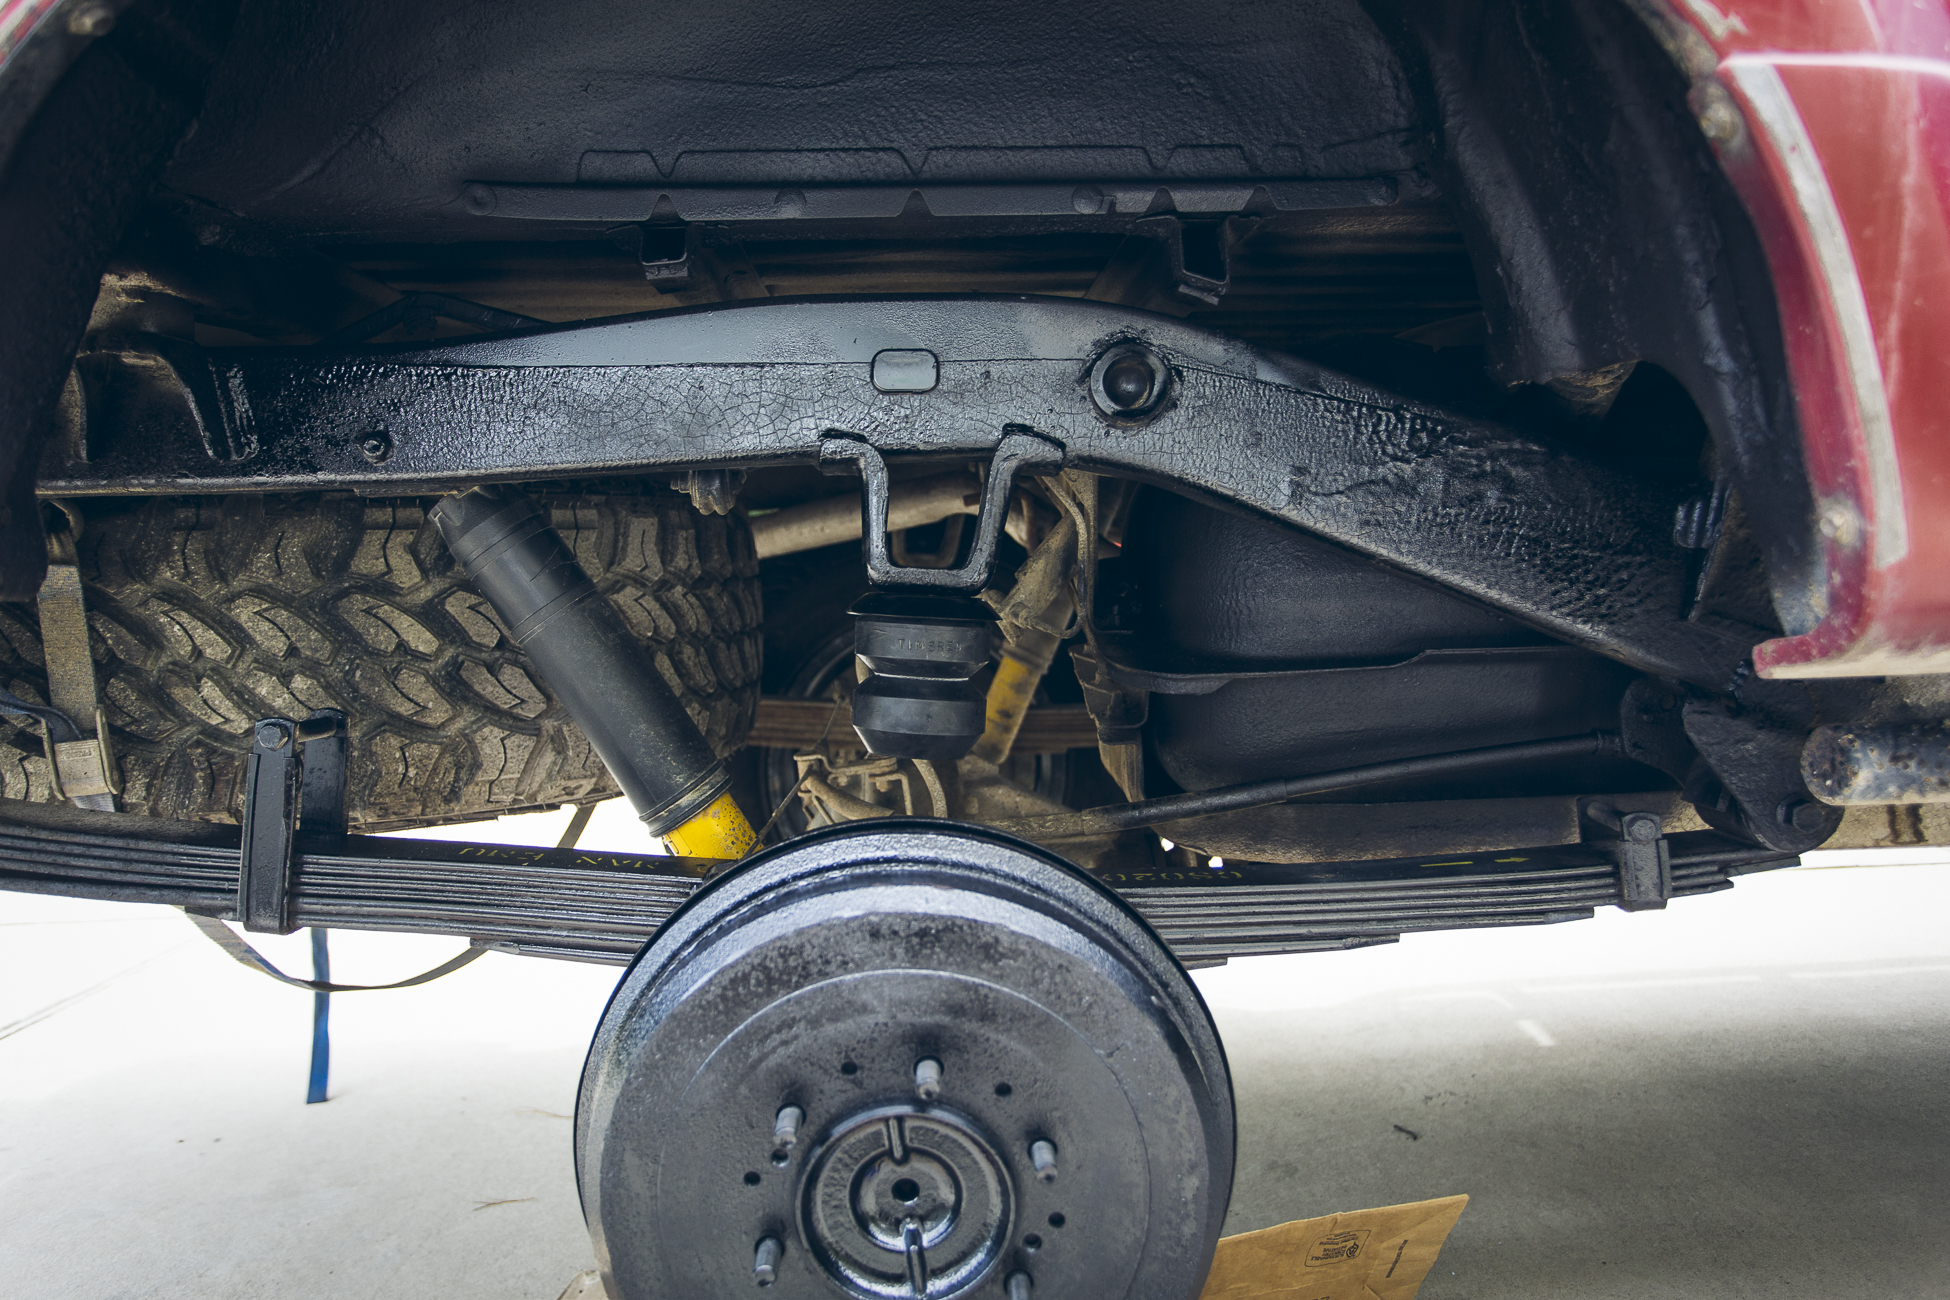
Well, that sounds like a great improvement over stock bumpstops. So I expect they’ll be an even better improvement over… well, no bumpstops. As you can see, the OEM bumpstops on our truck were long gone due to a combination of father time, PNW rust, and thousands of kilometers of washboard roads.
Instead of using a factory-style bumpstop I wanted to try out these new Timbren units.
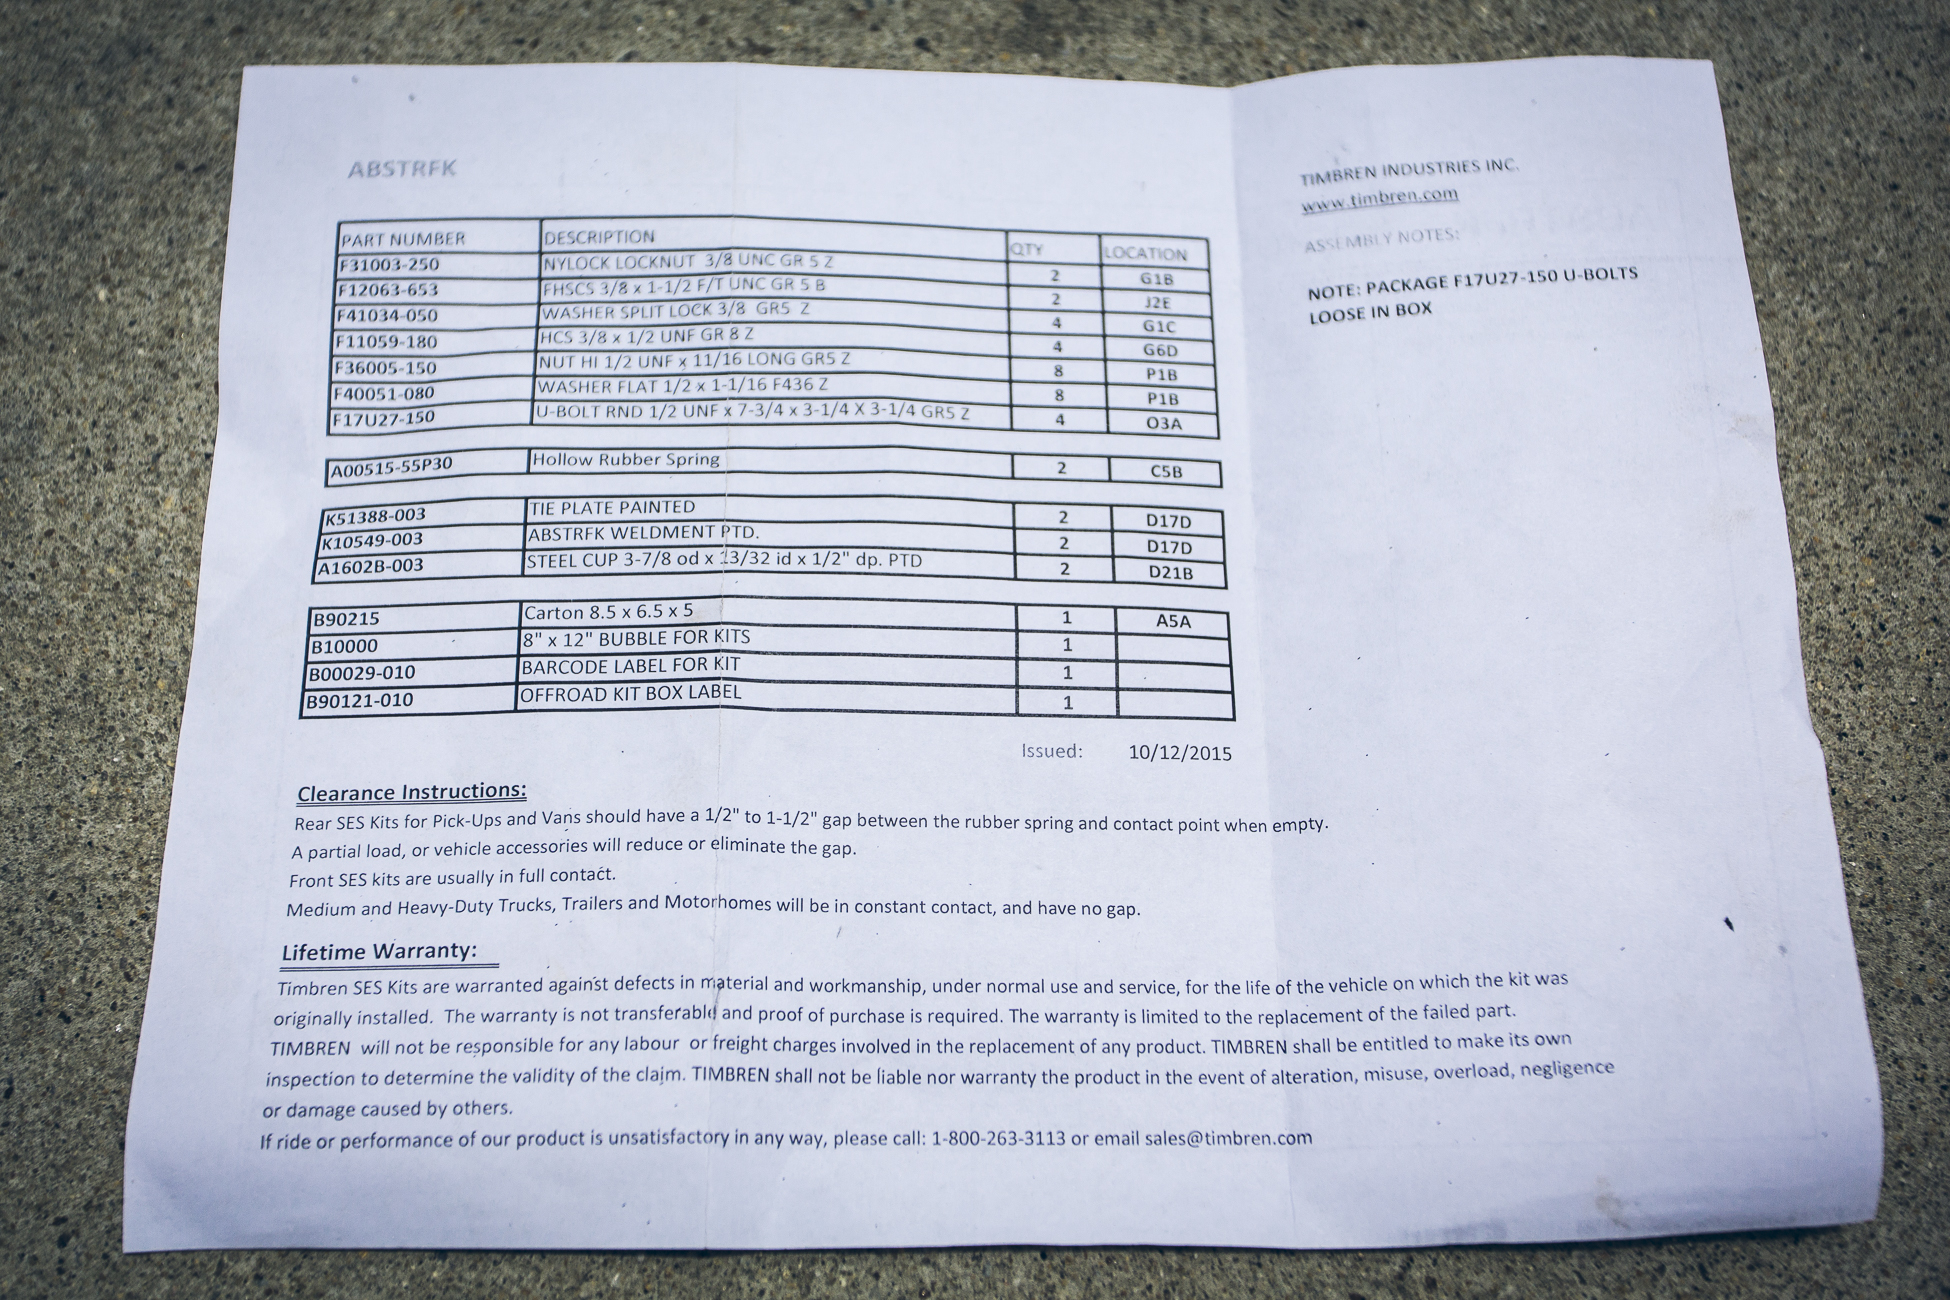
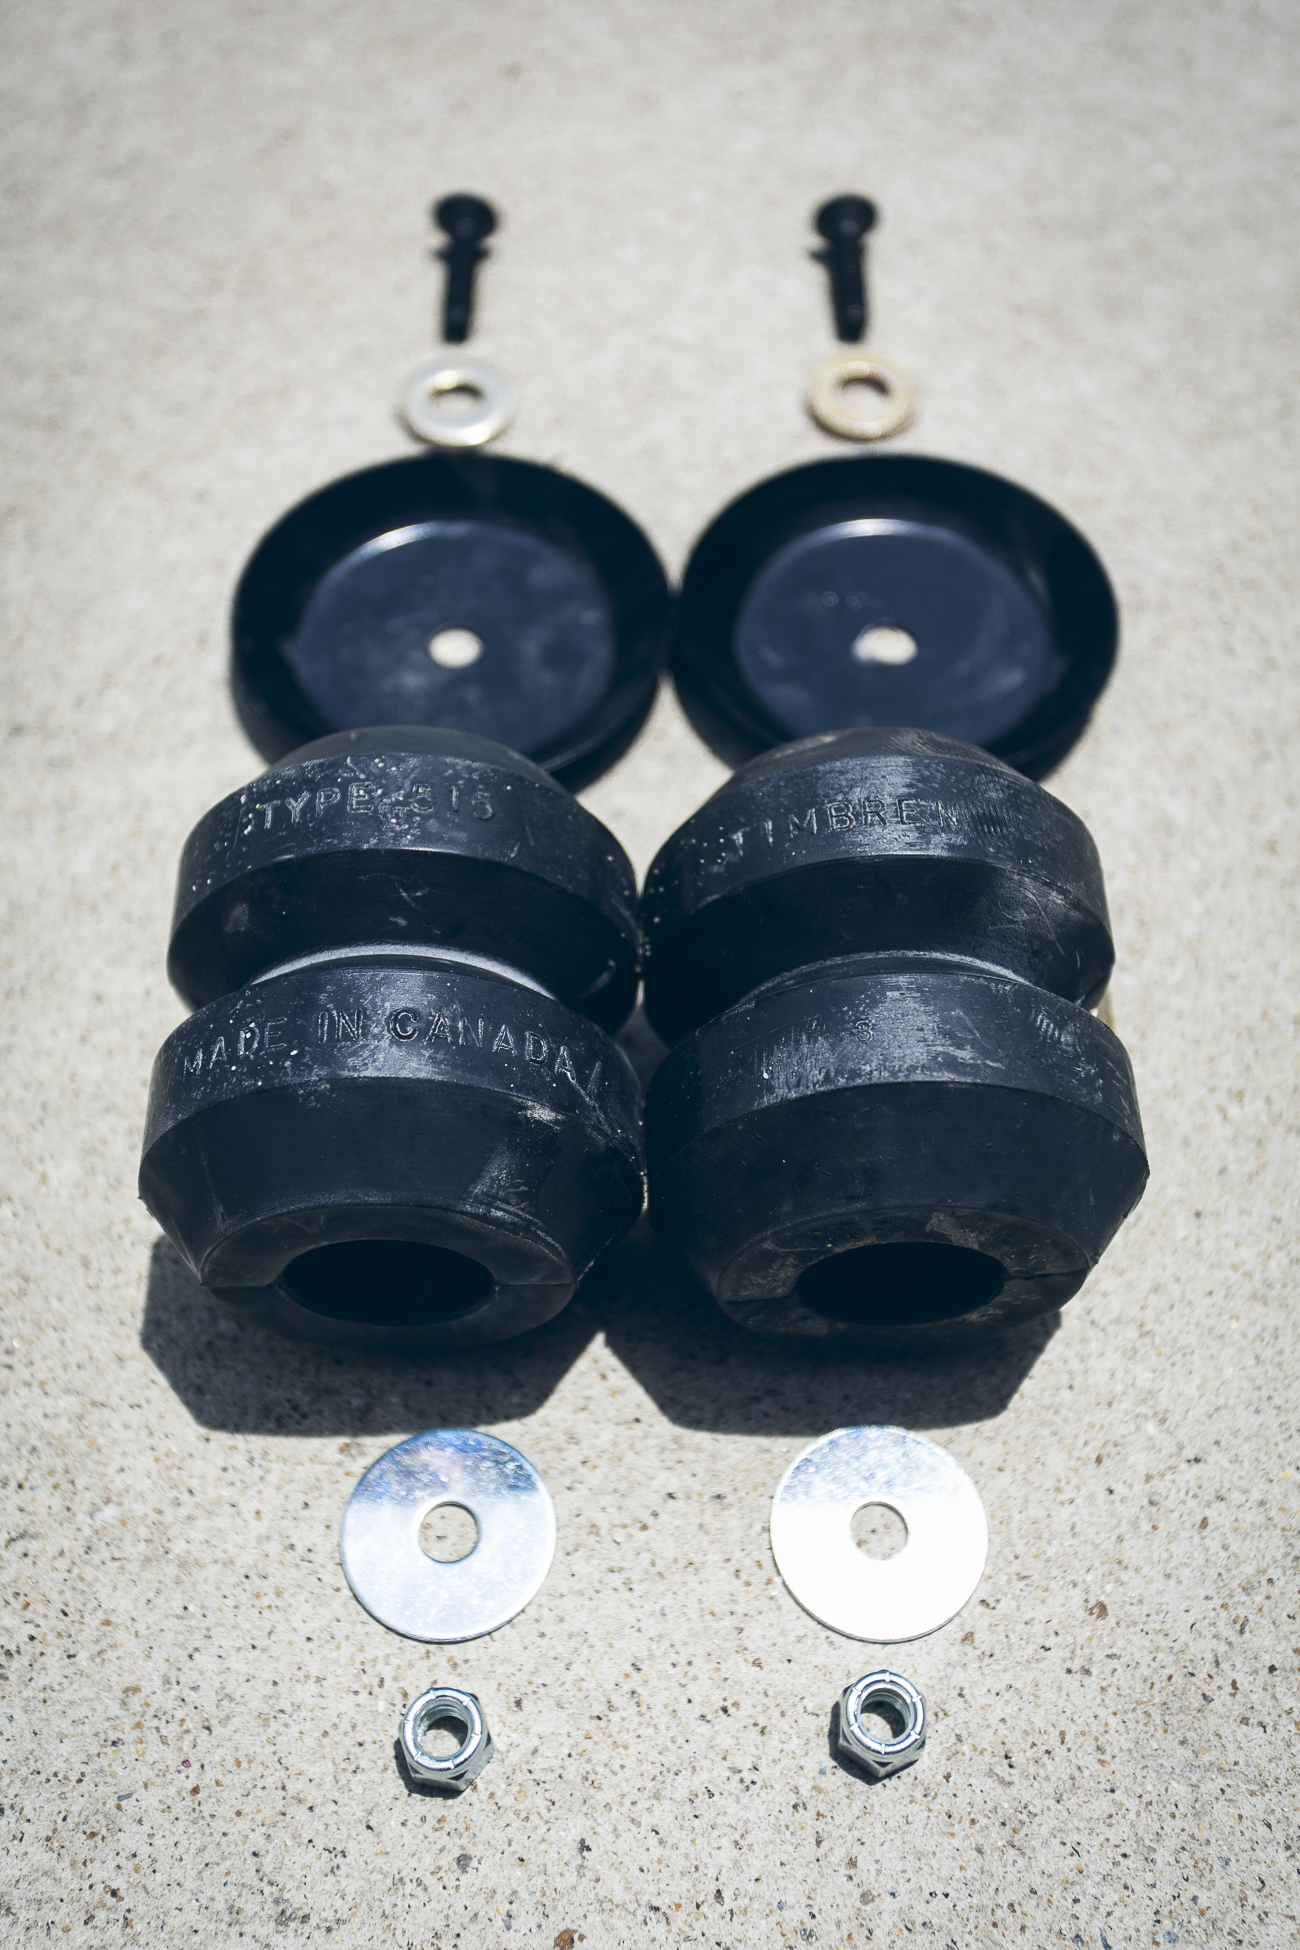
Look at how complete this kit is!
The Timbren kit includes all of the parts to replace your U bolts and spring plates. This is a great kit if you want to flip your U bolts and install some bumpstops at the same time.
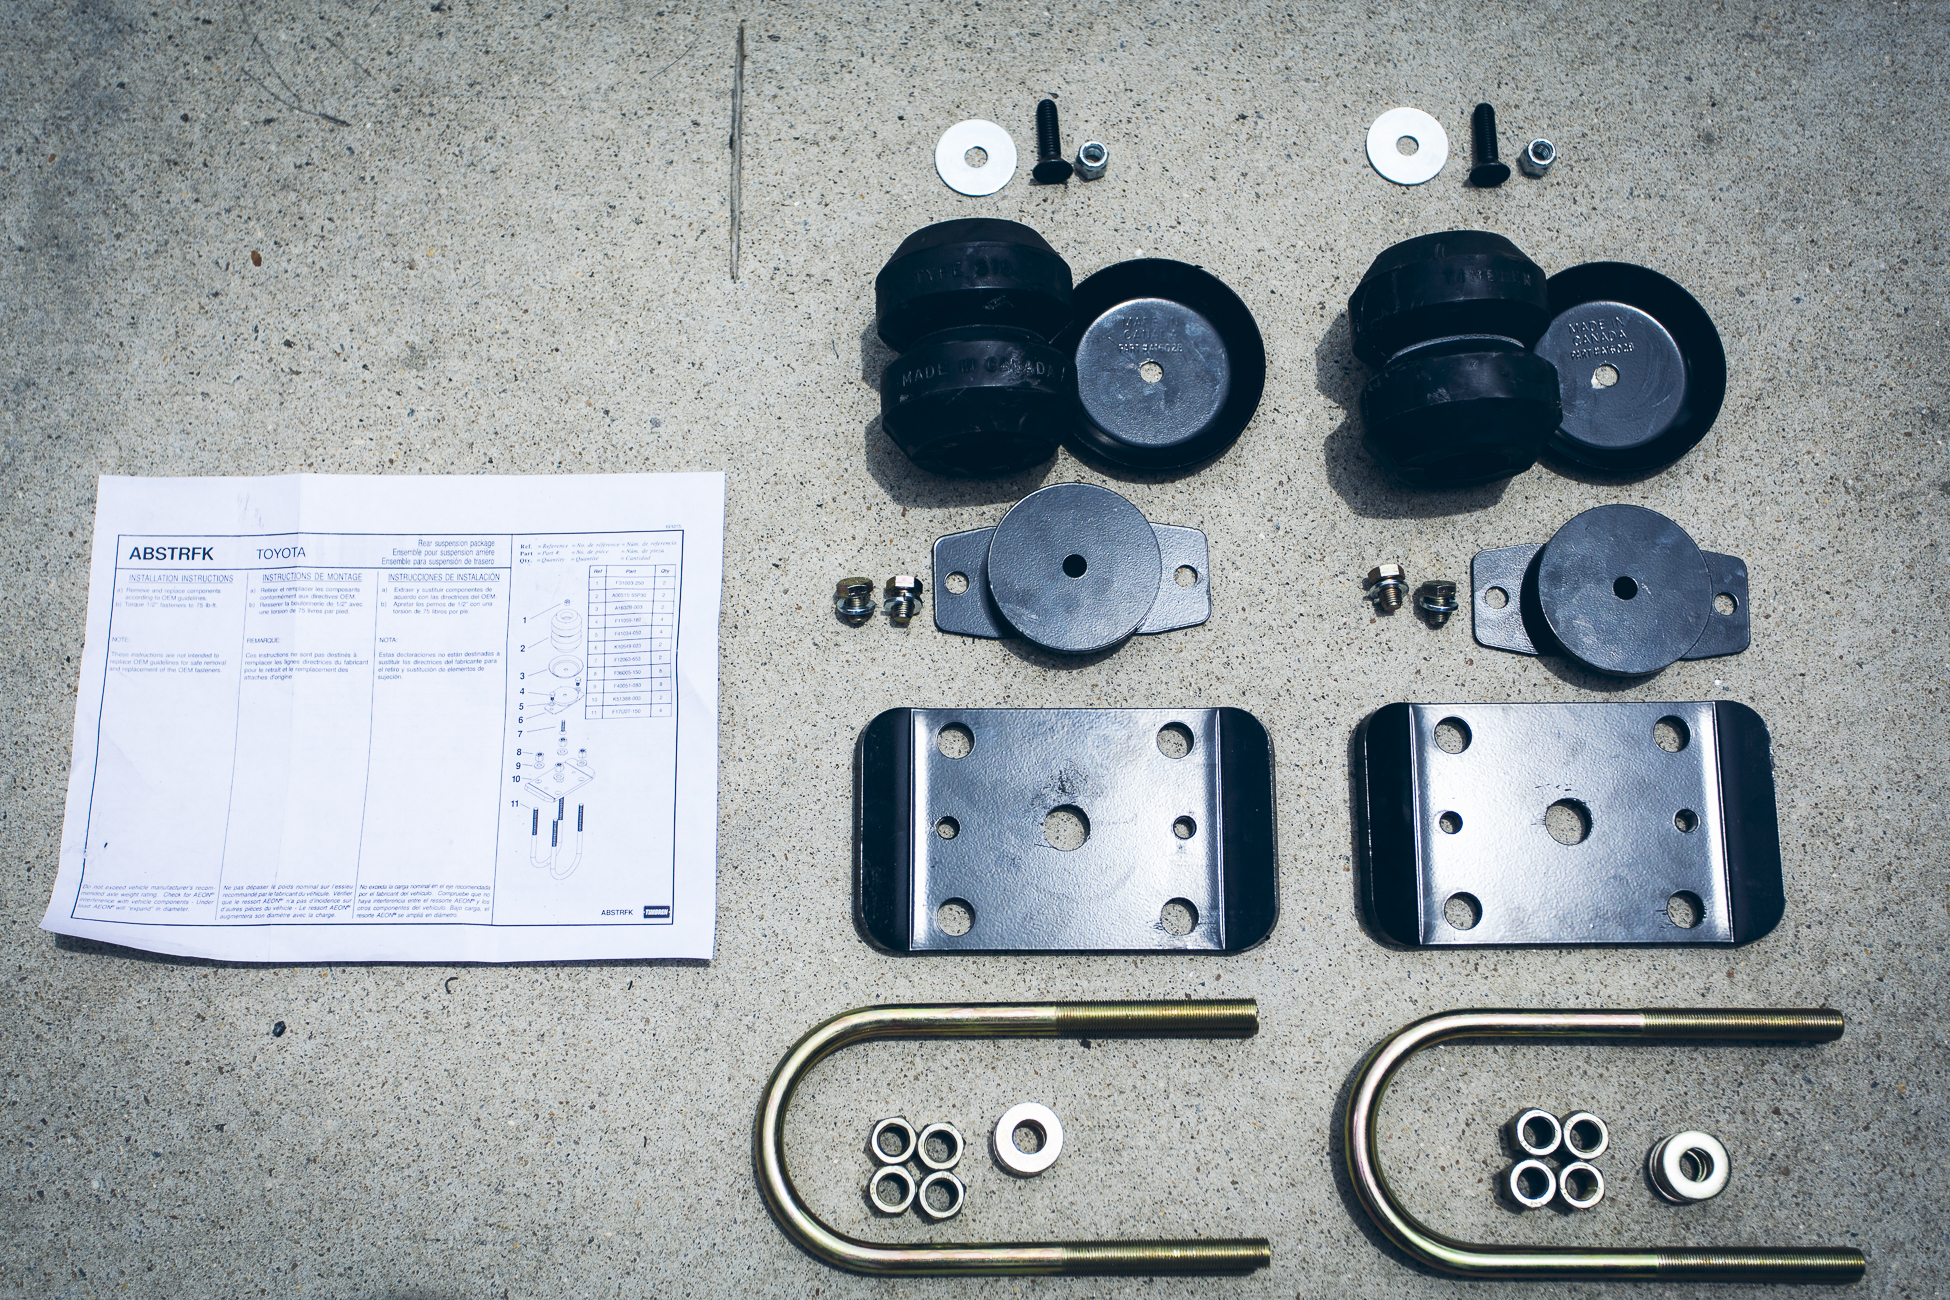
I disregarded the instructions and most of the included parts. As usual, since we’re living life on the road I was in a bit of a rush to get these installed (we were mooching a driveway from our friend’s parents) so I chose my own mounting method and decided to ignore the Timbren engineers who wrote the manual. Don’t fret, I’m keeping the U bolts and spring plates along with the rest of the hardware for a future install. Also note: Made In Canada (just like us!)
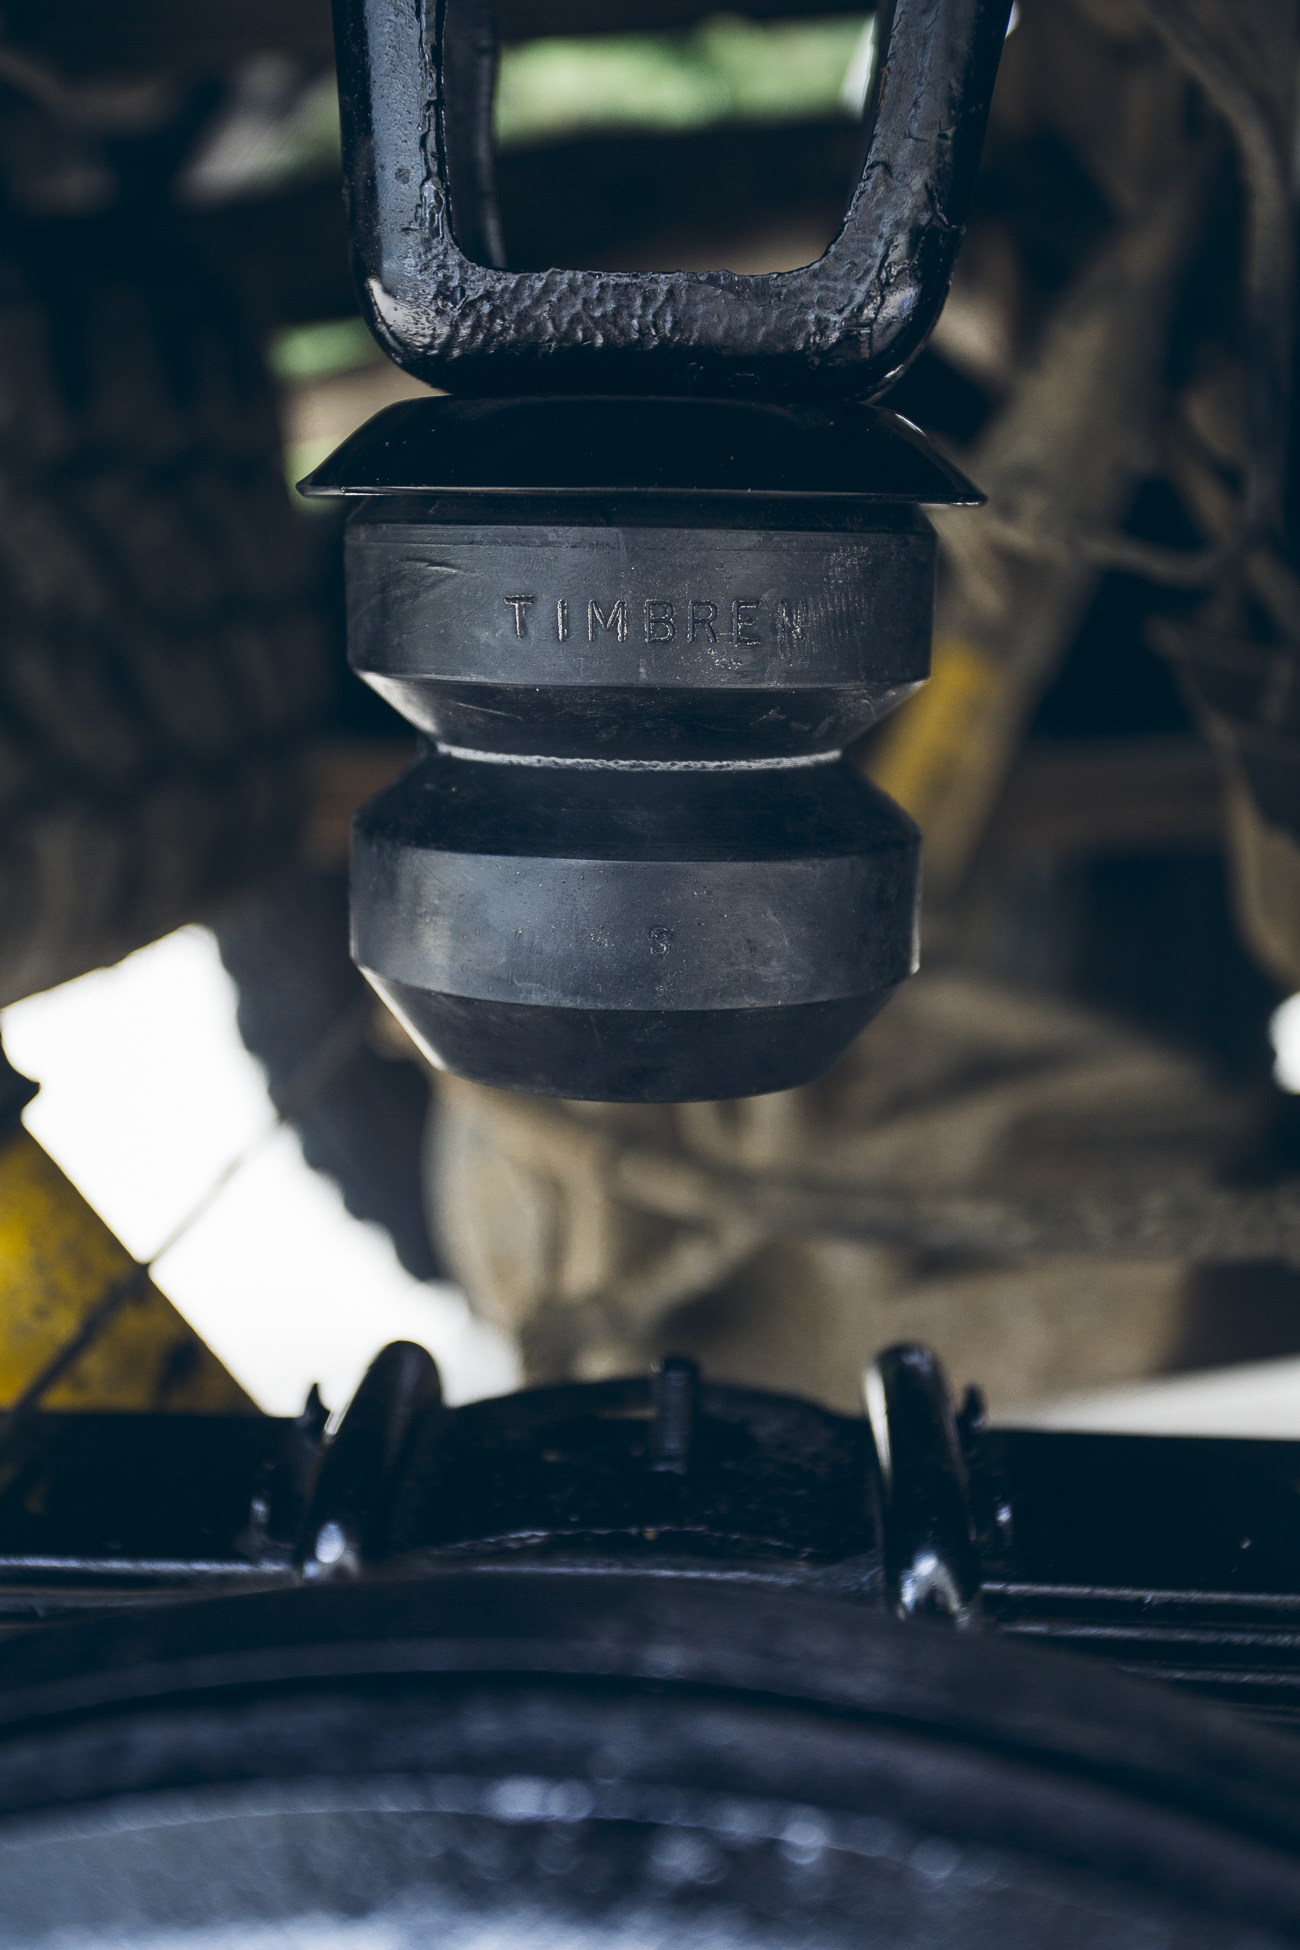
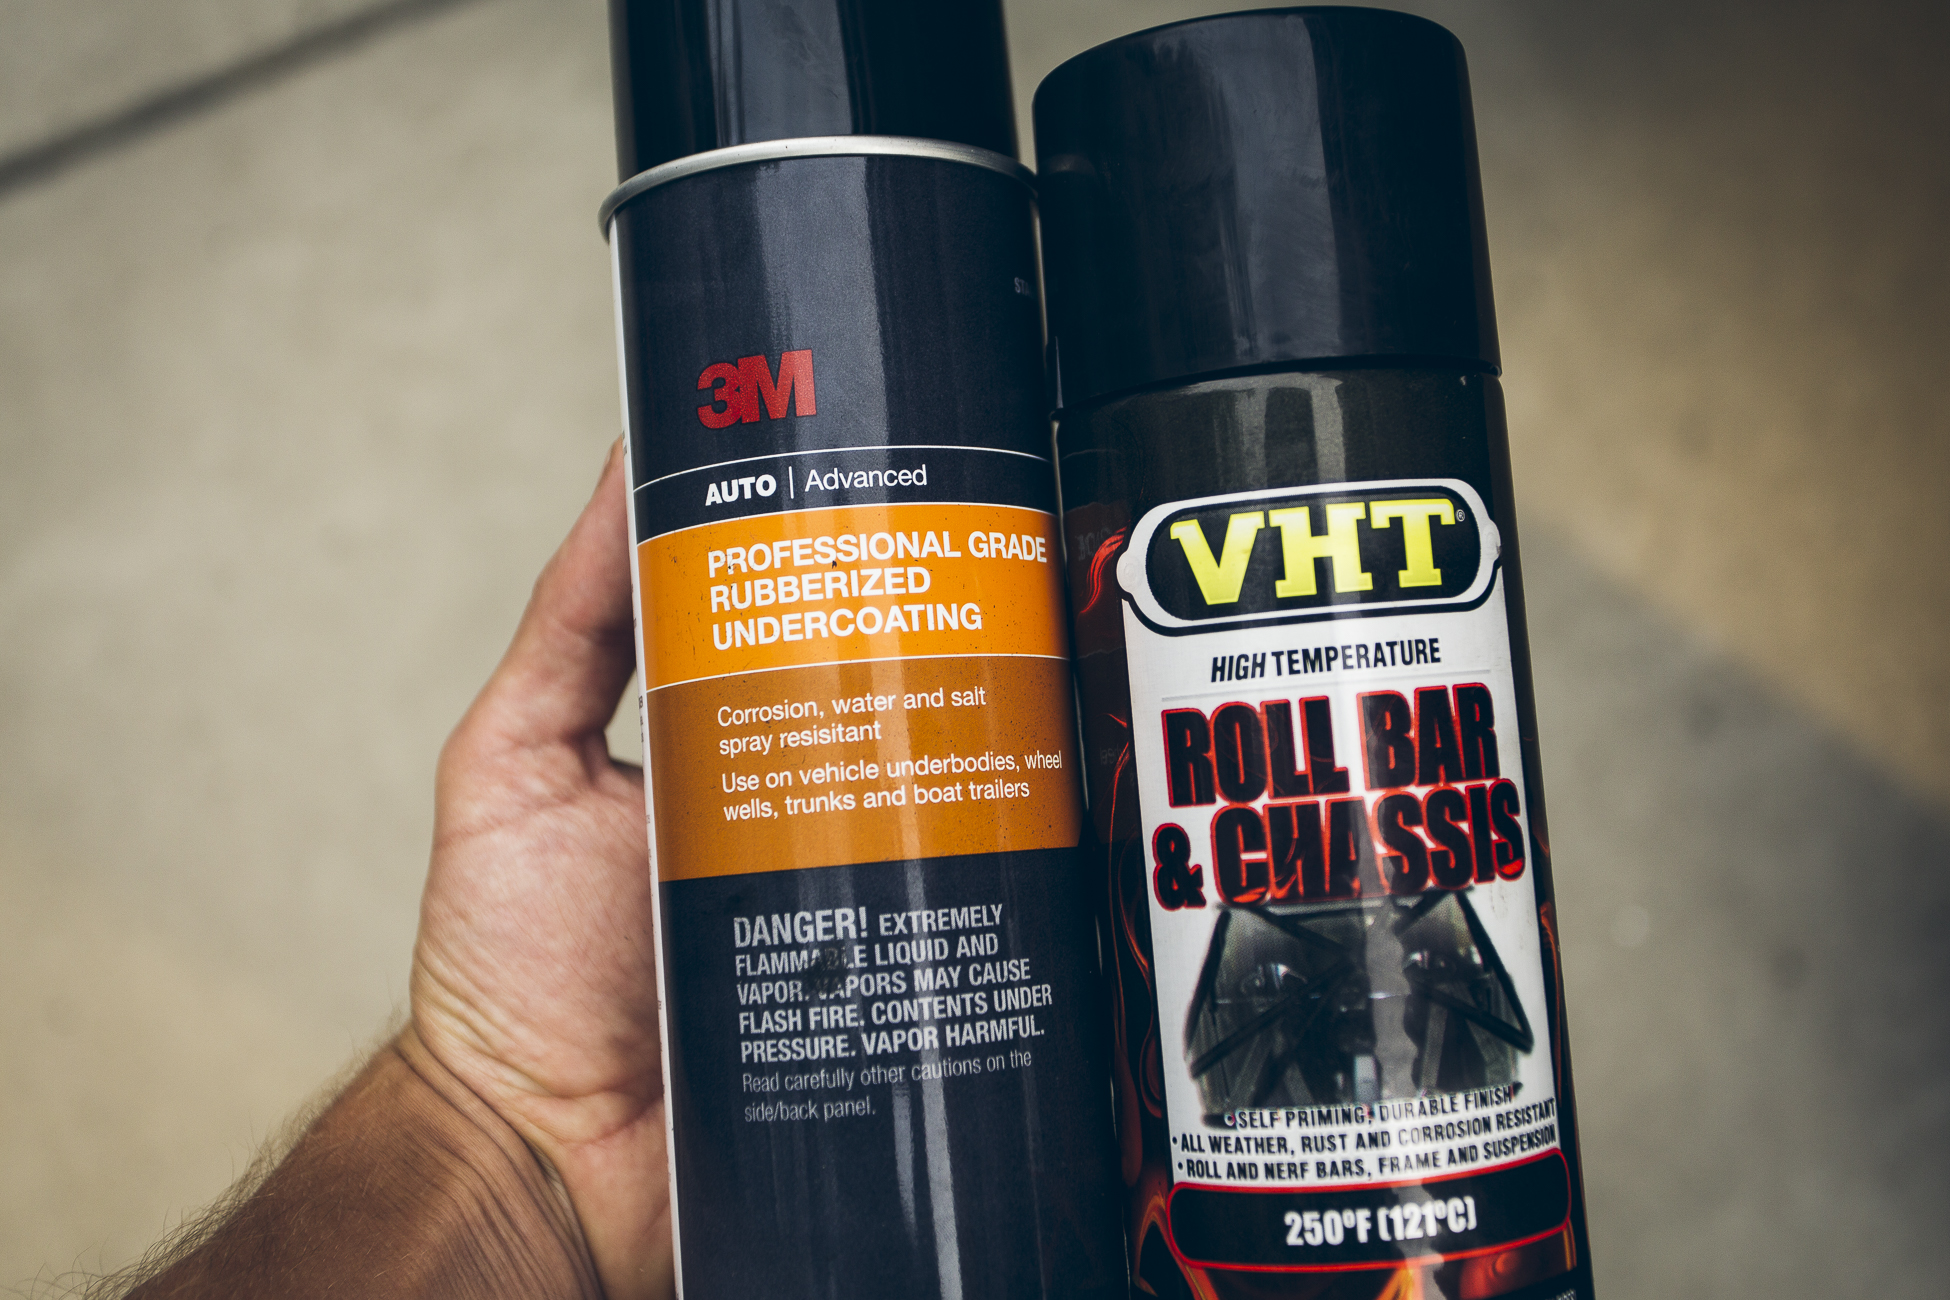
My quick and dirty installation turned into quick and clean when I decided to hose off the Patagonian mud, knock off the rust with a wire brush, and then paint what I could with some leftover black VHT chassis paint. I used a little bit of 3M undercoat in the wheel wells as well.
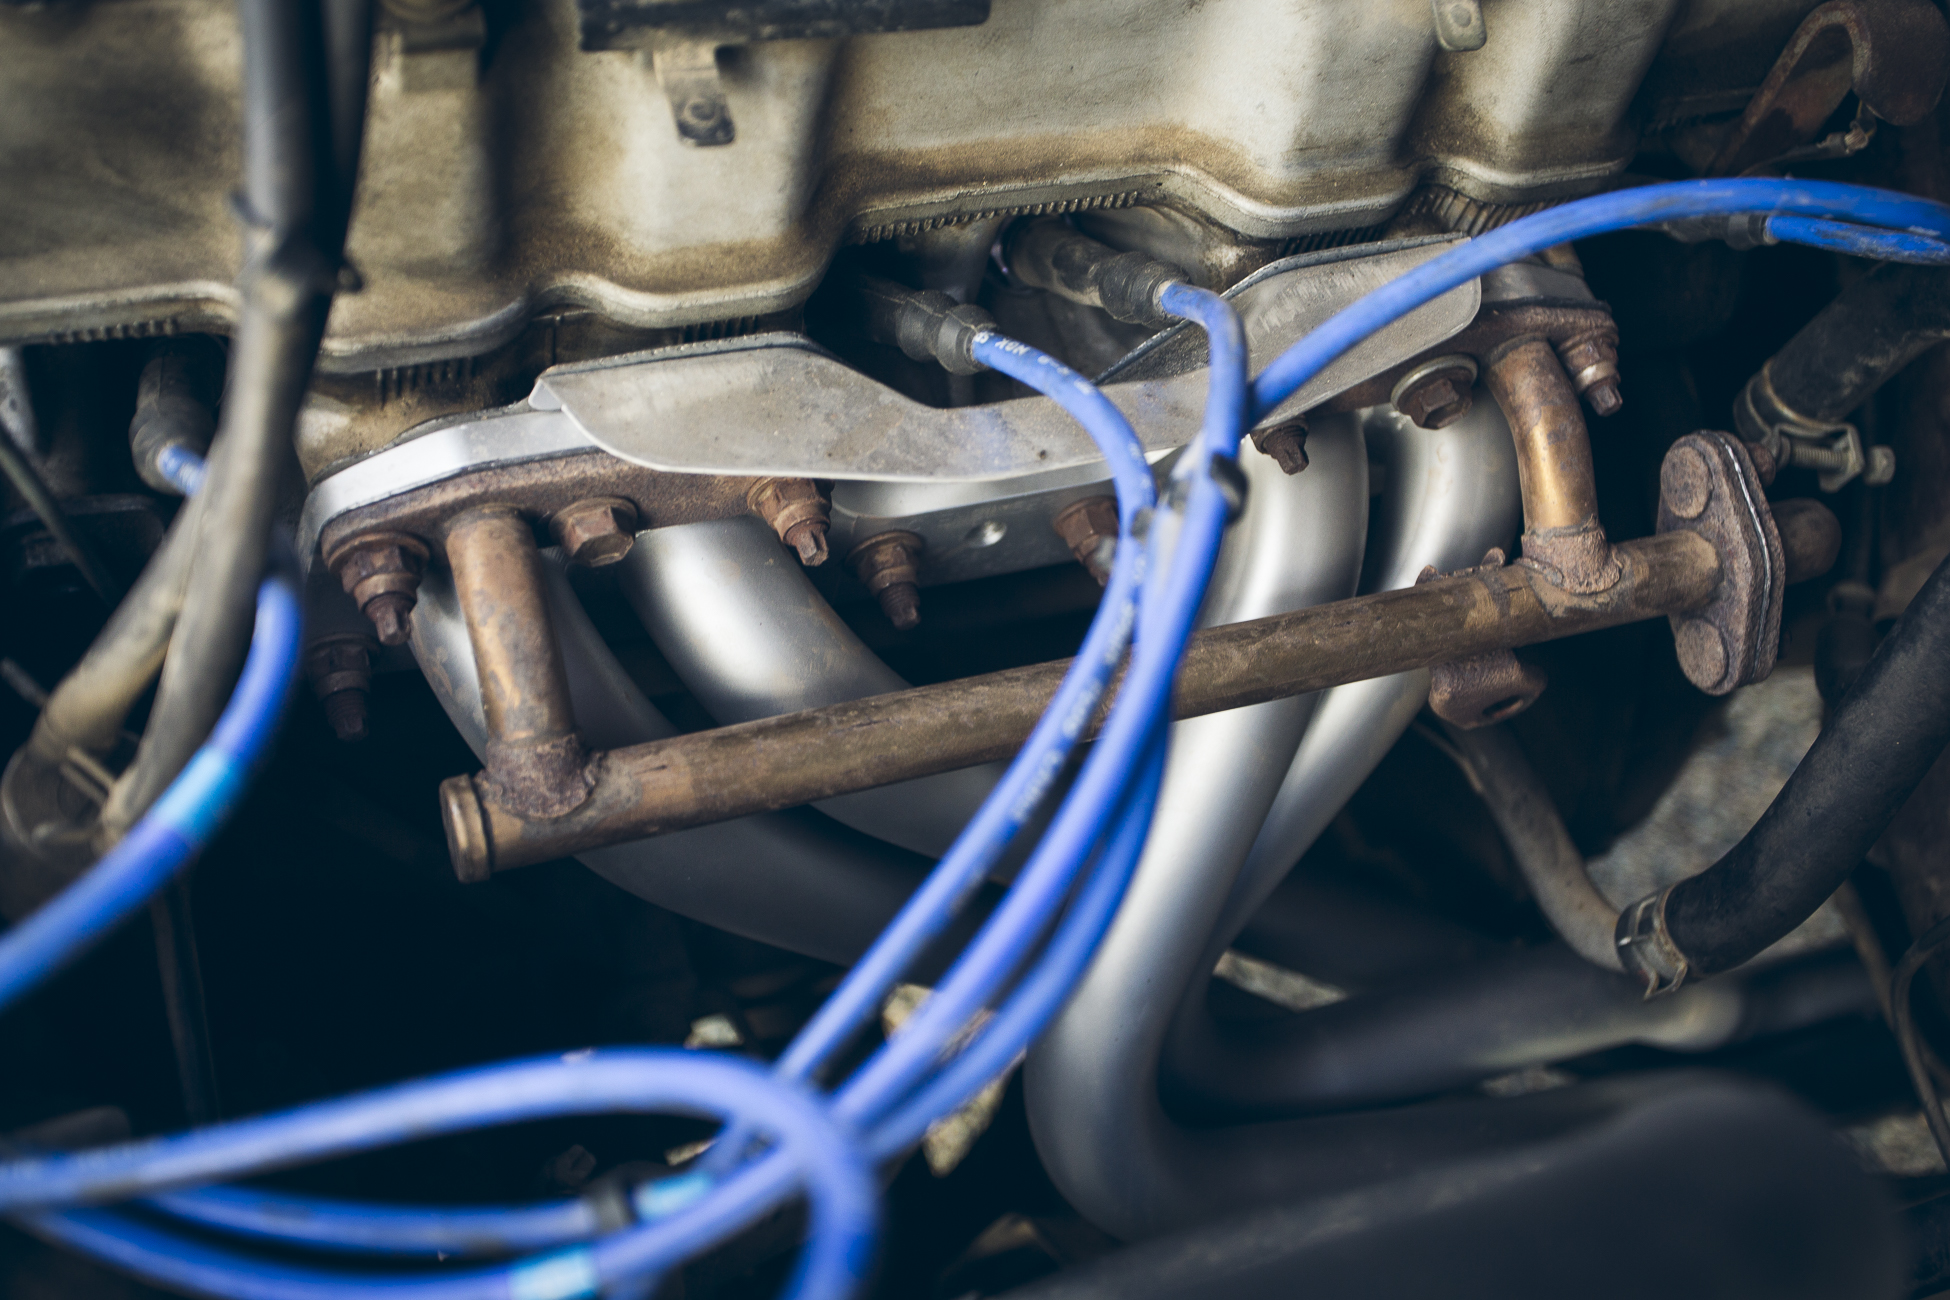
LC Engineering Header and Pro Flow Exhaust System
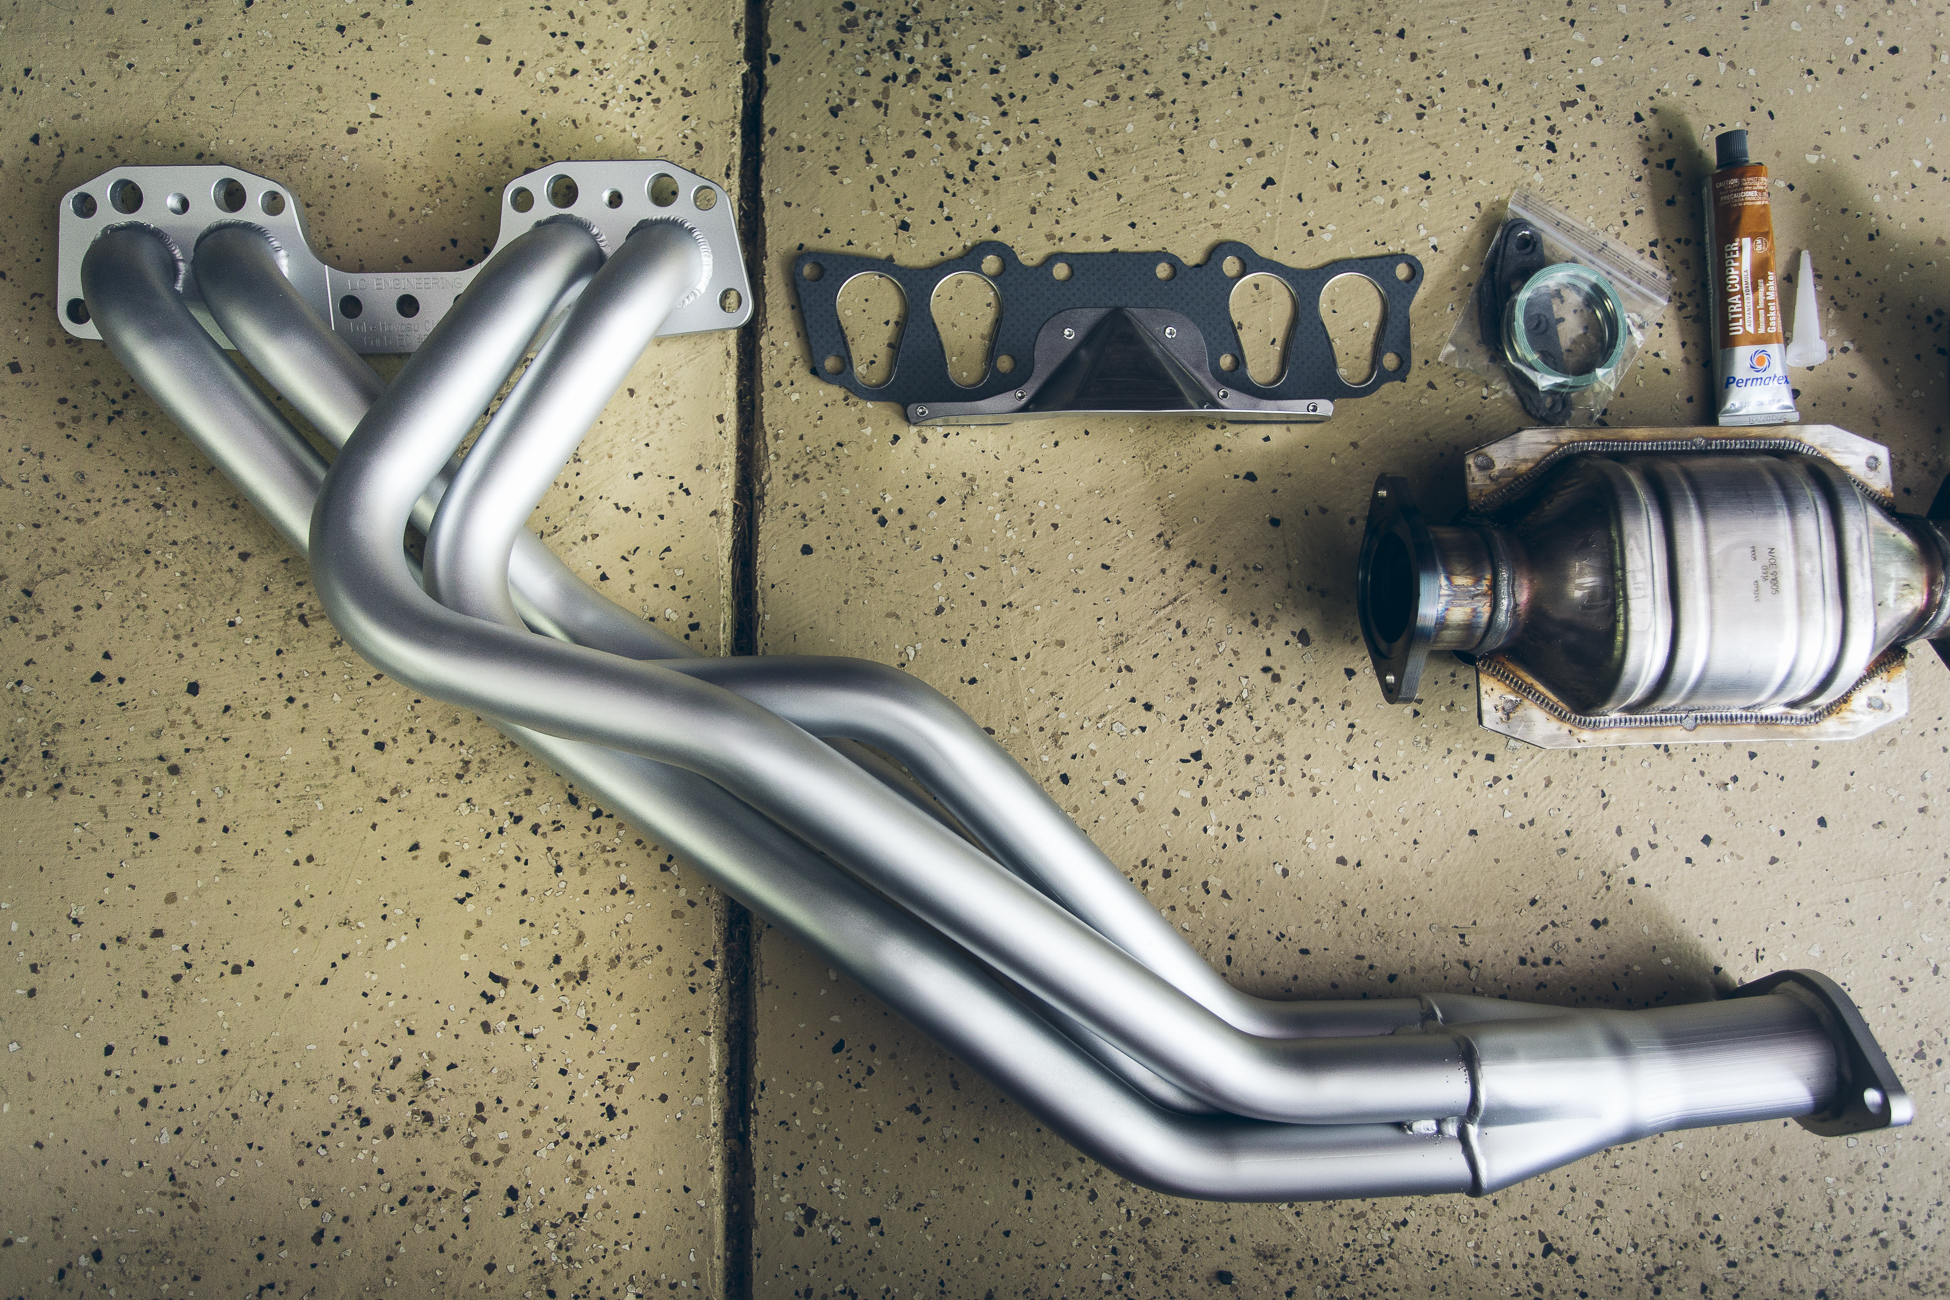
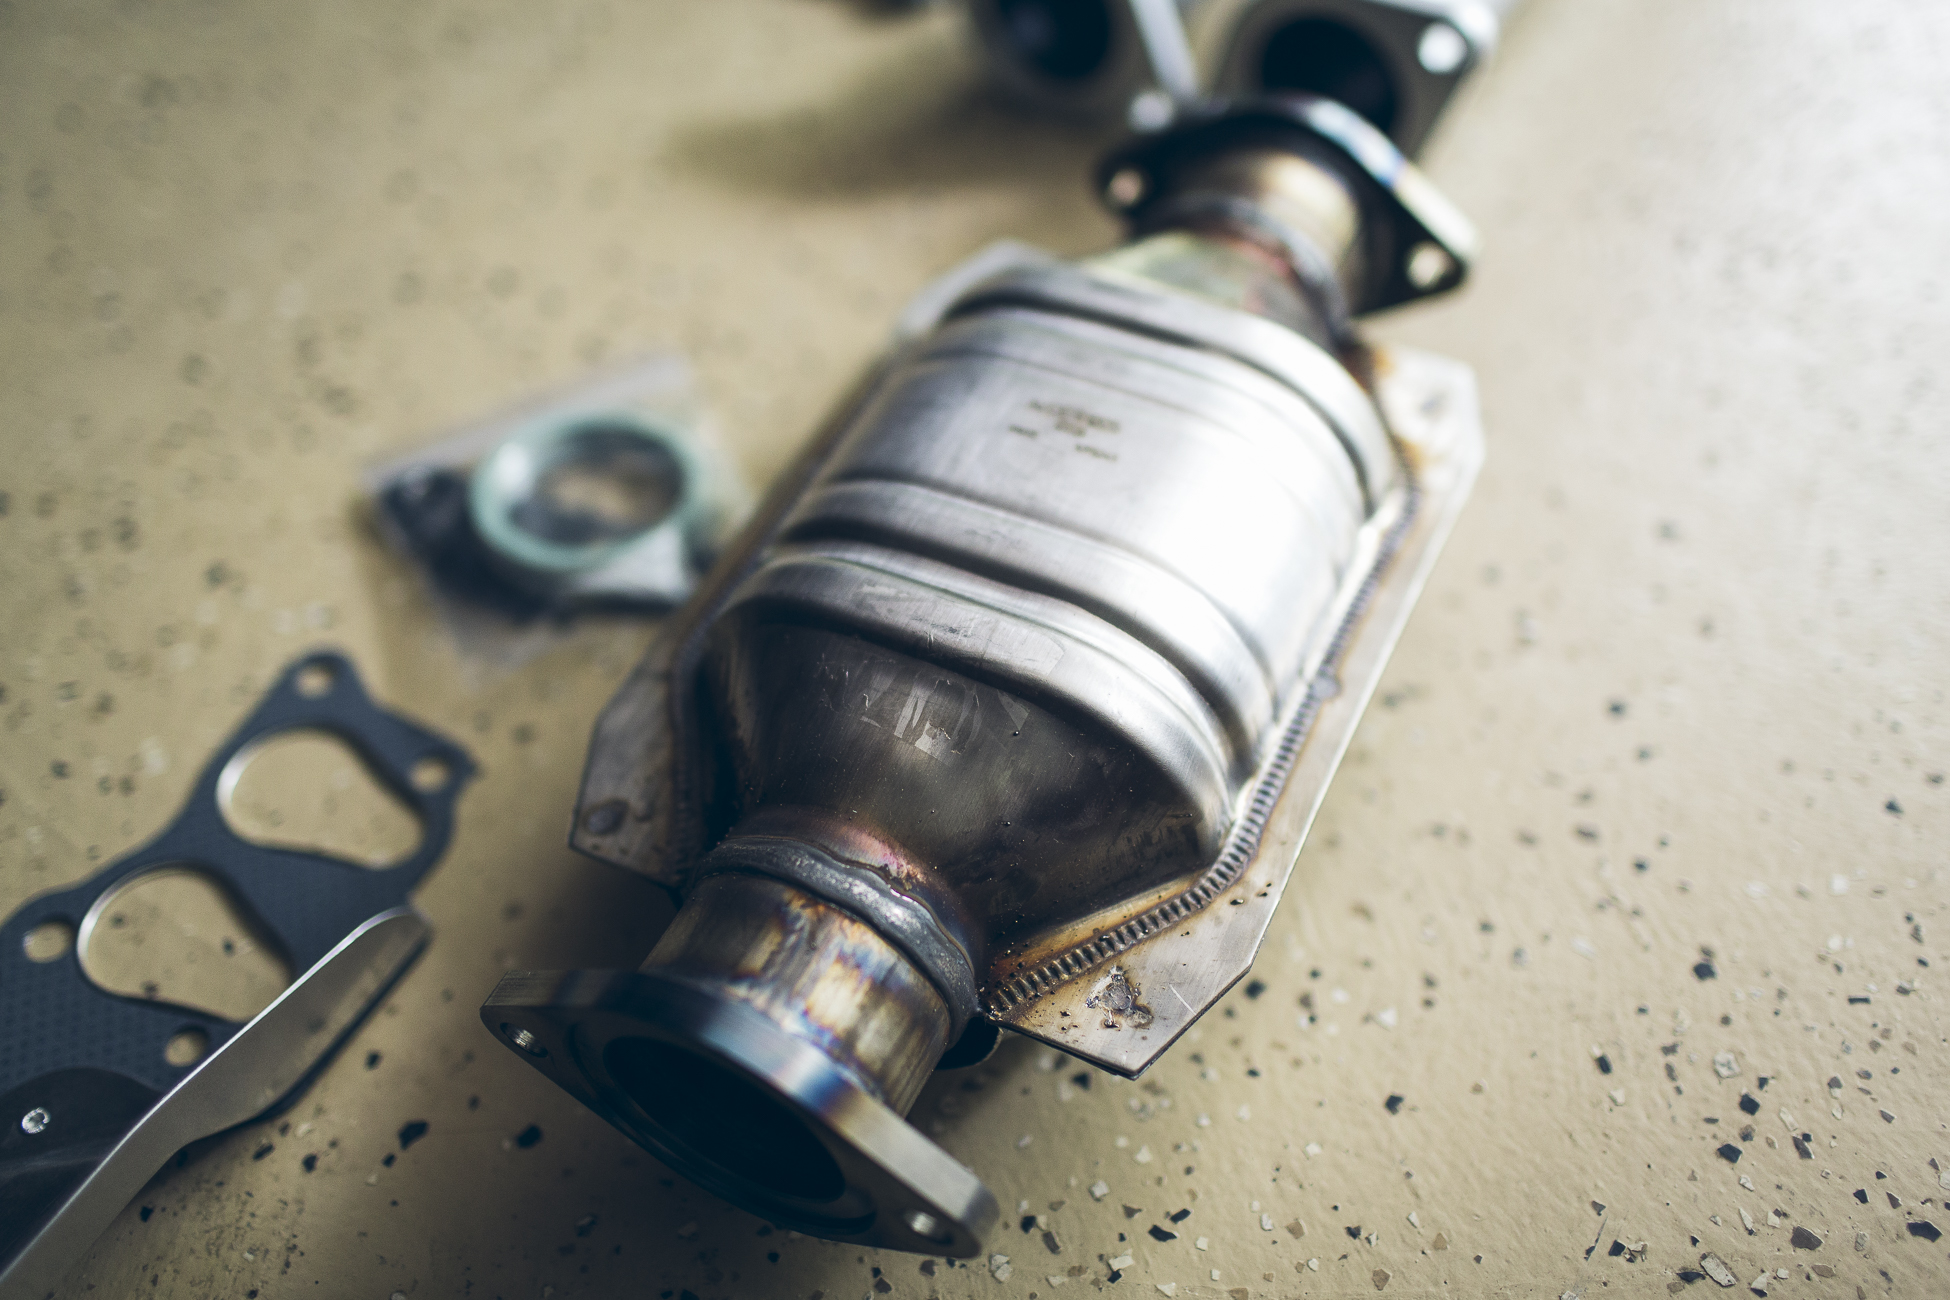
The last bit of work we did to the truck before leaving on our cross Canada trip was to install a completely new exhaust system. LC Engineering shipped us one of their Street Headers, a Pro Flow Exhaust System, and a new Magnaflow catalytic converter to replace our old hacked on exhaust and wake up our little 22RE.
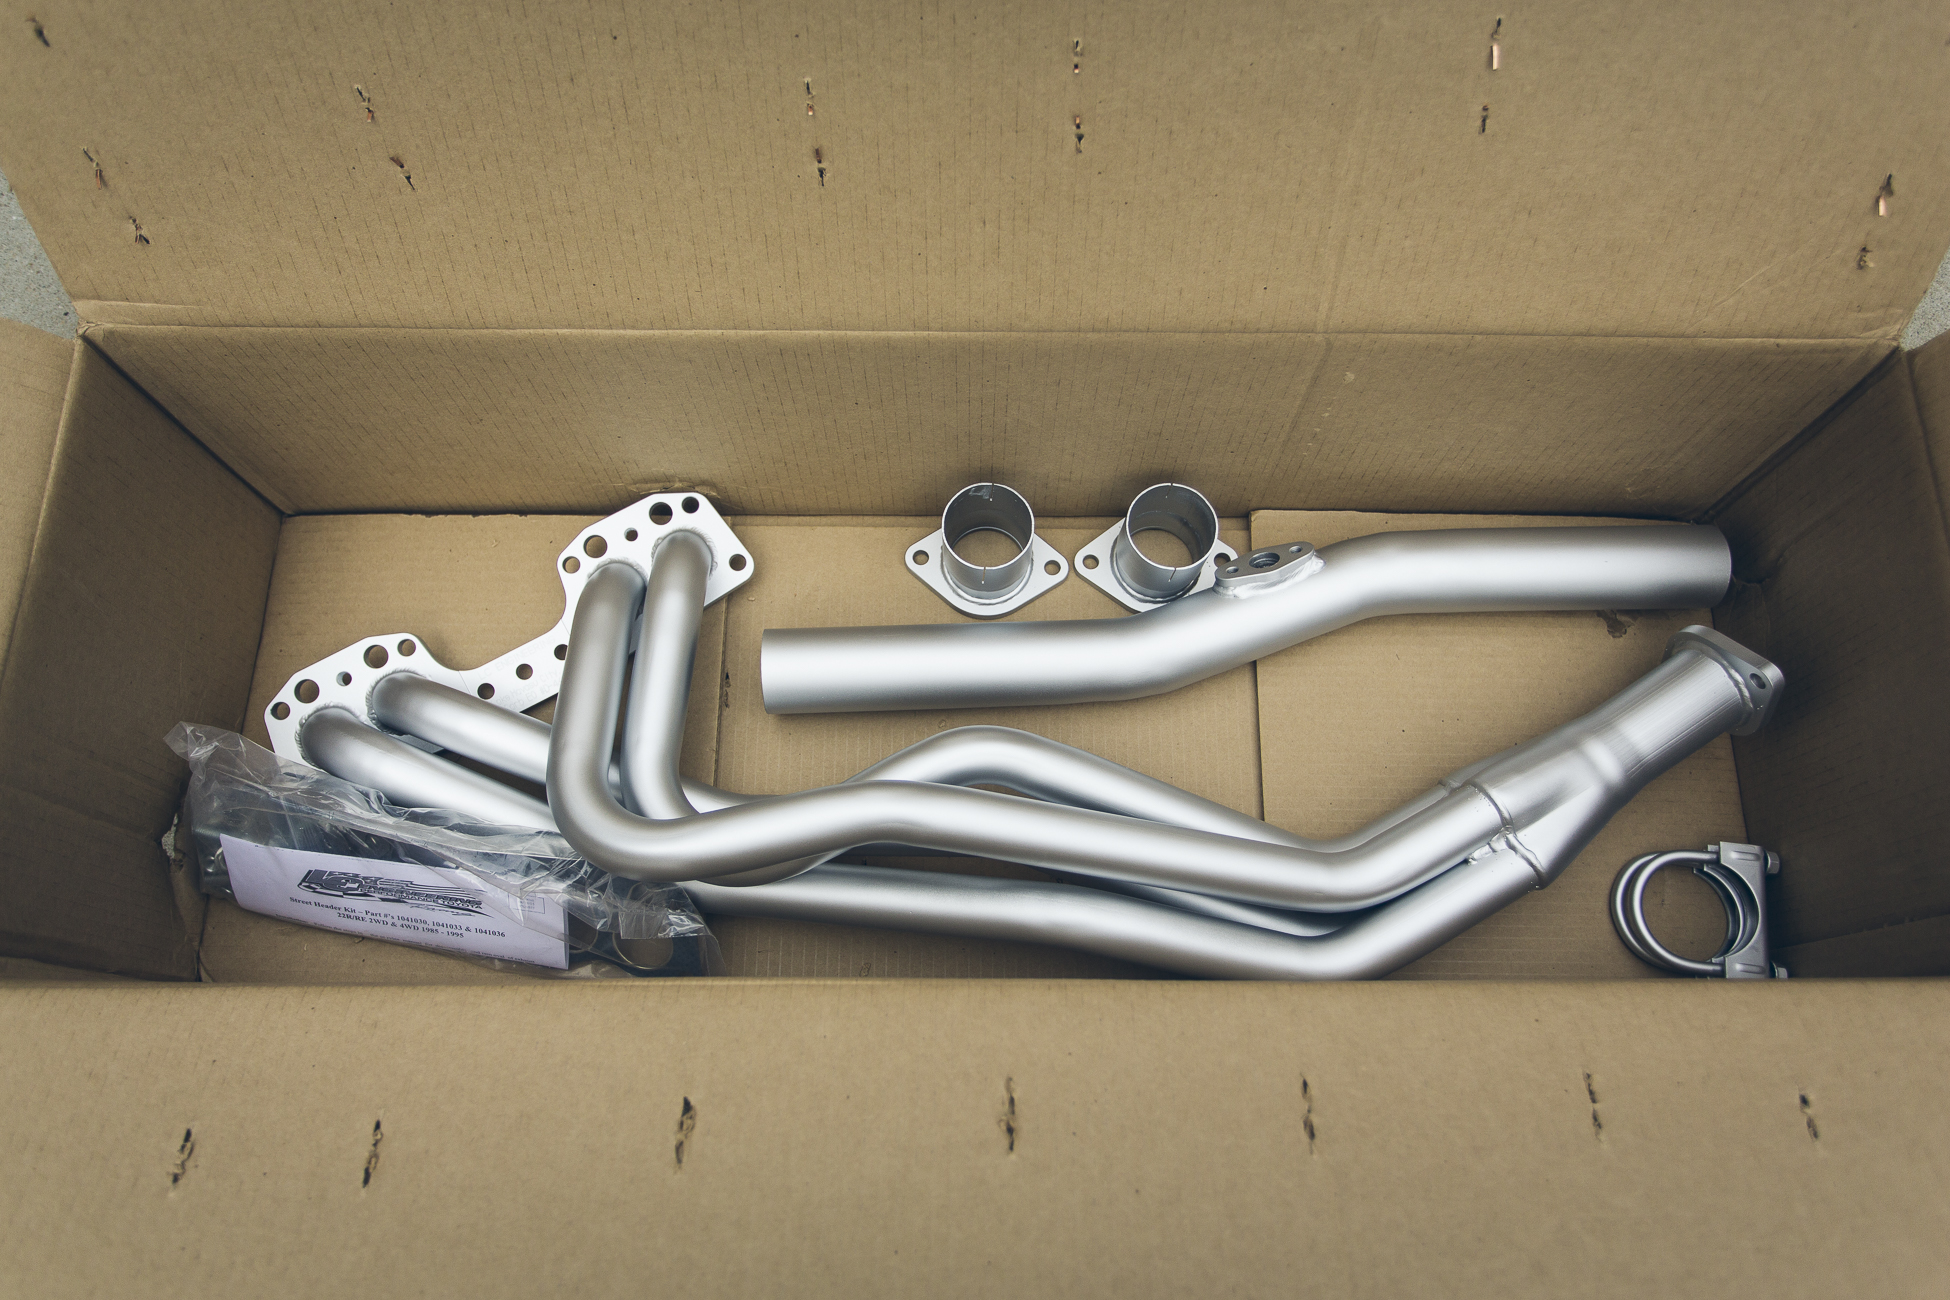
LCE STREET HEADER KIT 4WD DIRECT-FIT 22R/RE 1985-1995
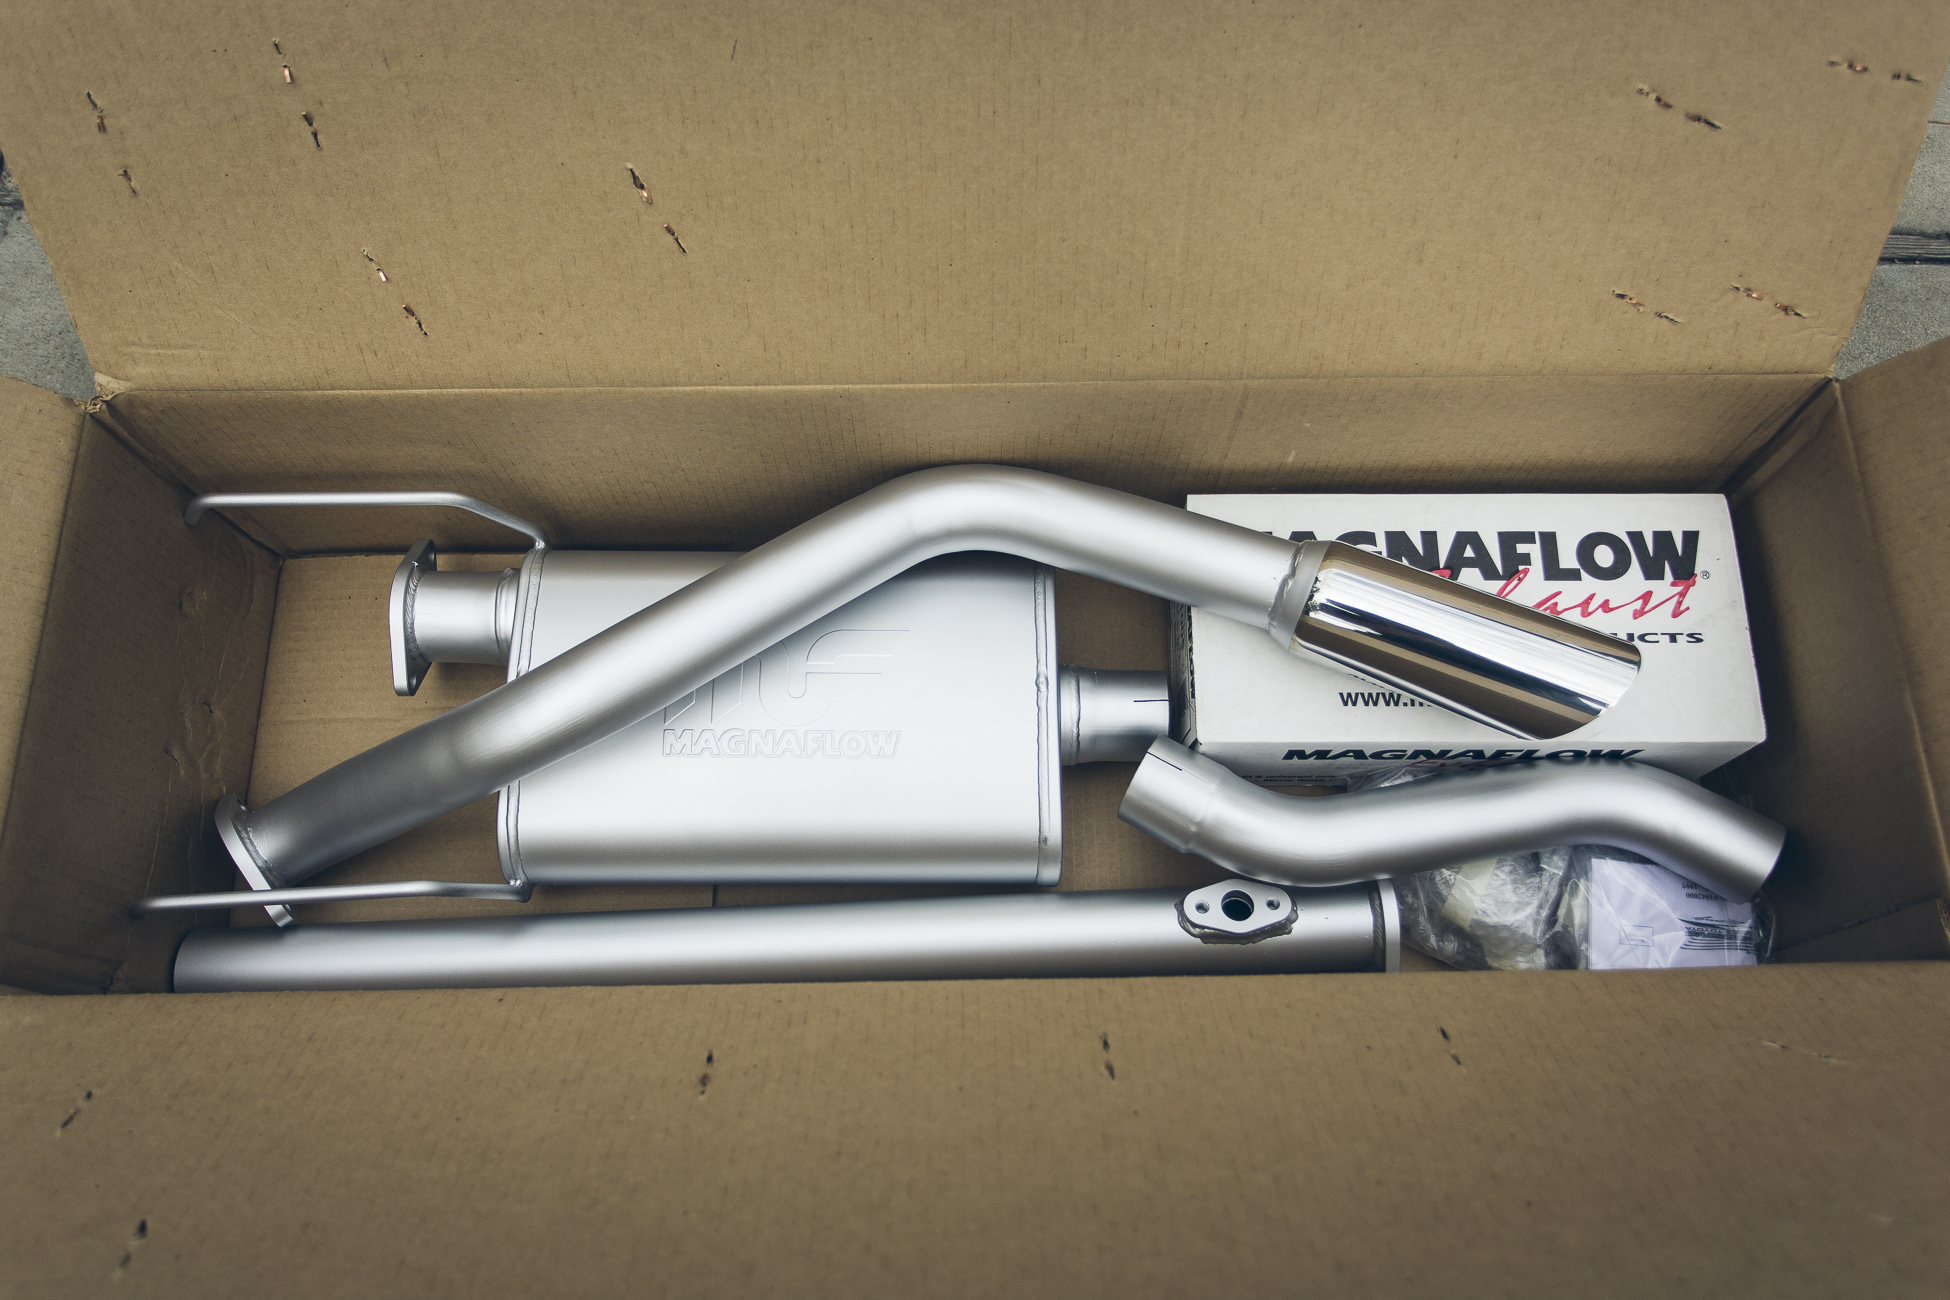
PRO FLOW EXHAUST SYSTEM 22R/RE/3VZ 2WD & 4WD 1985-1995 PICKUP
When I saw this big brown truck pull up beside the house it felt like I was a kid at Christmas all over again.

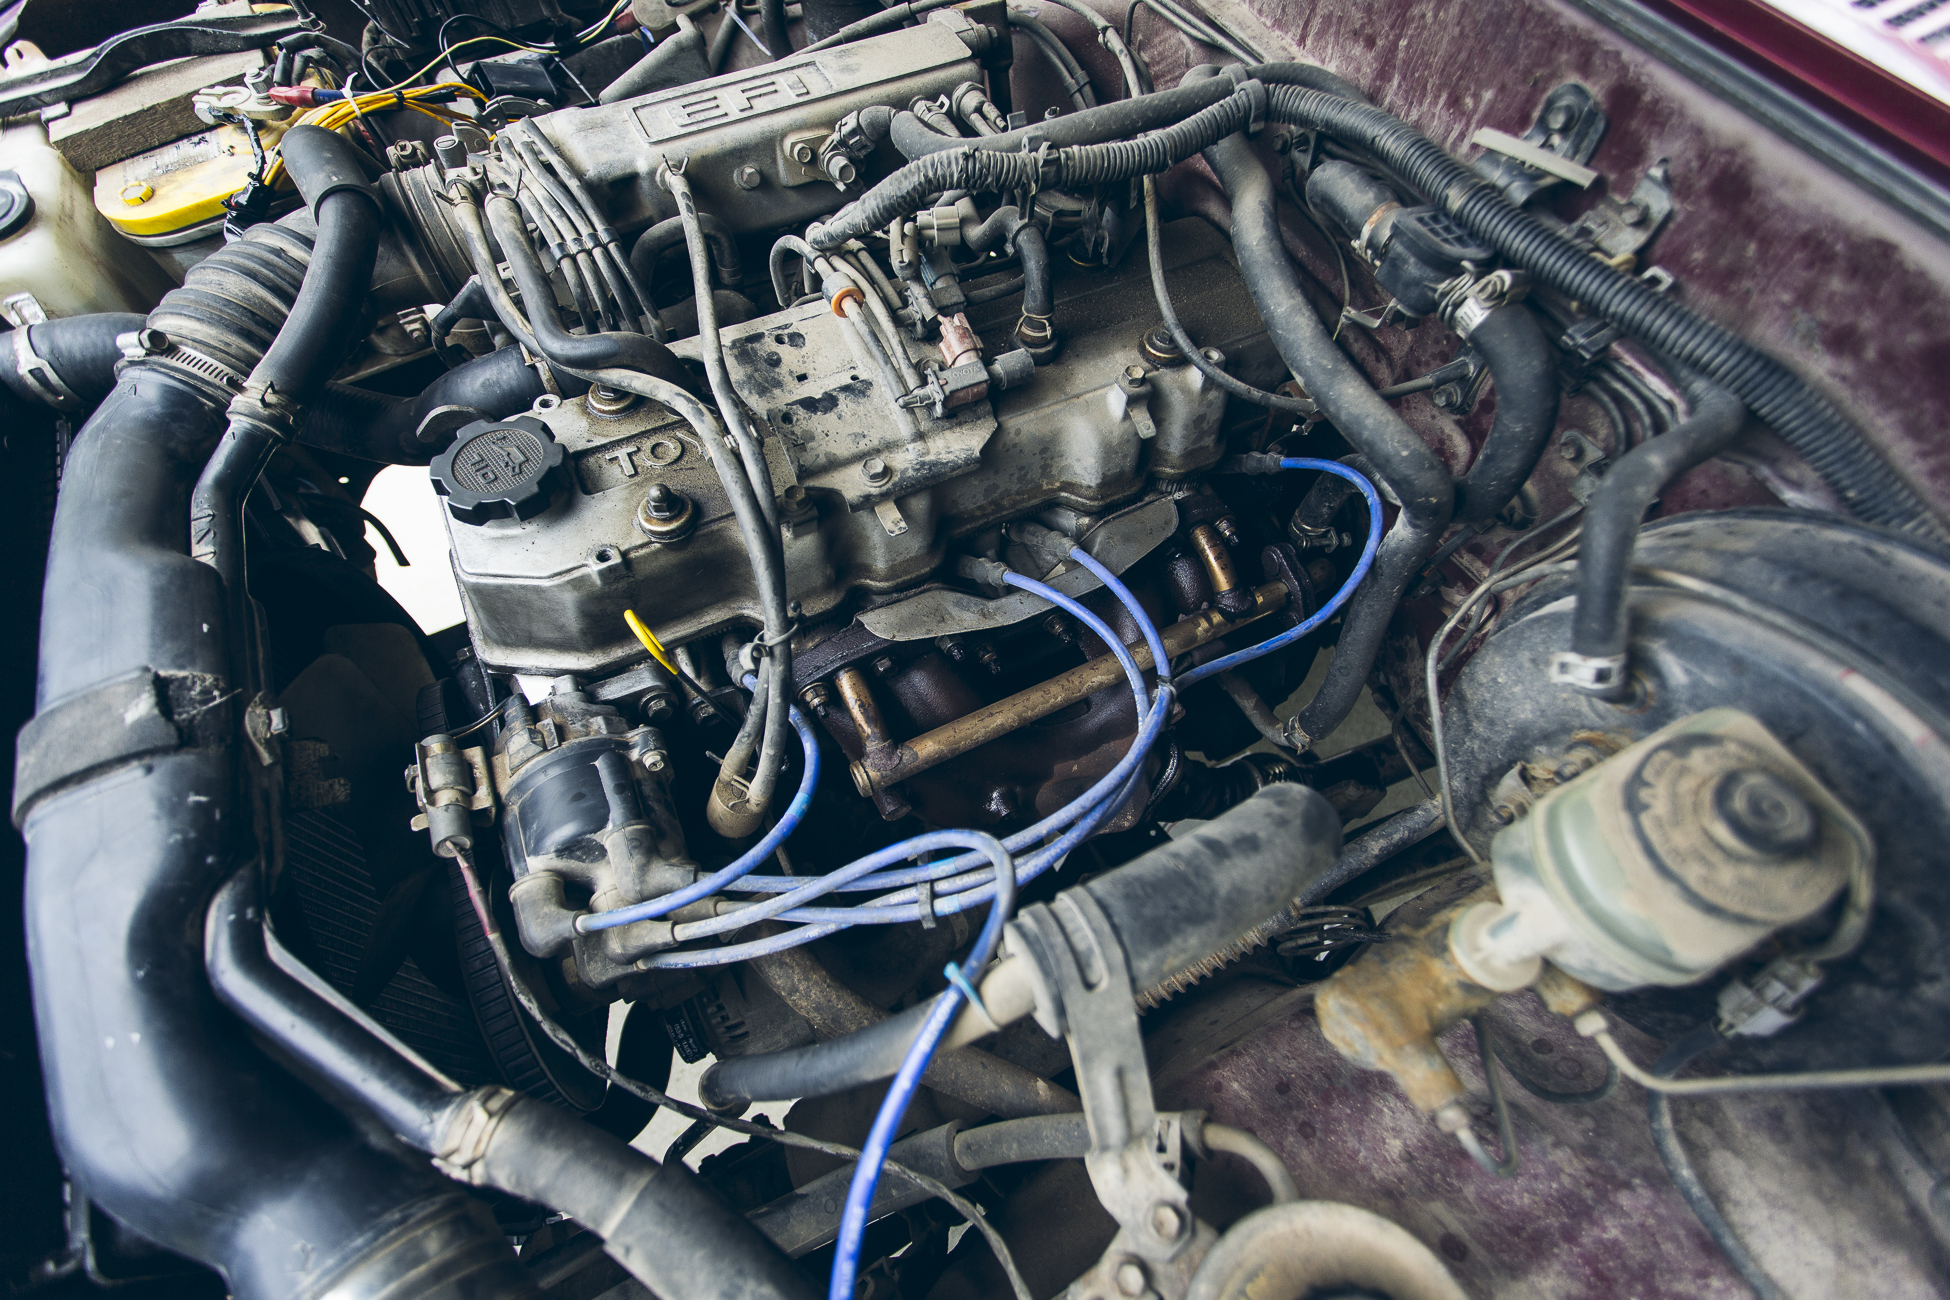
Remember when the engine compartment used to look shiny and new? I think I’m going to have to spend a little bit of time and use a couple cans of Gunk to get it cleaned up… eventually.
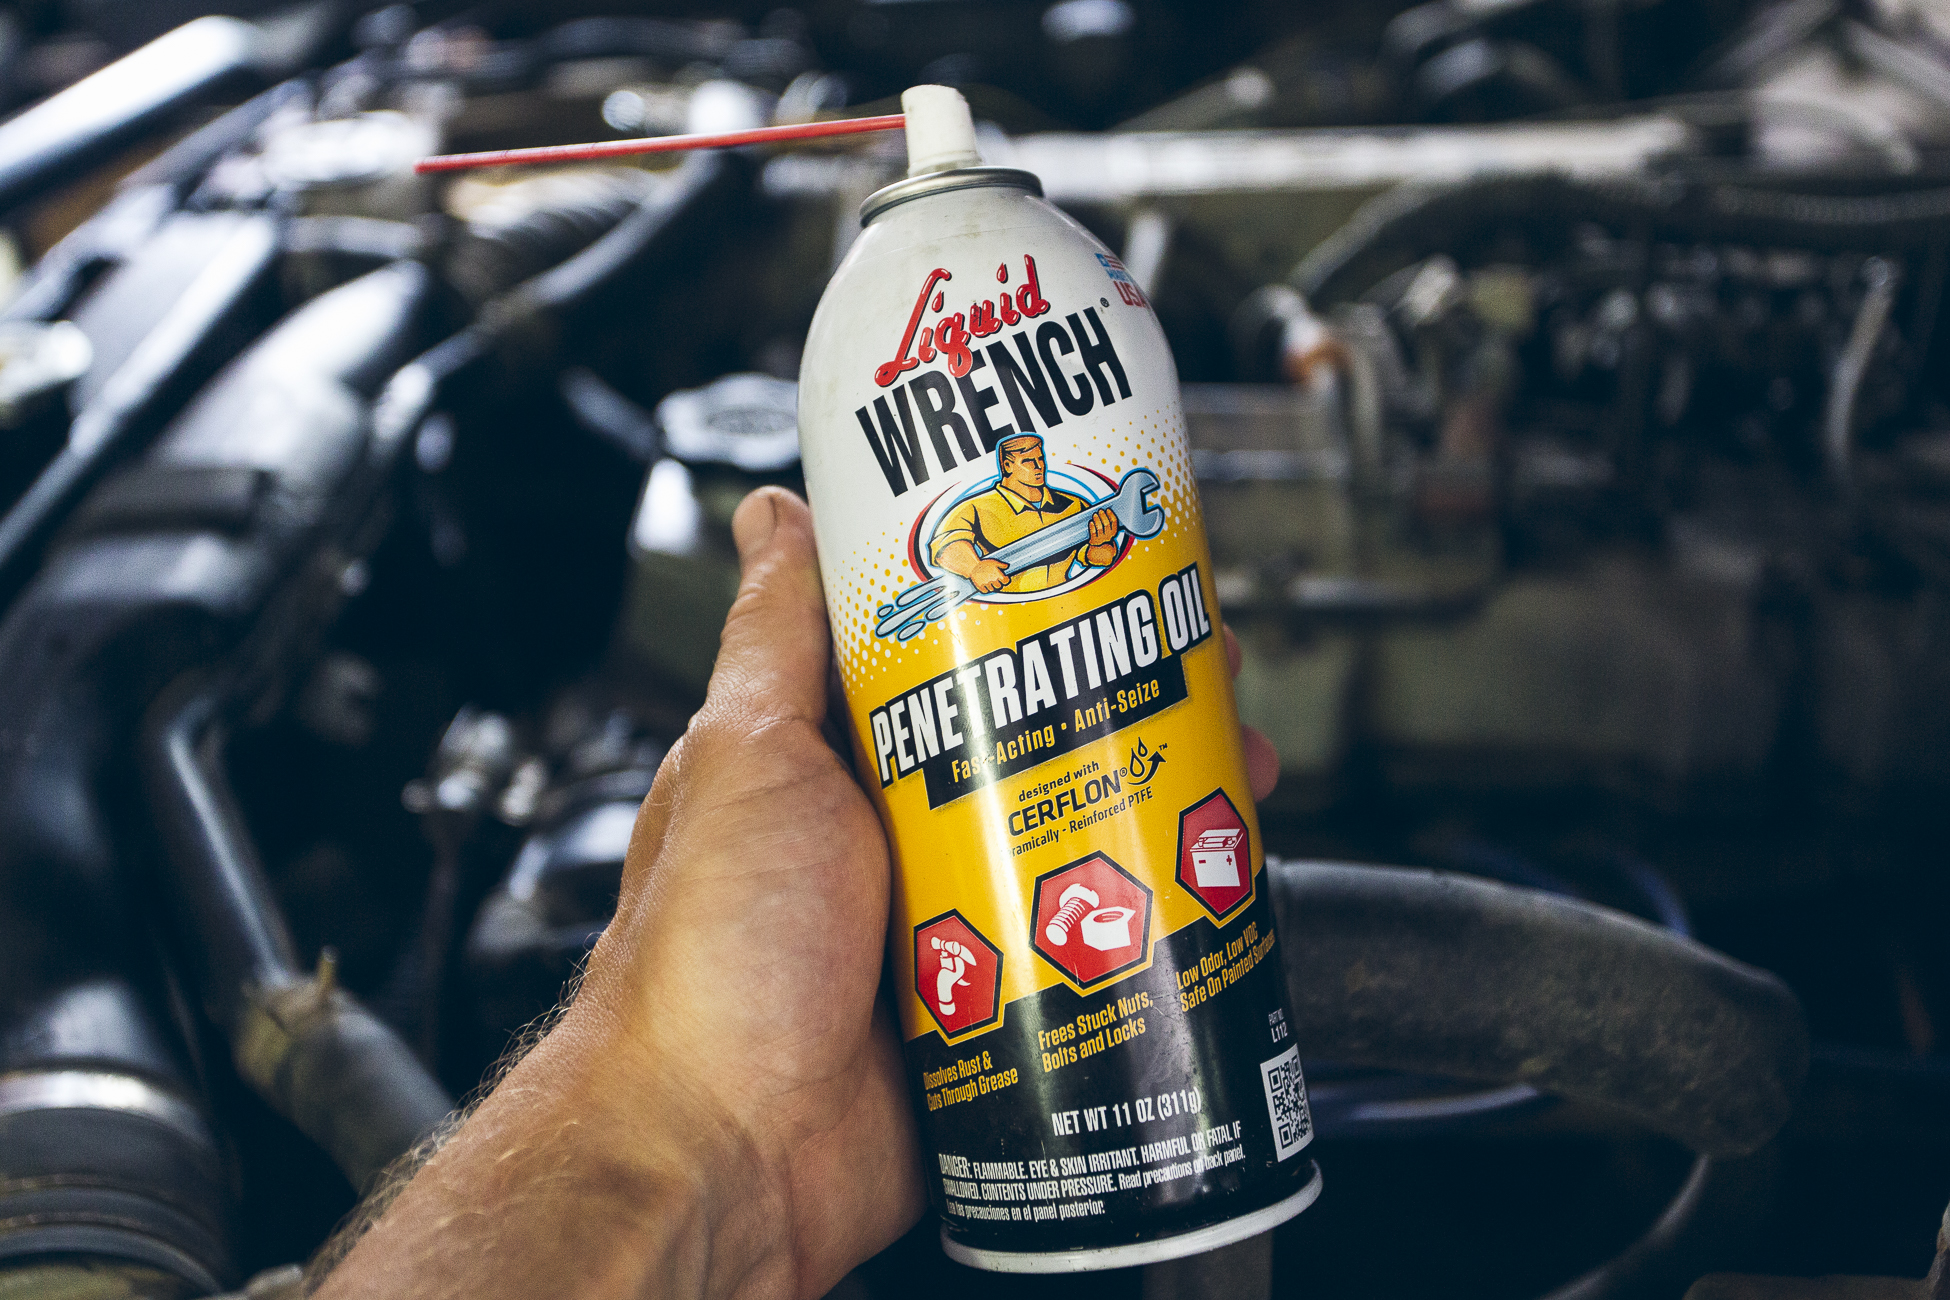
Usually I like to use PB Blaster, but this Liquid Wrench that was on sale did the job of making sure I didn’t break any hardware when removing the old parts.
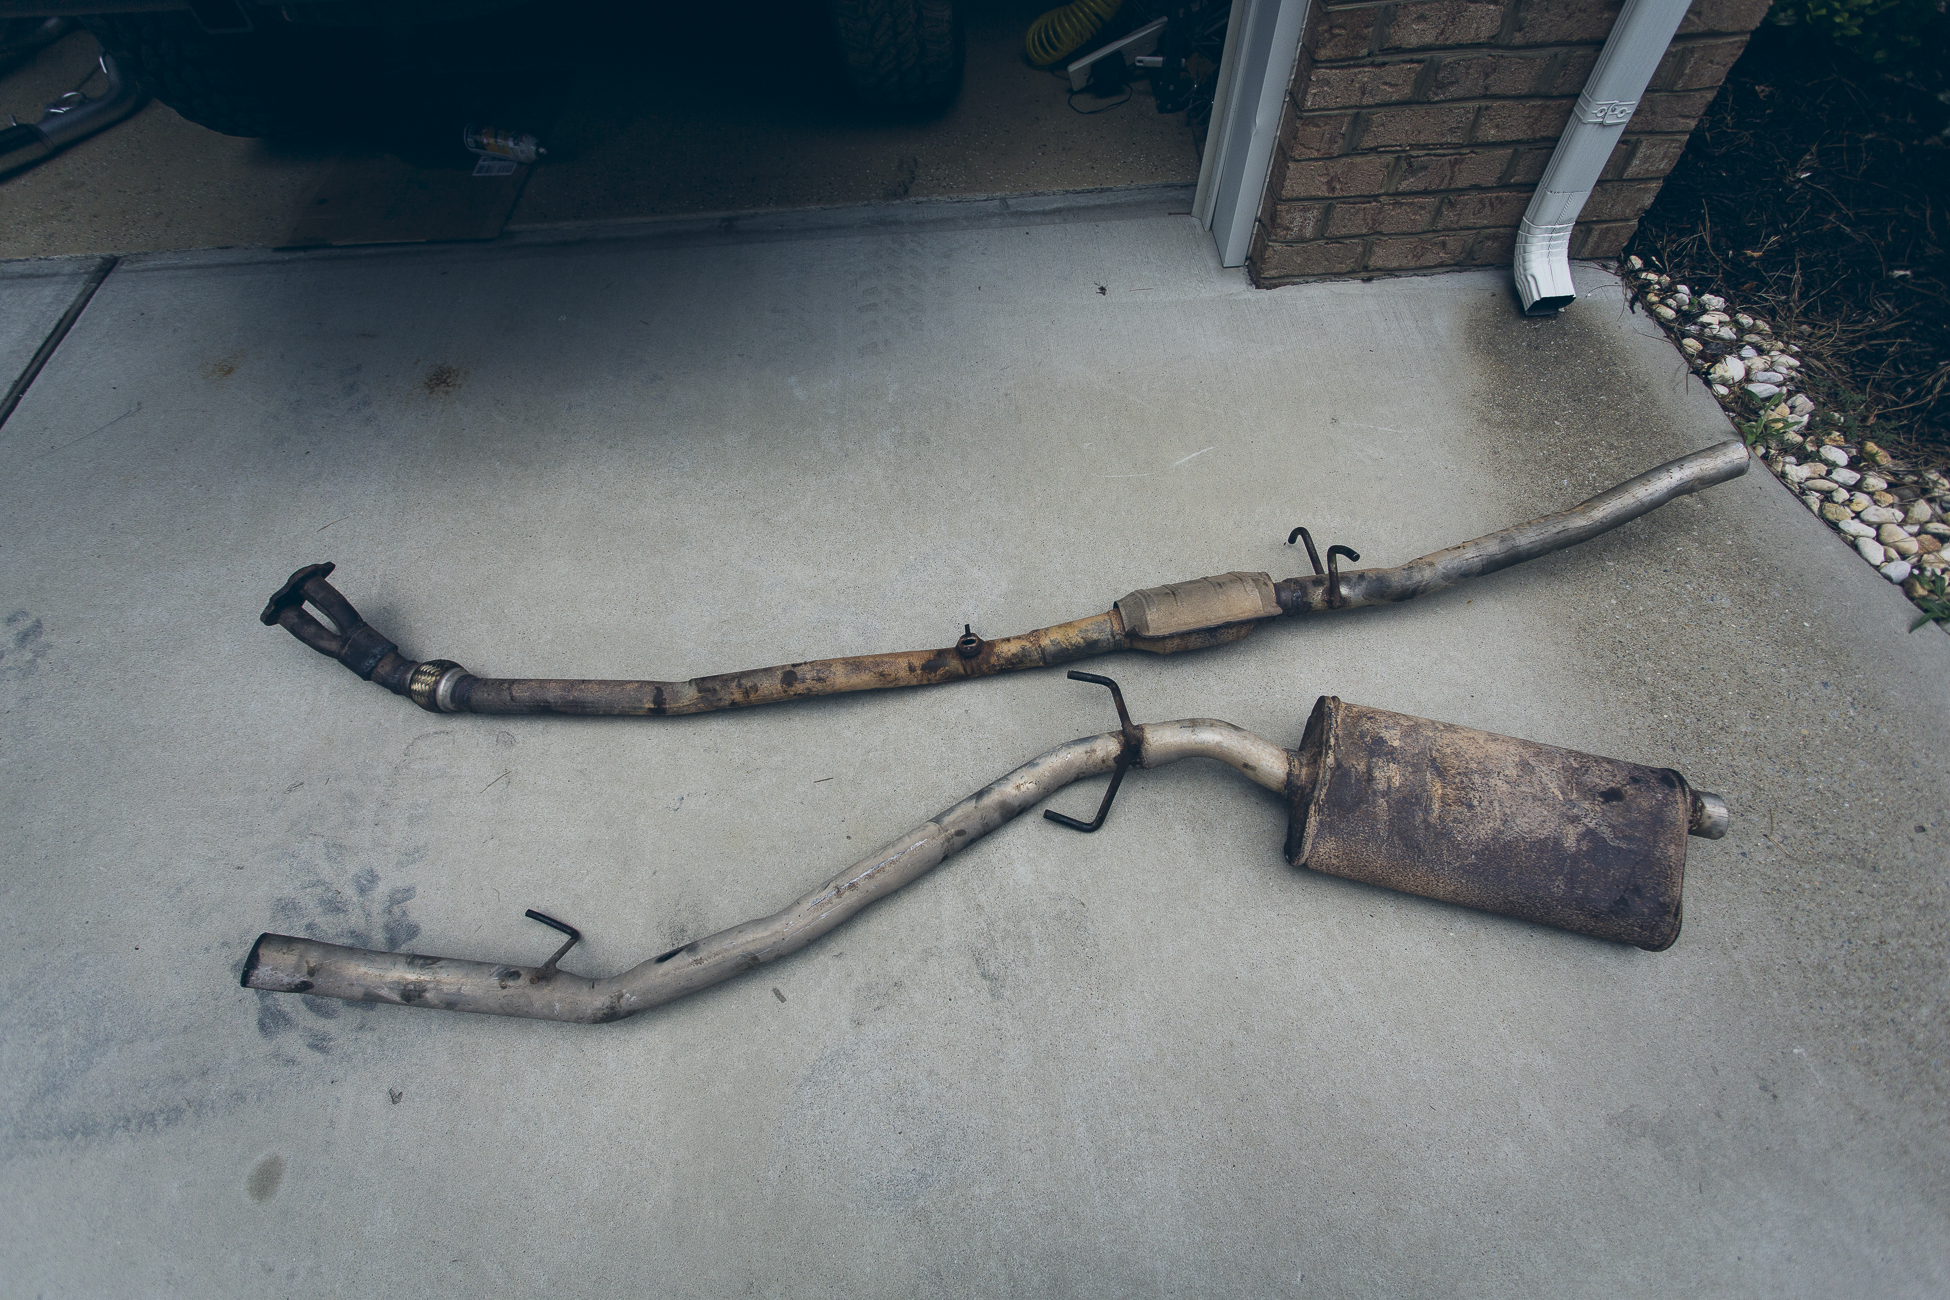
Performance parts… oh wait. The old exhaust had been cracked and “repaired” a few times in Latin America so I was stoked to have a chance to replace it.
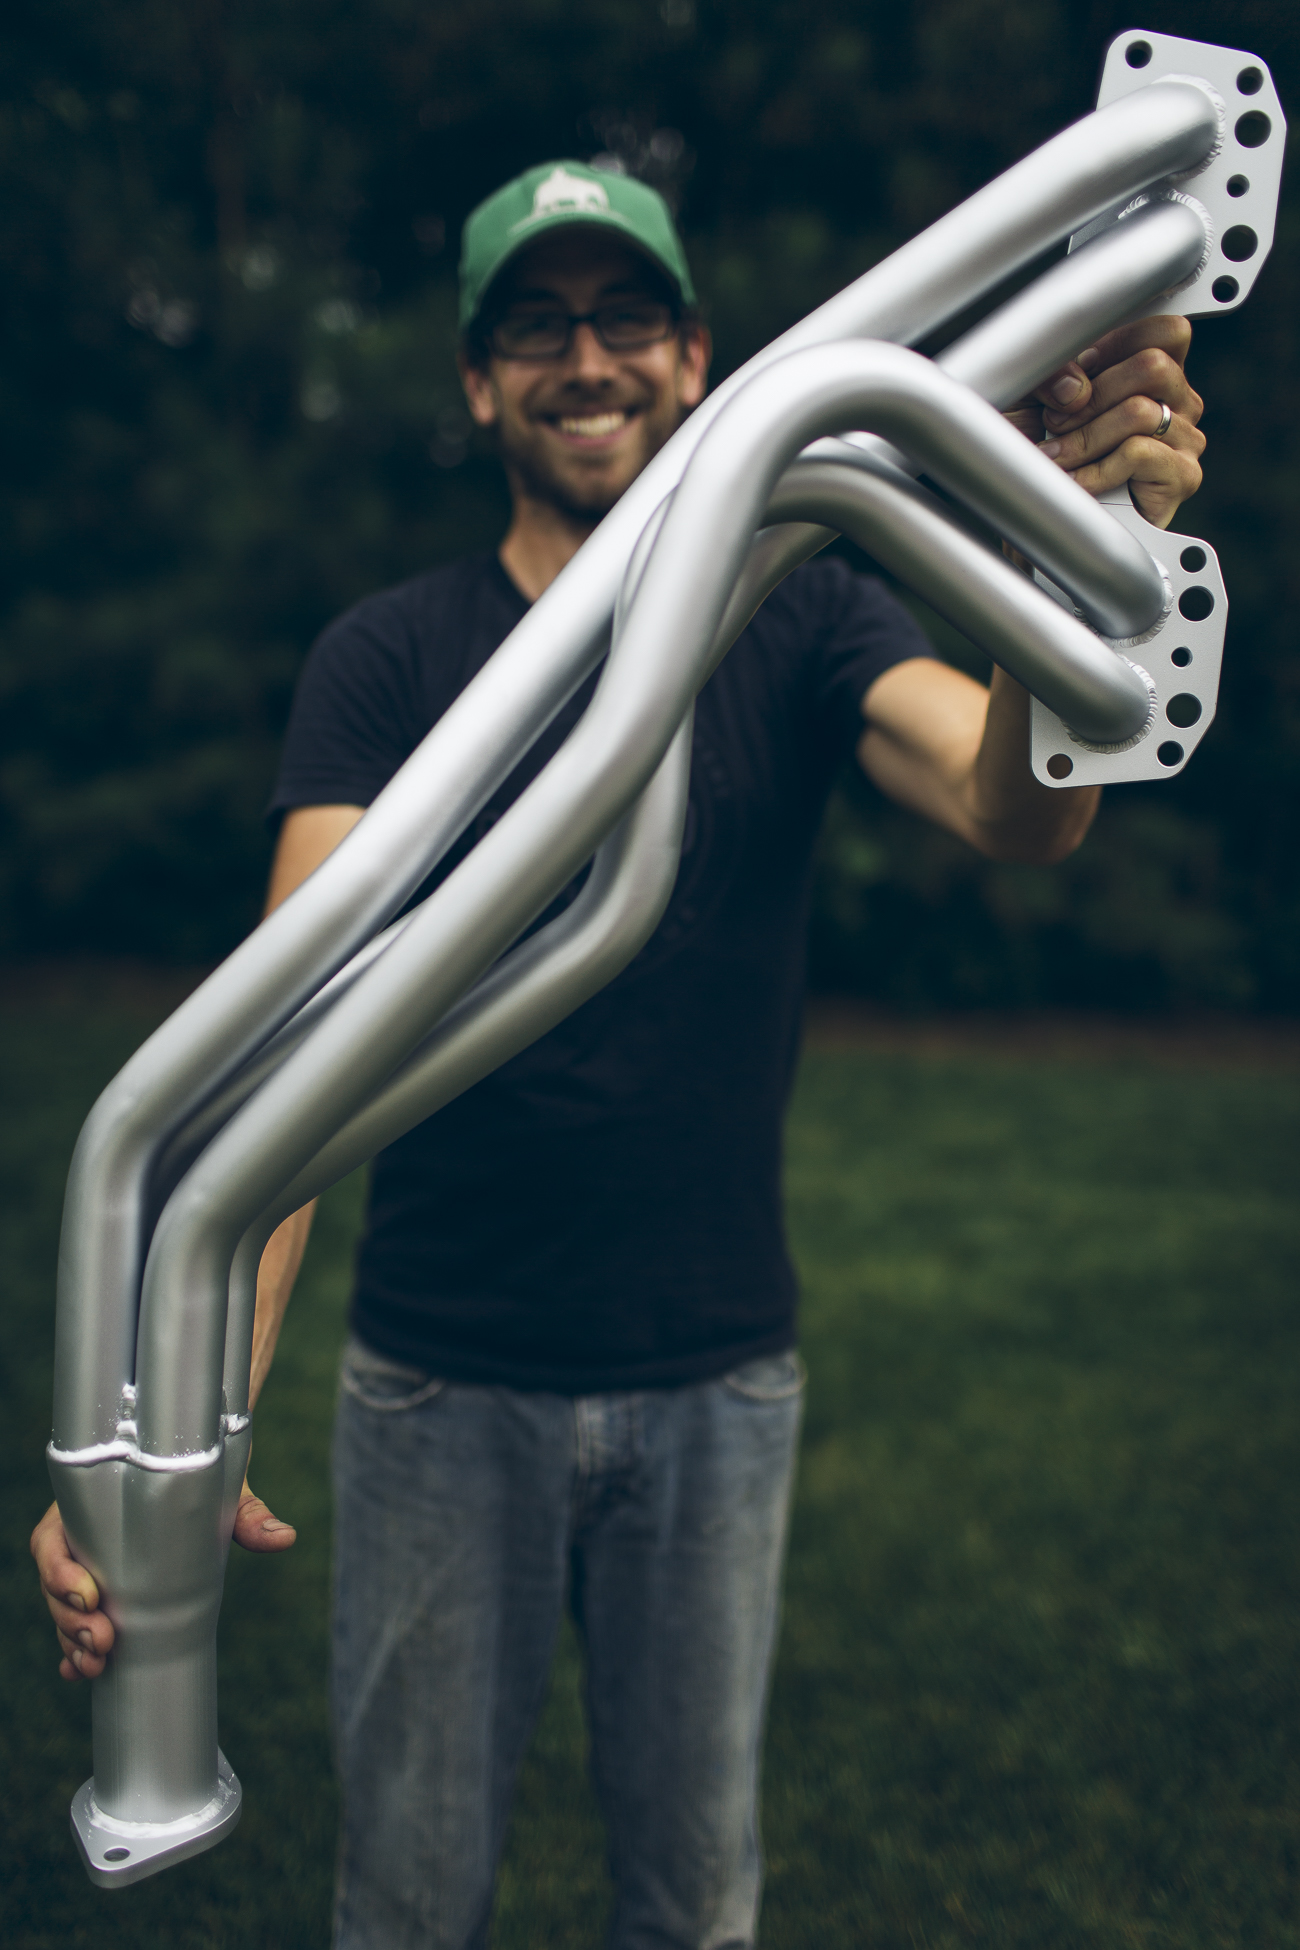
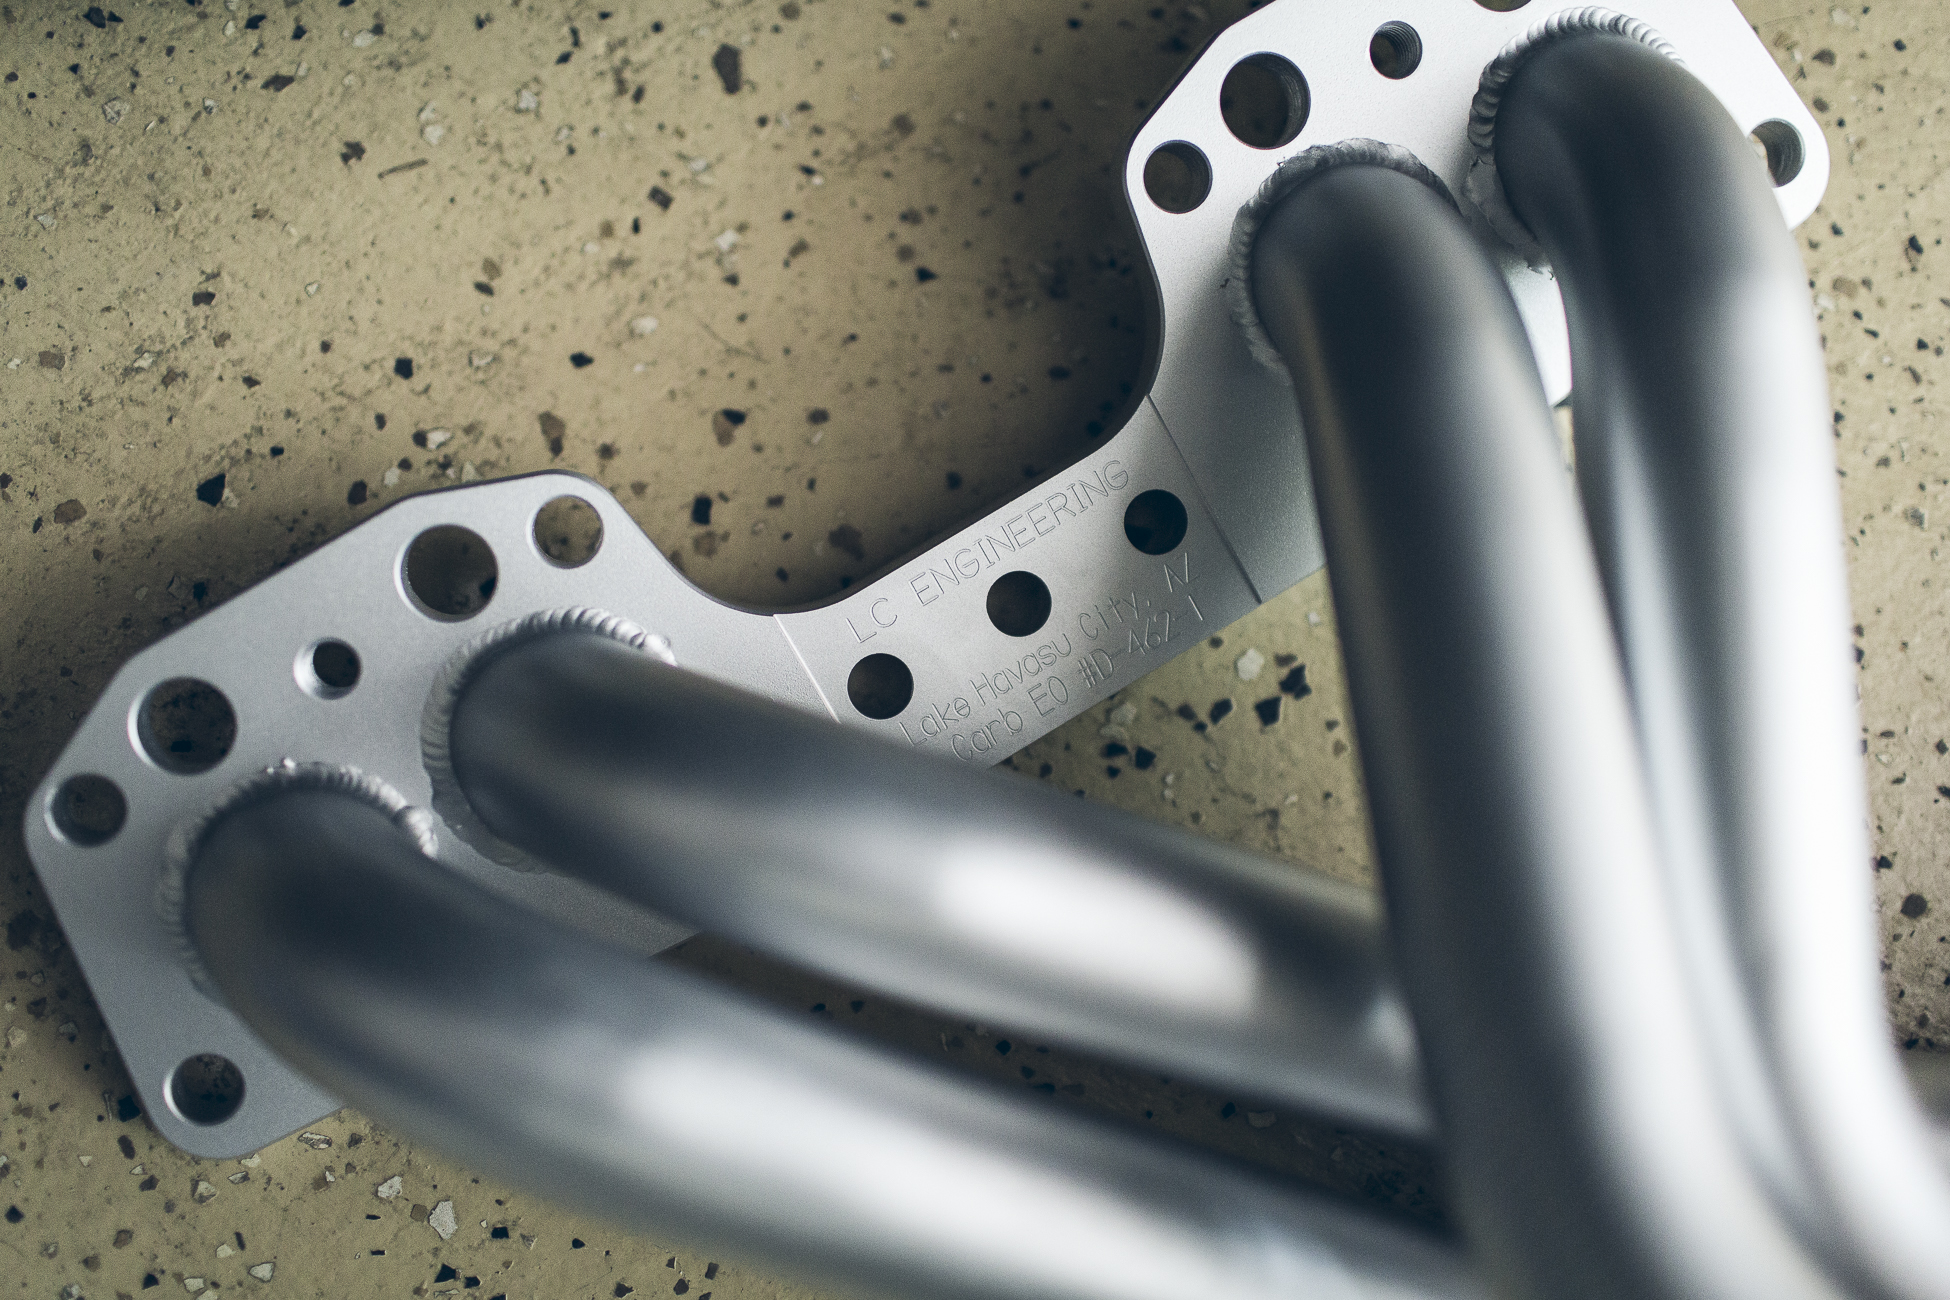
I just wanted to give this little LC Engineering Street Header a hug when it arrived (so I did). I’m weird that way though.
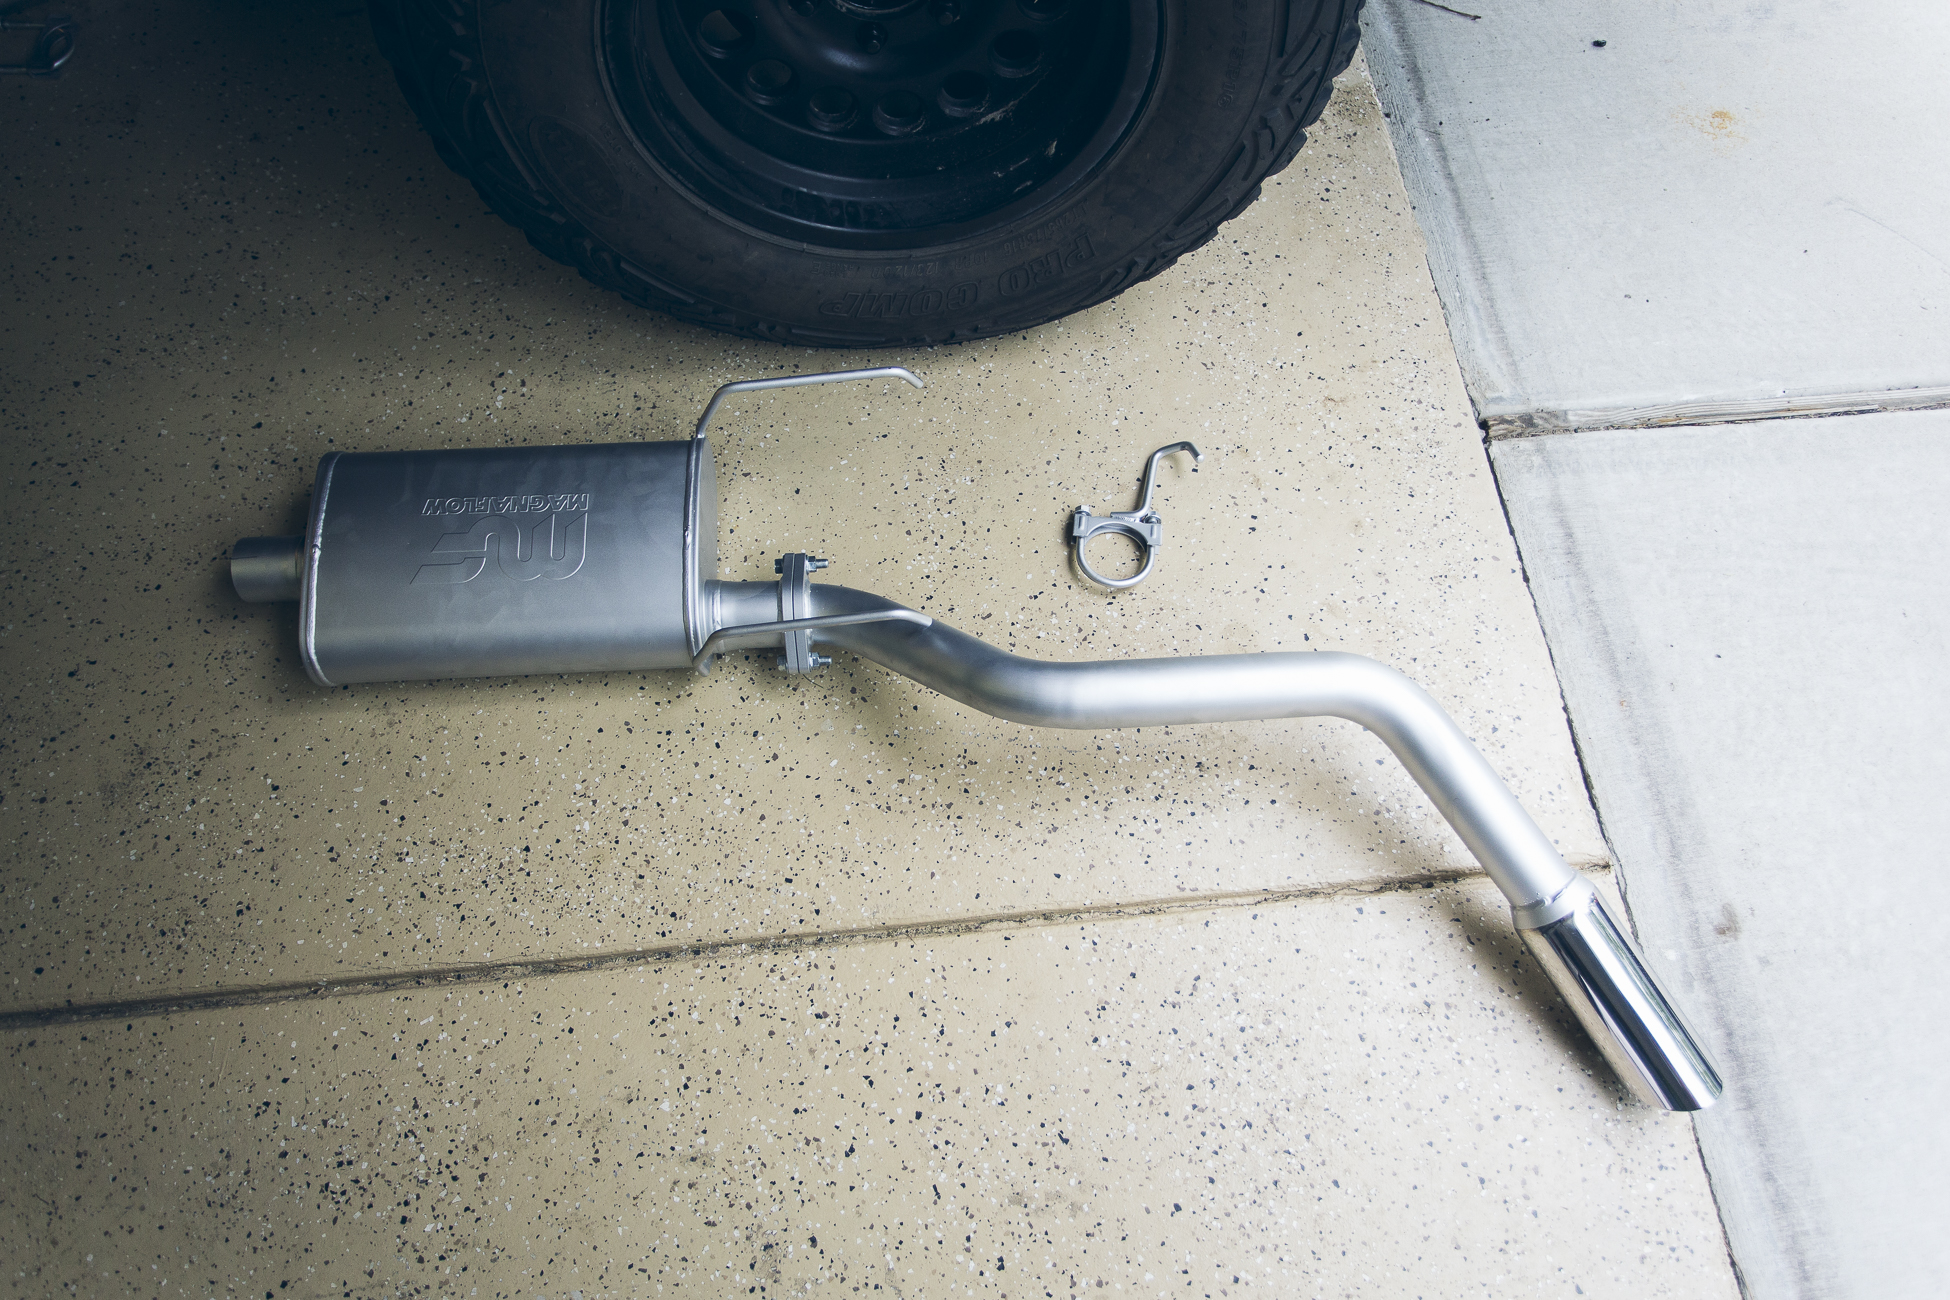
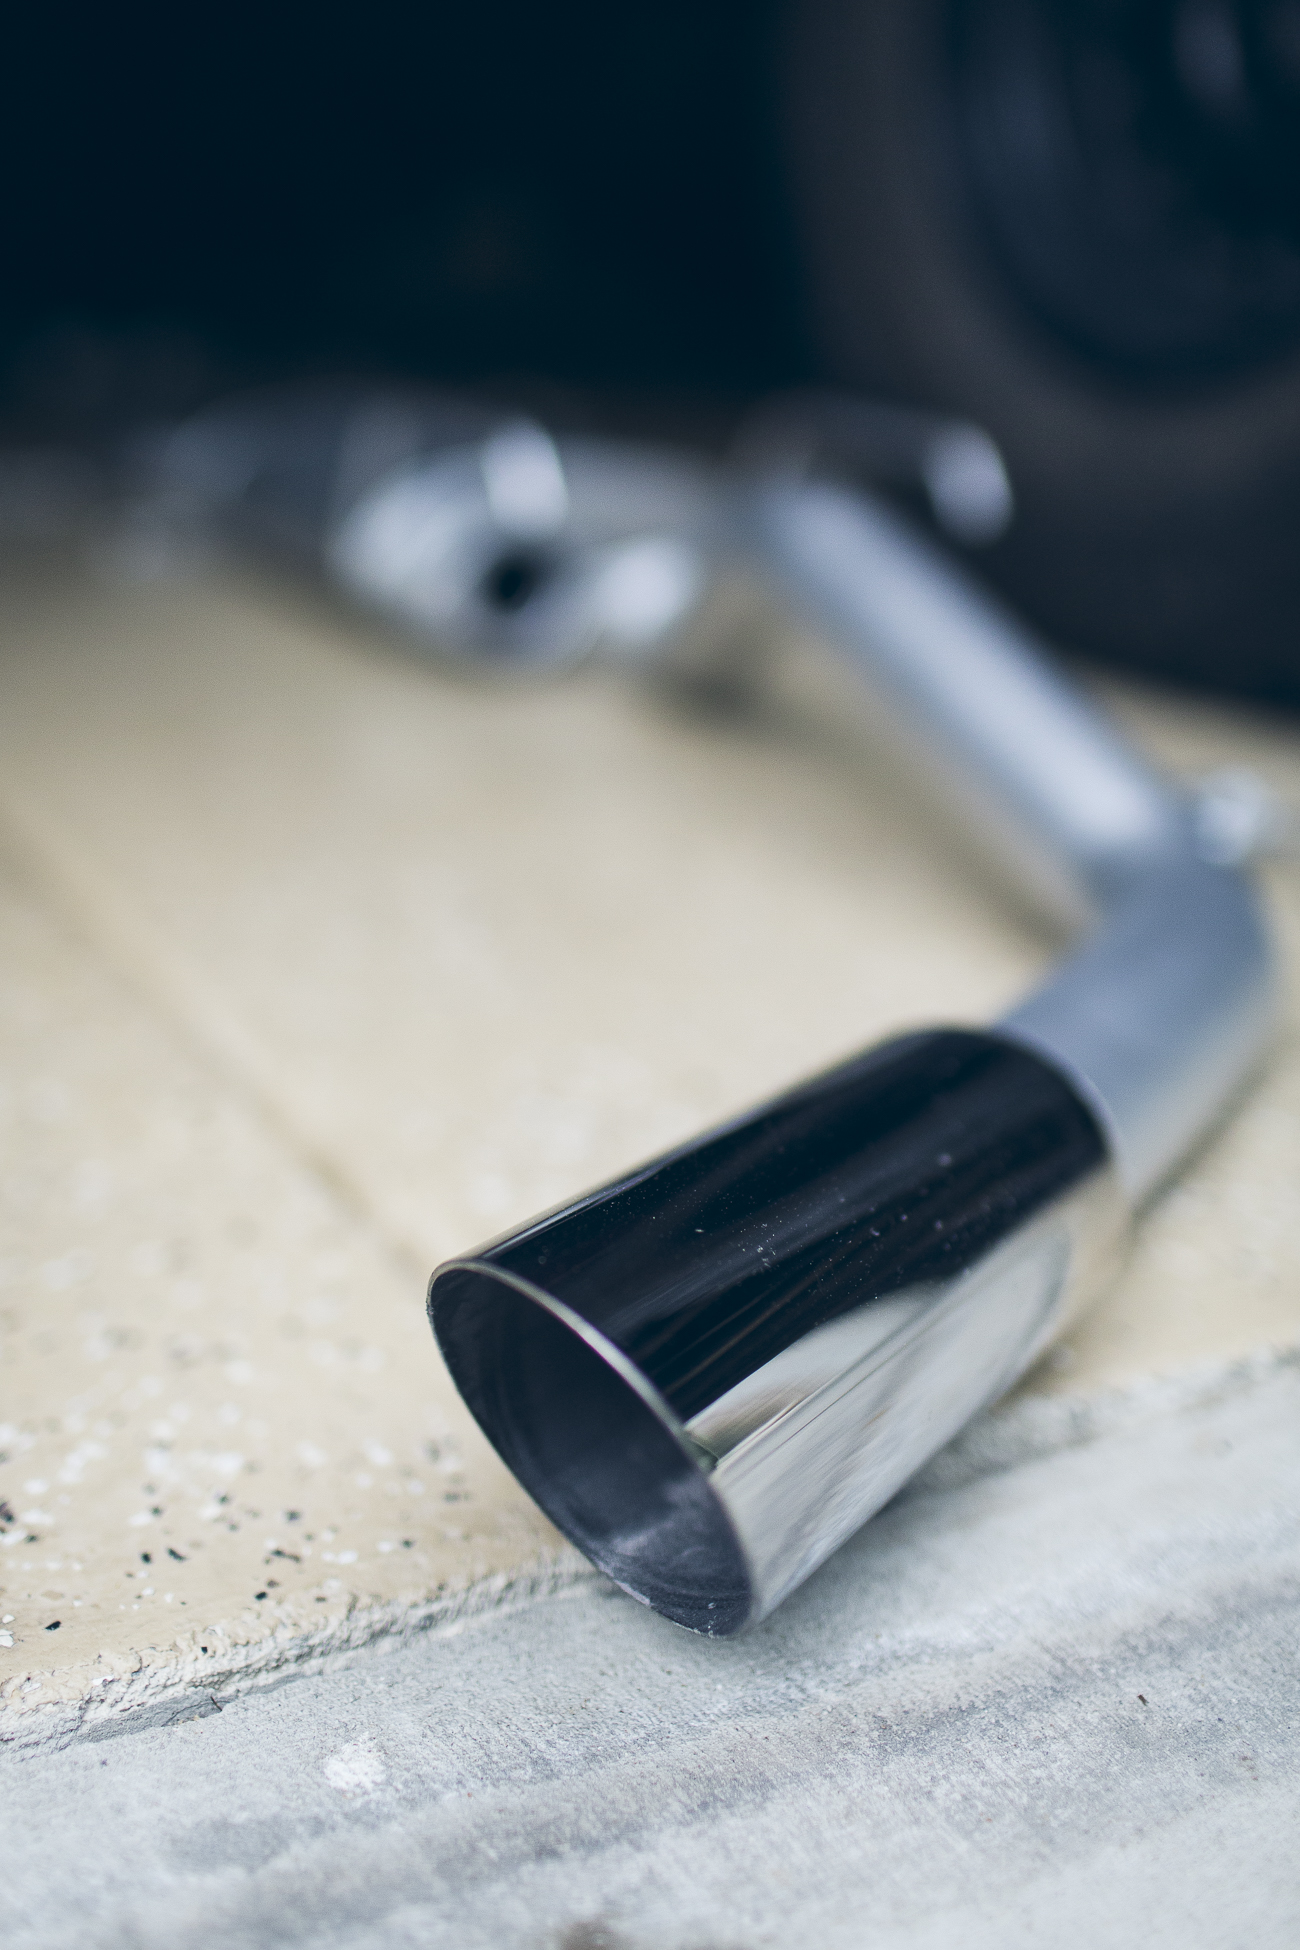
The new LC Engineering Pro Flow Exhaust System
LCE Street Header vs. Stock Manifold
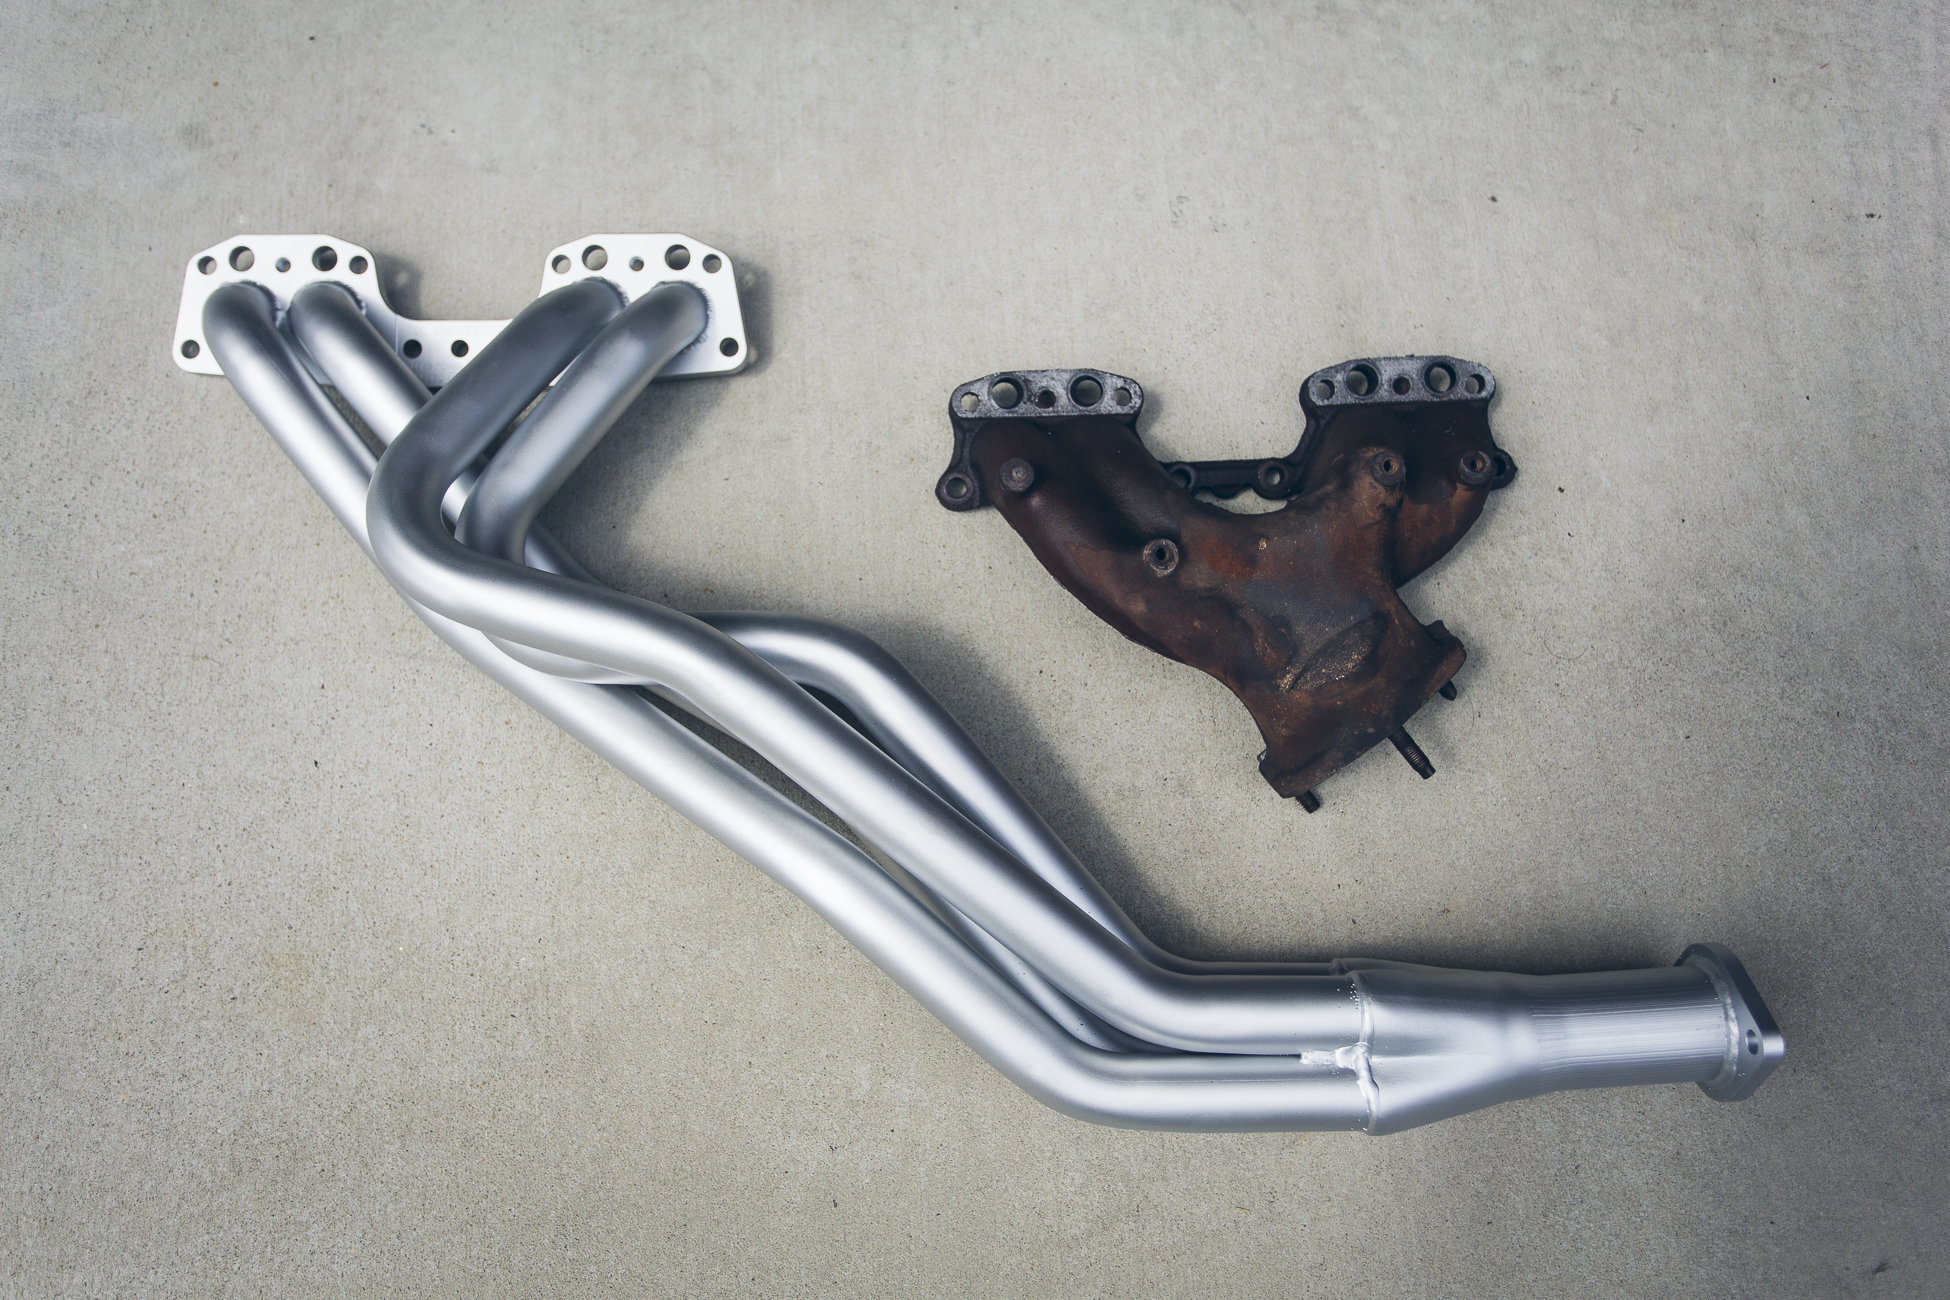
The installation was straight forward, fit the truck perfectly, and I haven’t had to deal with any exhaust leaks. The header and exhaust has now been on the truck for about 15,000km and it still looks as good as it did when it was installed, albeit there is more dirt and mud on it now.
The little 2.4L pulls much harder in the higher RPM range (3000RPM and higher) with the new header/exhaust. The engine was rebuilt with a slightly more aggressive camshaft (with an advertised duration of 260 degrees) and it seems to work really well in combination with the free flowing exhaust.
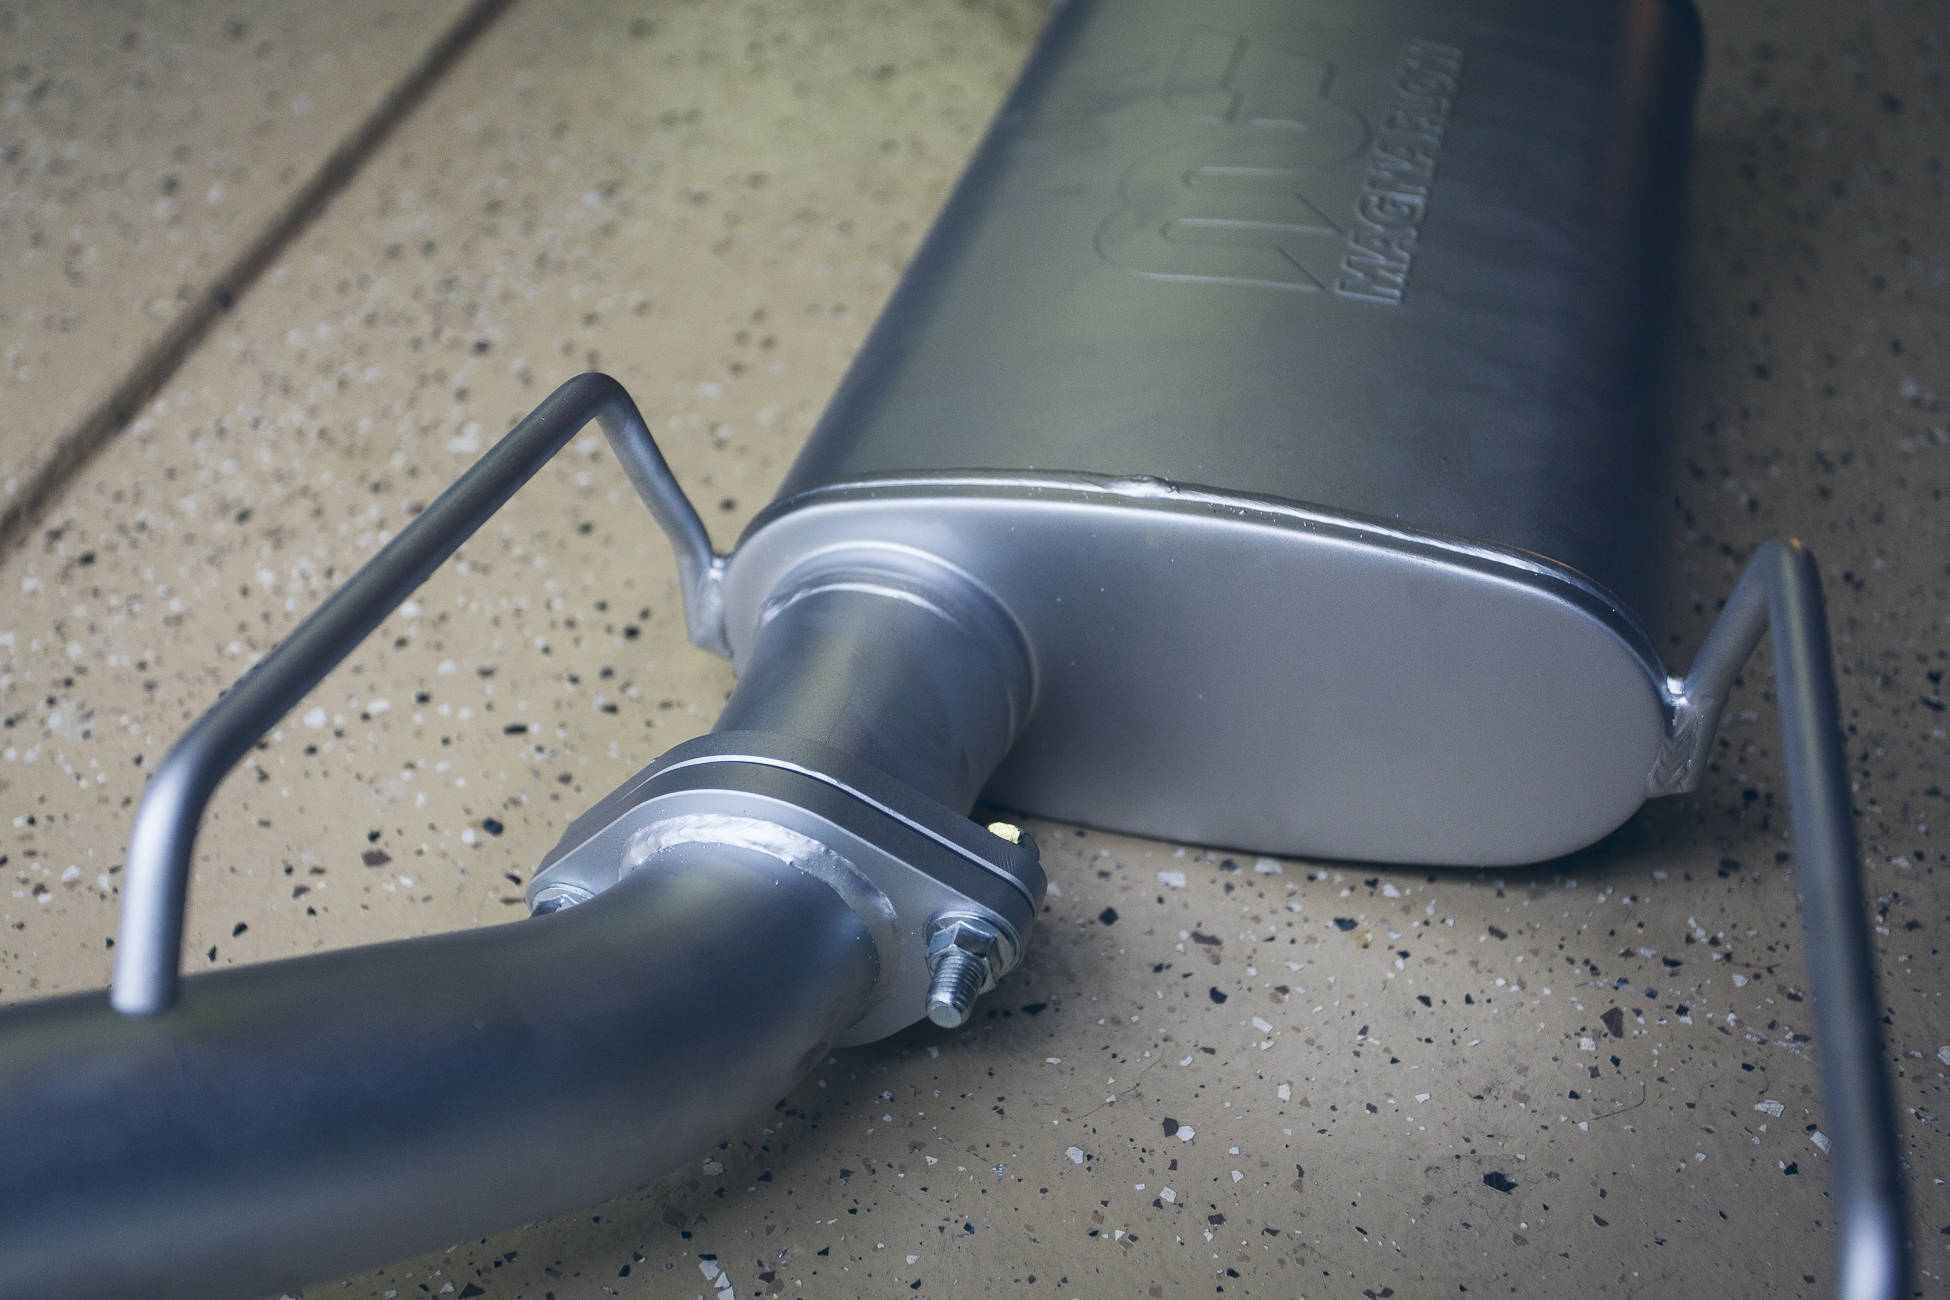
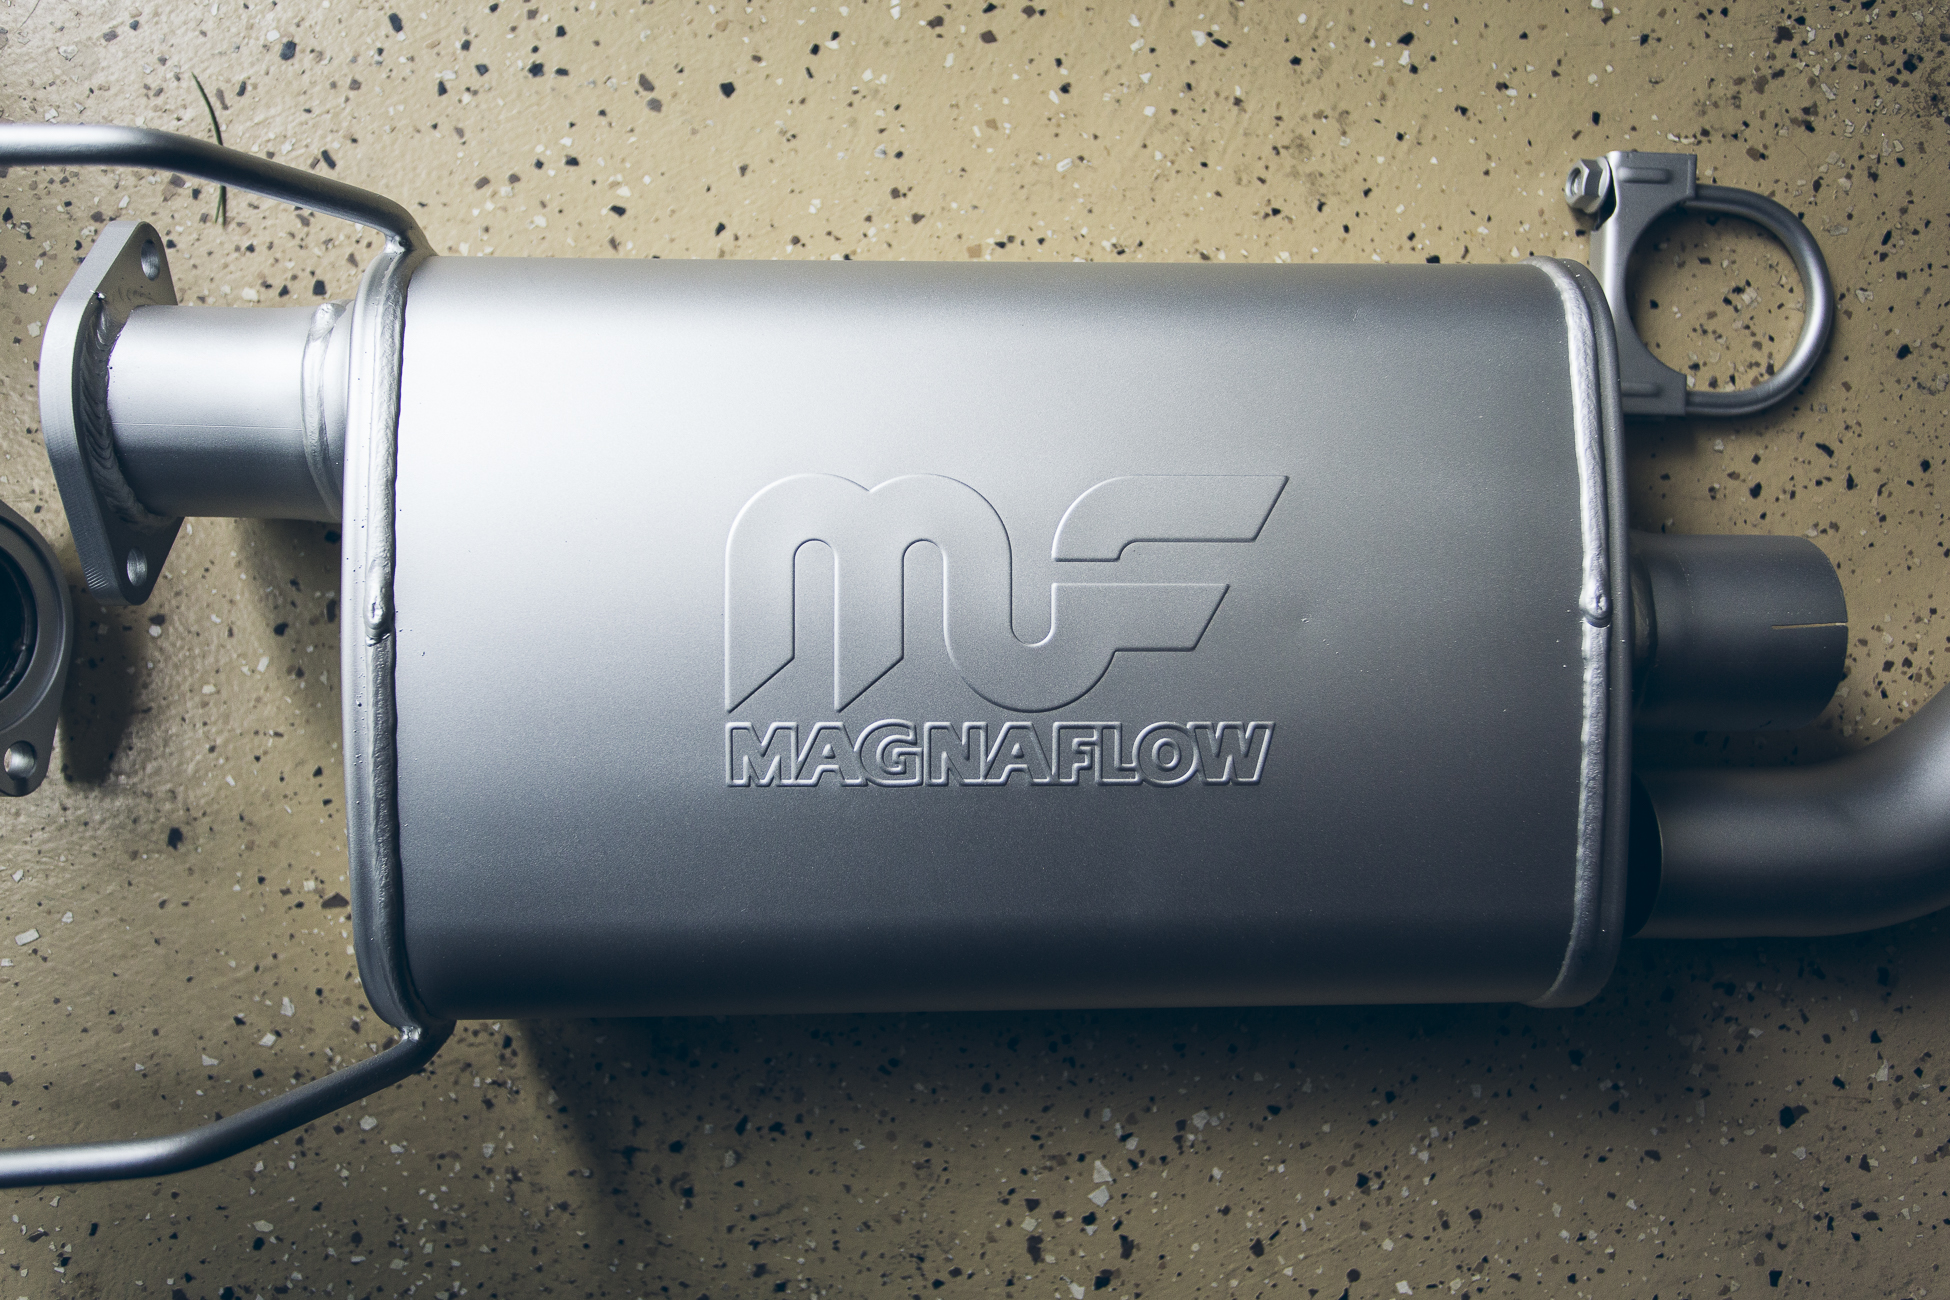
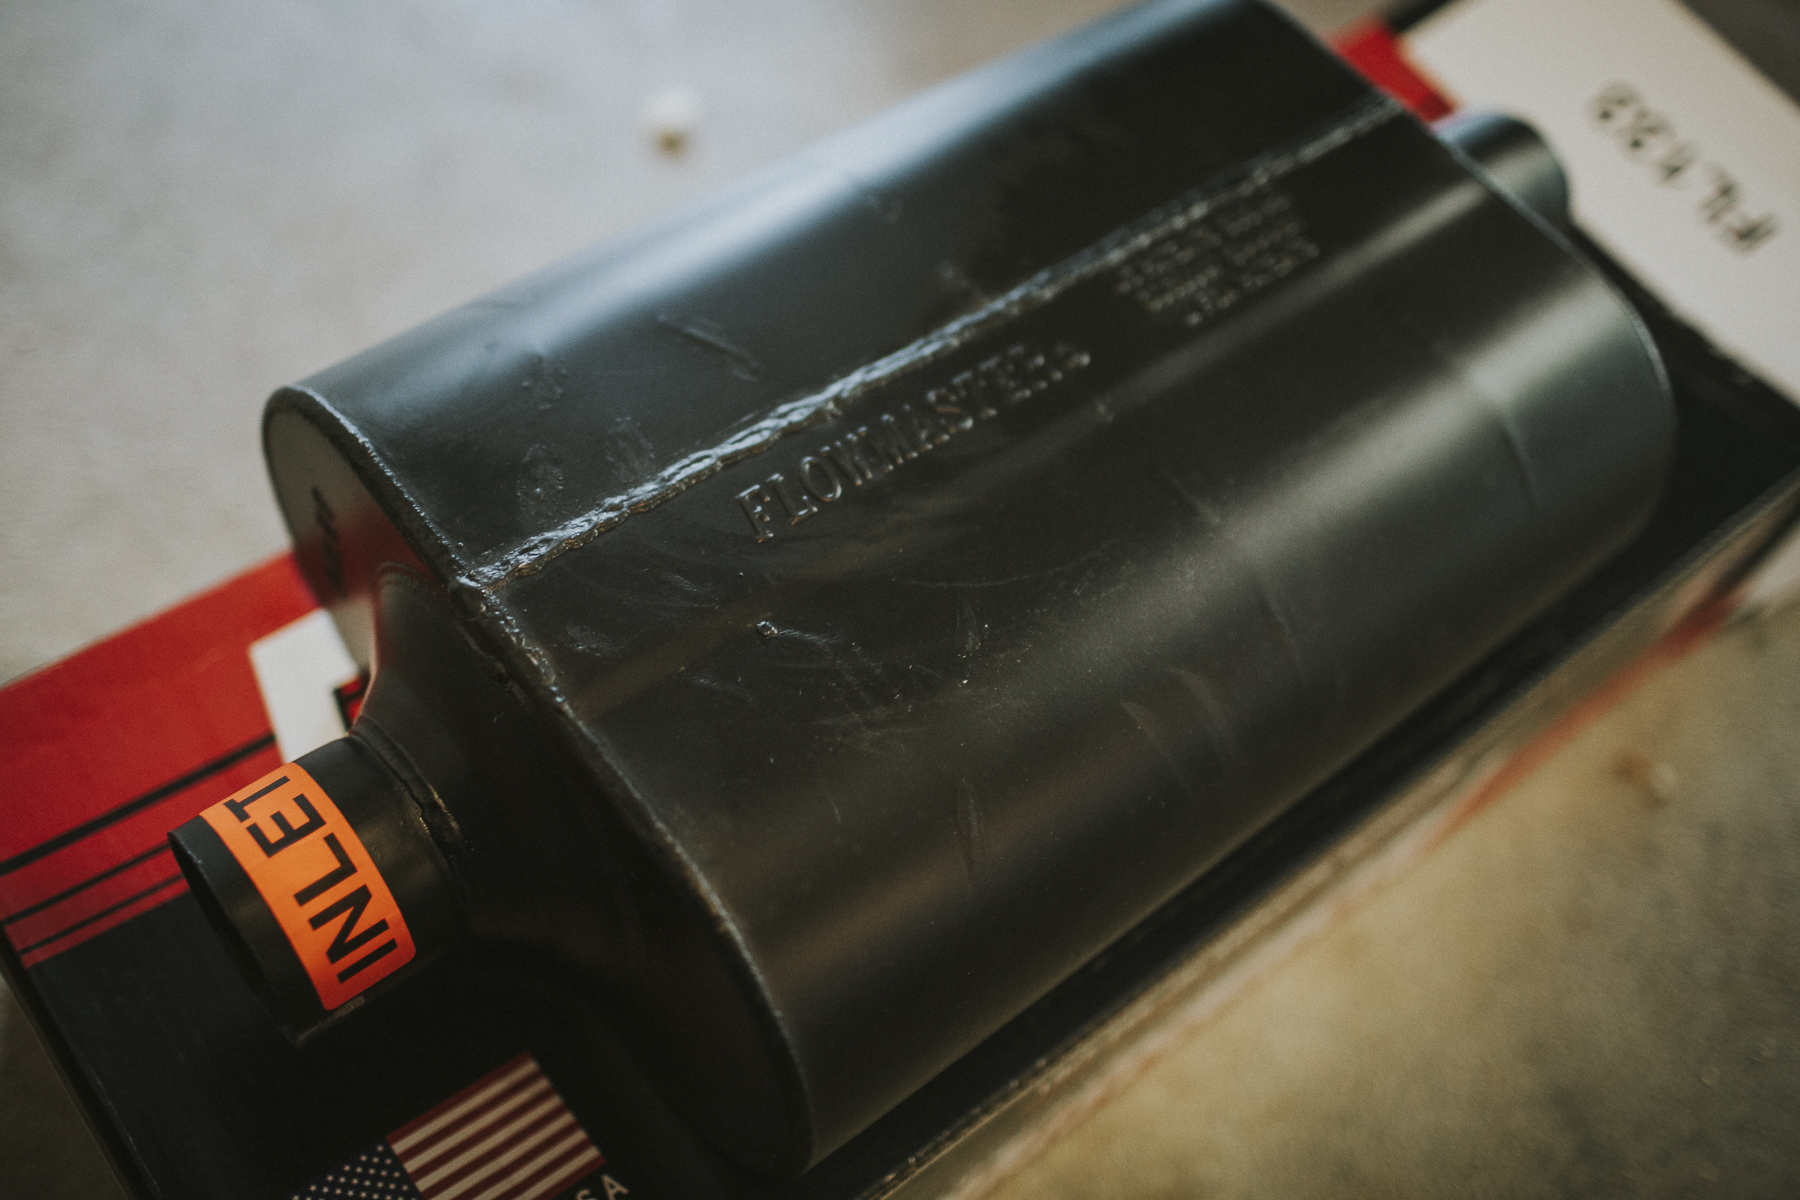
After all of these kilometers I realized that I really should have listened to the advice I got from the guys at LCE Performance. Their Pro Flow Exhaust system comes with a very small Magnaflow muffler that sounds wicked… but it has a serious drone on the highway. They said that a Flowmater would be a better bet, but I decided to learn the hard way I guess. Since we’re back in the land of long highway drives to get to a trailhead, the drone started to wear on us and it was time for a change.
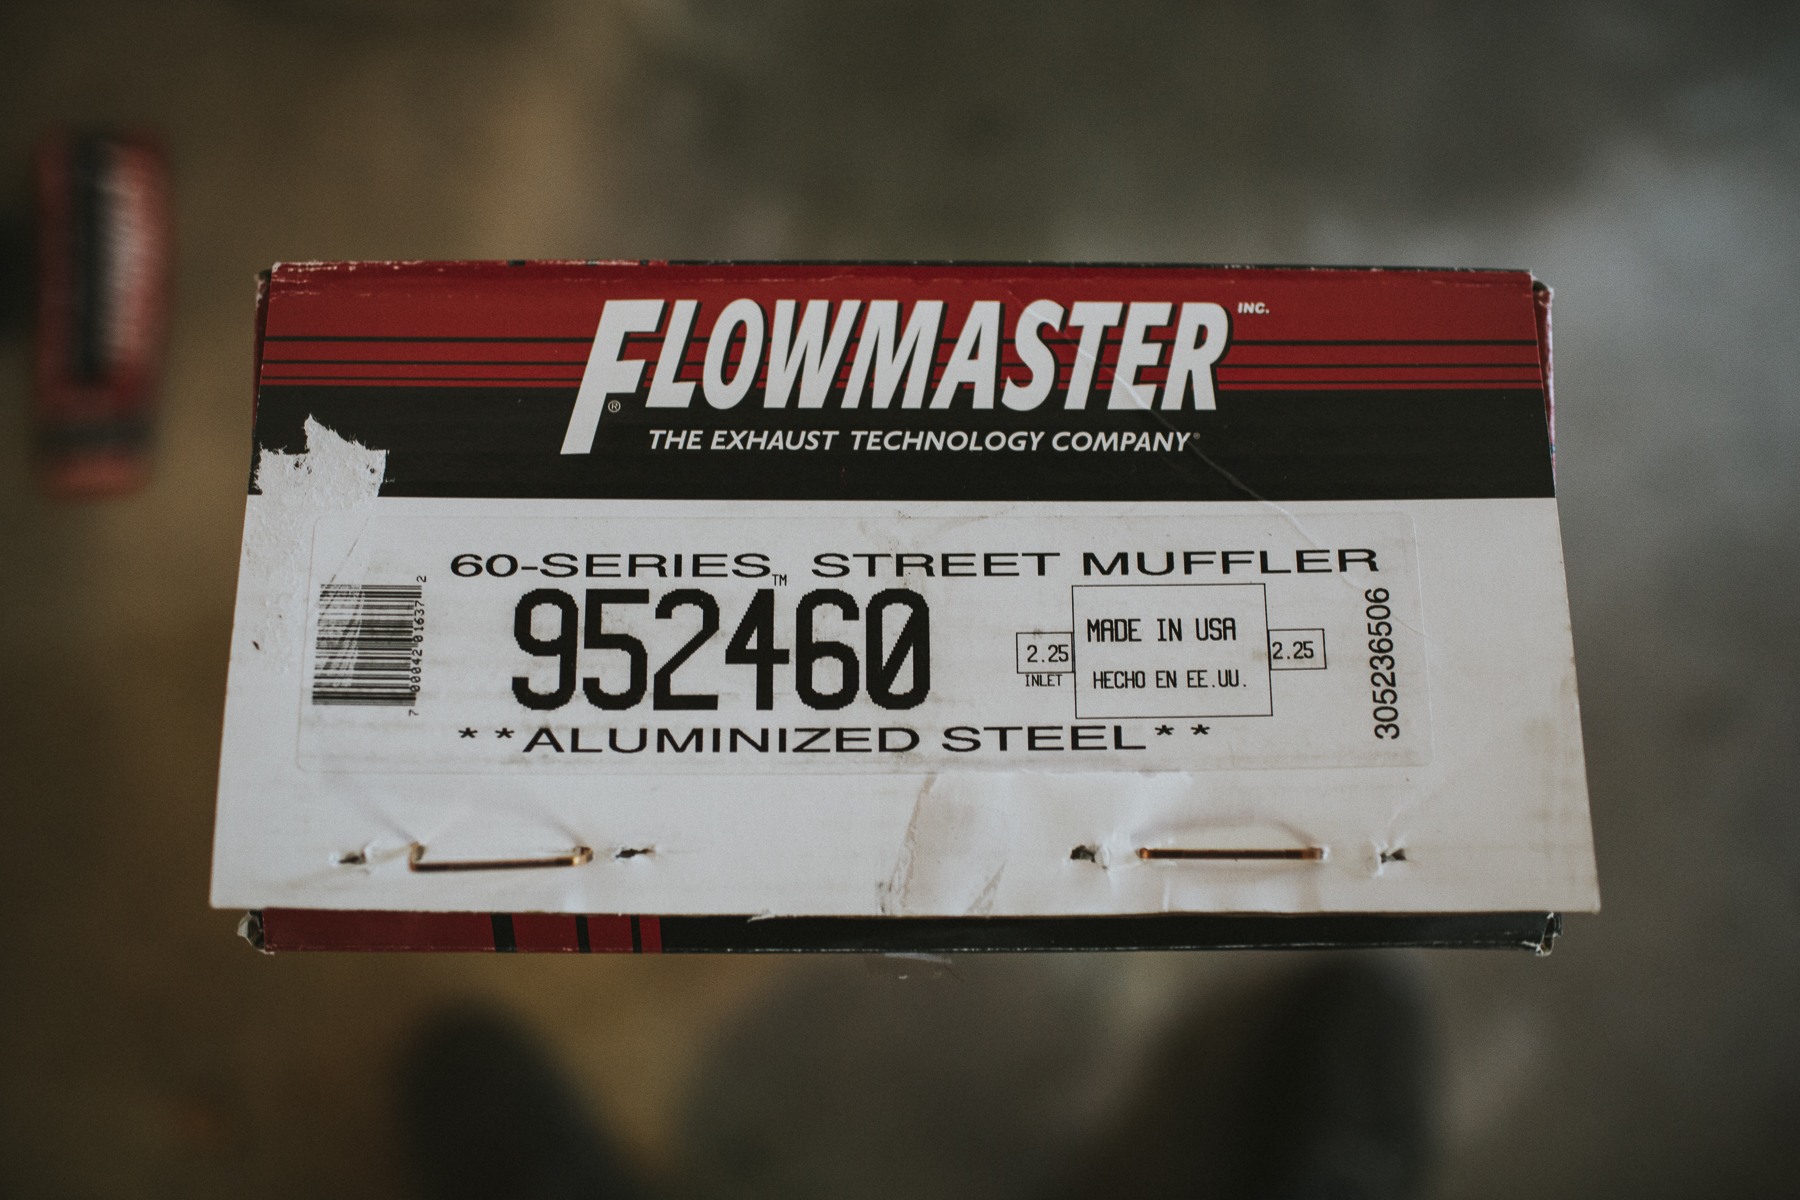
I ended up buying a 2.25″ Flowmaster 60 Series (for a quieter version of my favourite Flowmaster sound!) and a Dynomax resonator (to help tone down the drone even more). I figured this would be a nice compromise between an aggressive exhaust note and ear drum comfort while cruising.
Flowmaster 60 Series 953460
Dynomax Race Series Bullet 24234
Once the snow stopped falling I was able to get the camera out for a little exhaust sound clip.
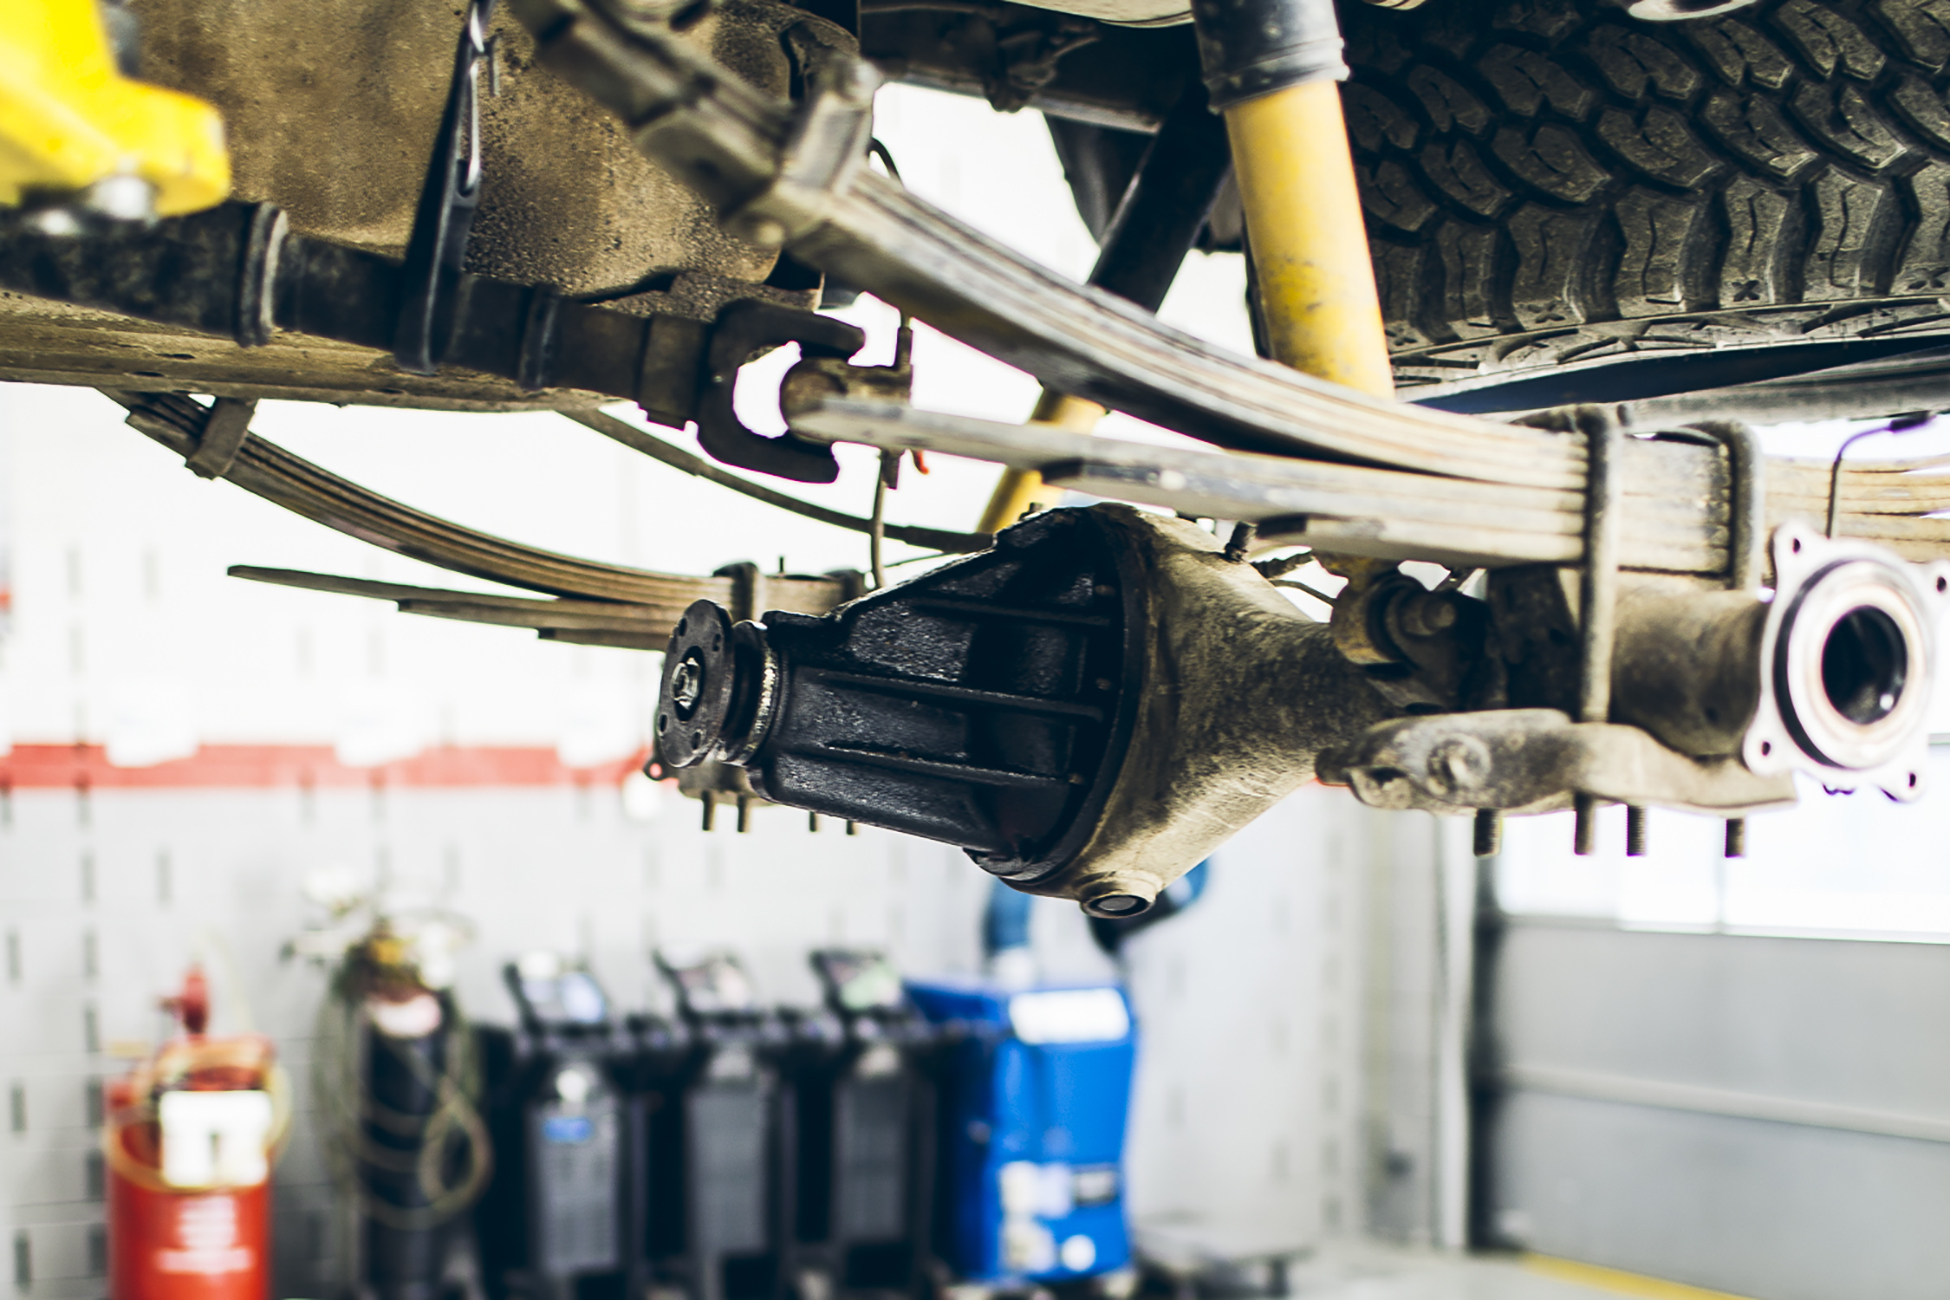
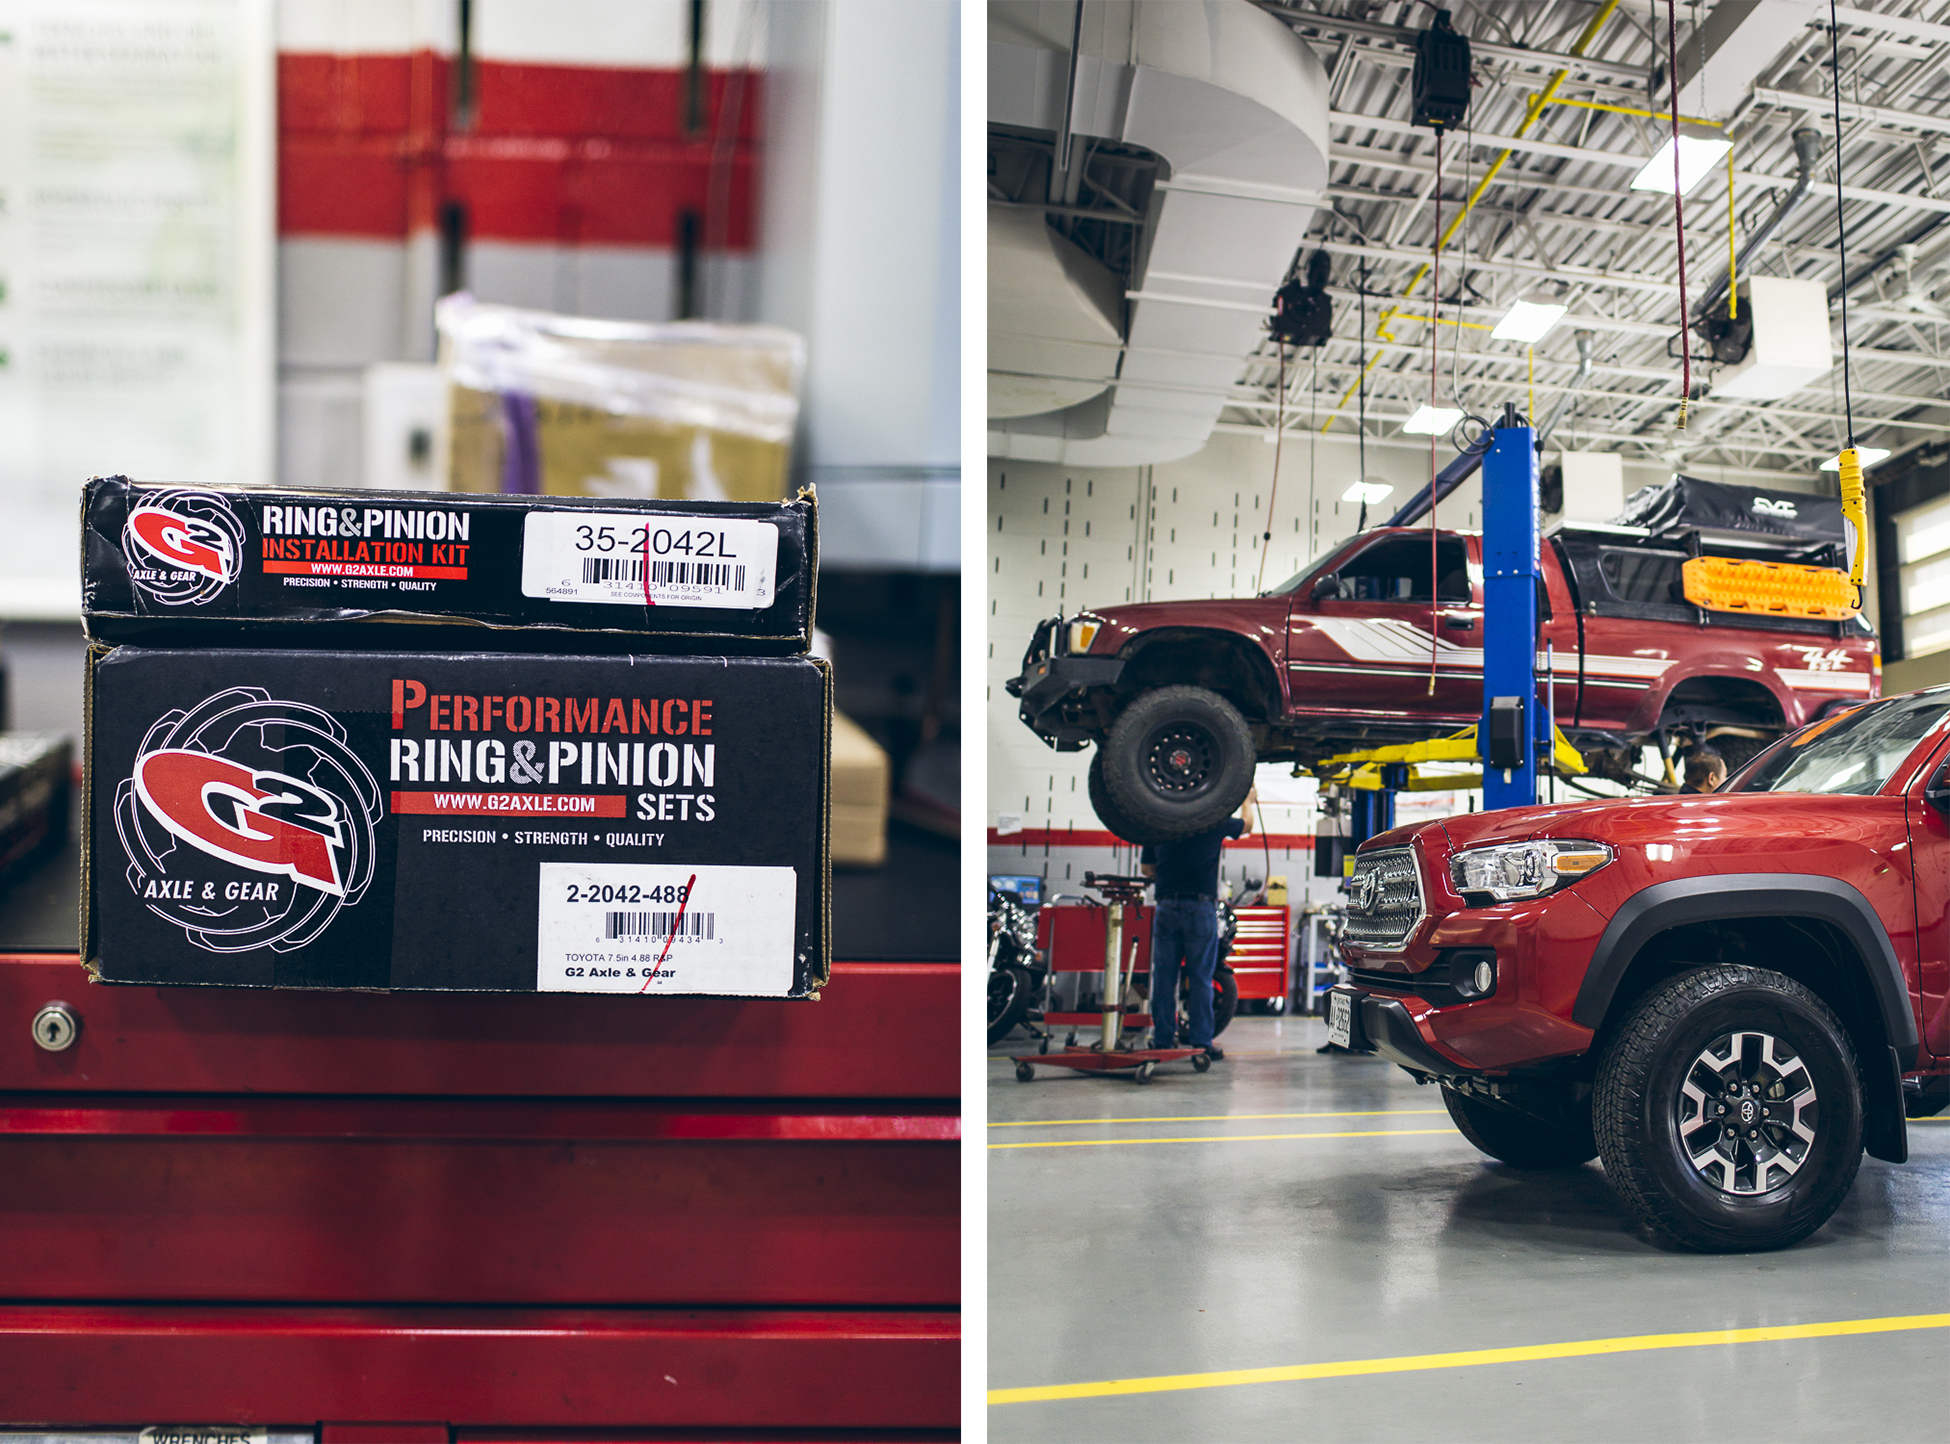
G2 Axle and Gear 4.88s and Longfield Axles
Well, our first break down just happened to be in Canada and only 100km outside of Toronto. We had a rear wheel bearing failure that ended up taking out the driver side axle at the same time. Luckily we had a couple of sets of G2 Axle & Gear 4.88 ring and pinion gears and installation kits sitting in the truck since Florida so this failure was a great time to upgrade! I overnighted a pair of Longfield Axles from North Shore Off Road in Vancouver to replace the busted stockers.
The biggest surprise of all was that Toyota Canada saw that we had a breakdown and invited us in to help with the repairs in their headquarters shop. Dream come true? Definitely.
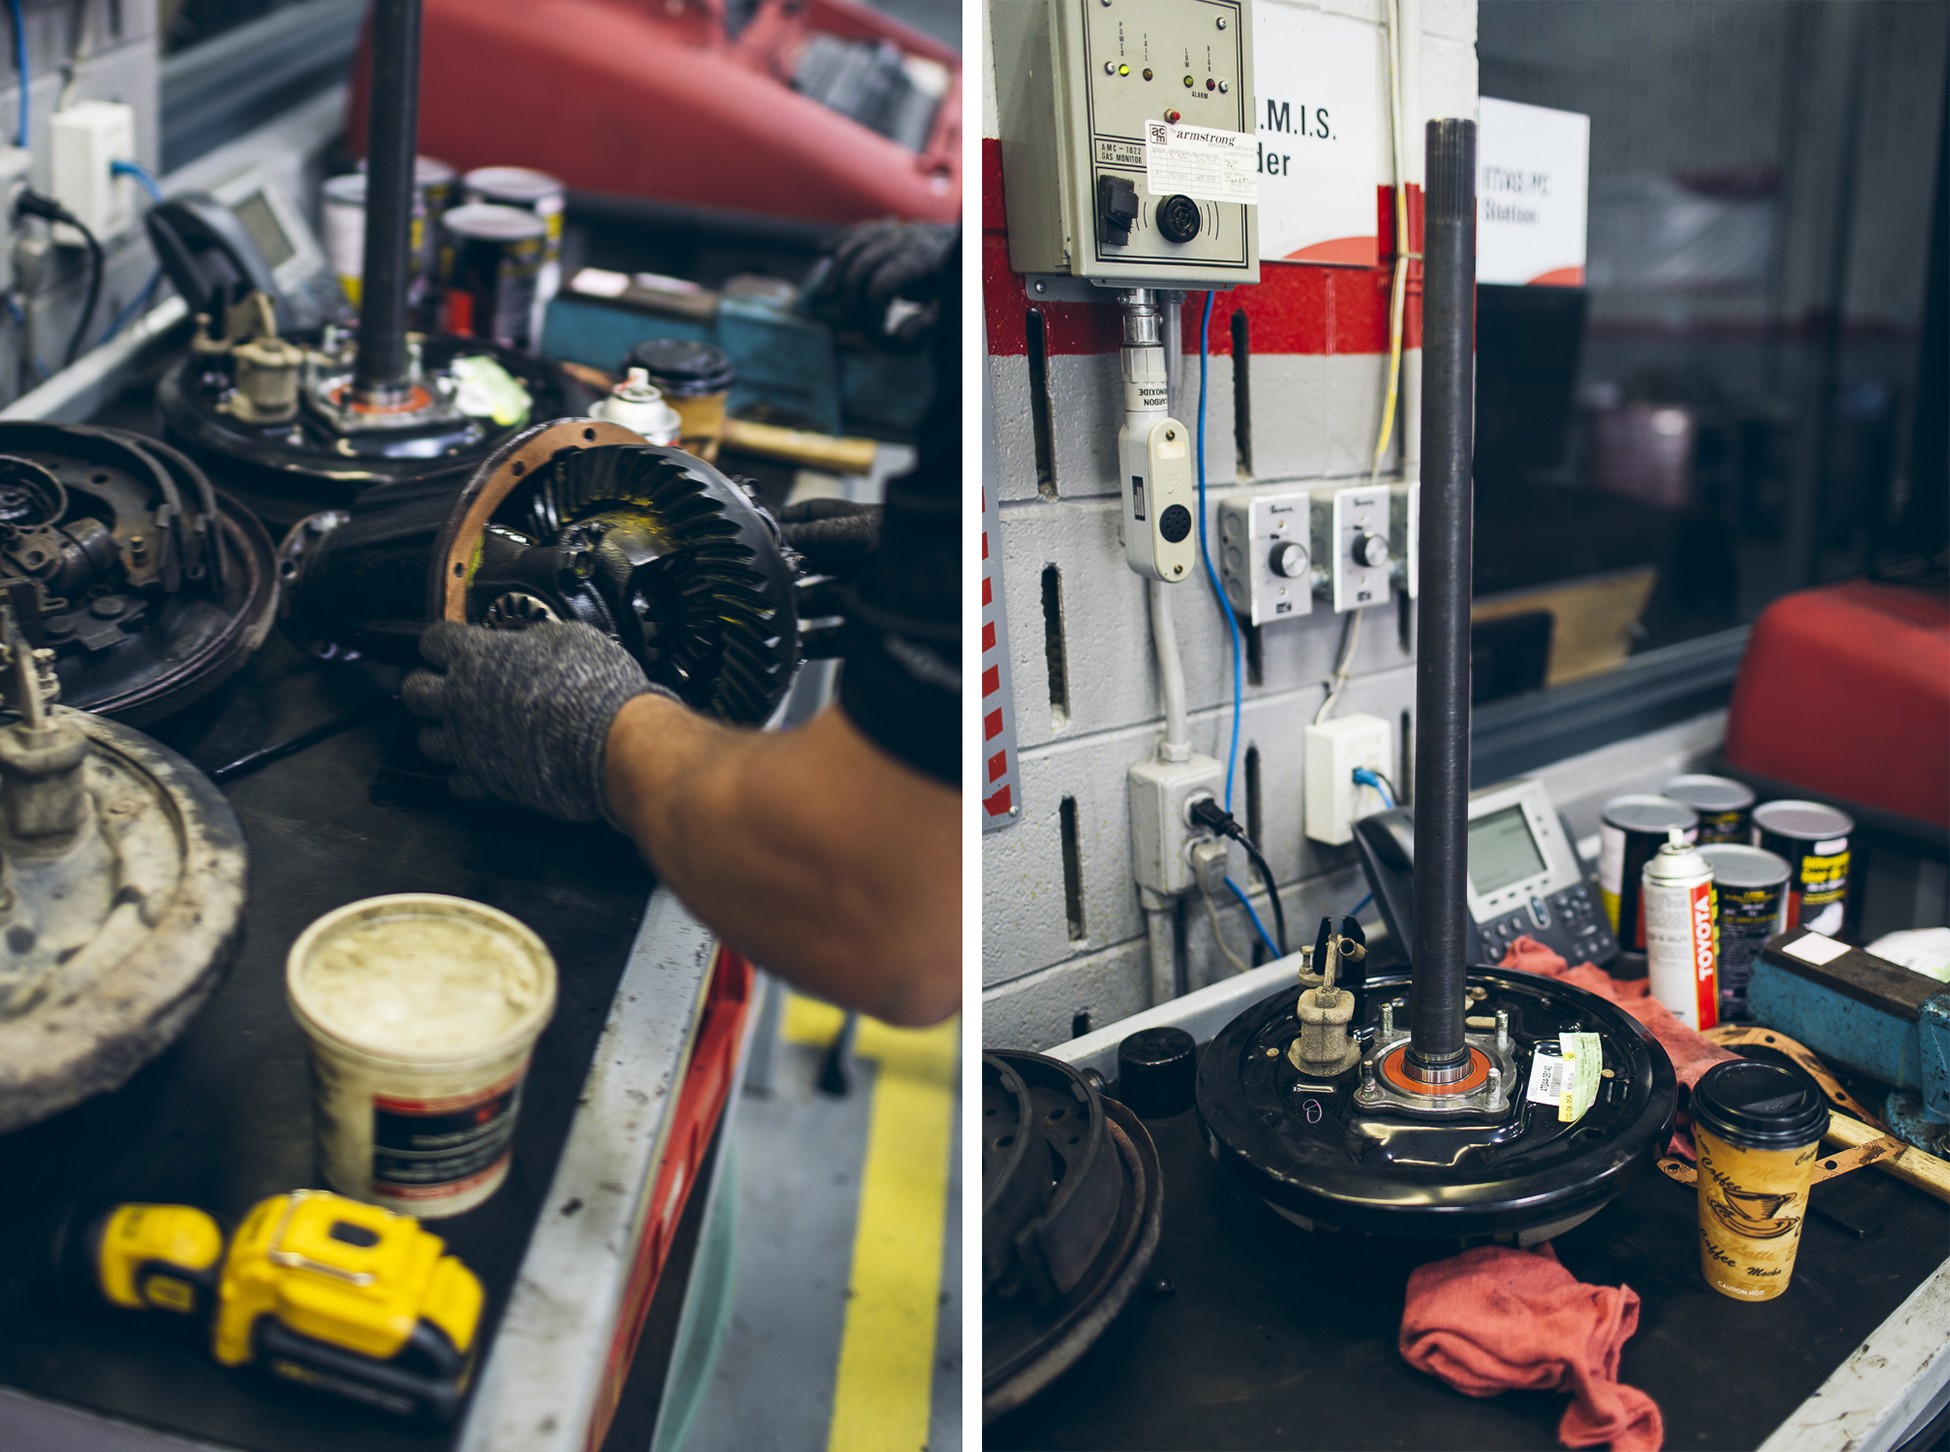
Before long we were all buttoned up and back on the road. The combination of the LCE header/exhaust and the new 4.88s have made a world of difference in terms of drivability on our fully loaded 116hp pickup. Time to get out for a little exploring!
You never said how the sound dampening material did
I am eventually going to do a full writeup on yotatech on quieting the cab…
I intend to, but have not yet gotten around to fat maxxing the floor and sidewalls.
What I found that works best is as follows (sub items are just those that help in the category, not equivalent to first item in list in effectiveness):
1) Door seal weatherstripping — metro molded makes a pickup specific version. I found to be a direct fit, others on YT have reported differently.
1.1) Door seal top J strip weatherstripping — toyota OE is original source. This keeps wind and elements out of the top of the door.
1.2) Door window trim seal (lower edge of window exterior seal) — keeps elements out, including sound from entering the door interior
2) Sunroof seal weatherstripping (toyota OE) — keeps elements out and significantly reduces sound — seal between body and sunroof
2.1) Sunroof front female slot weatherstripping (common place for water entry) — toyota oe
2.2) Haven’t done yet, but seal around exterior of the sunroof glass (limits amount of sound and elements that reaches the weatherstripping in #1) — toyota oe
2.3) Only partially for sound, but cut up a reflective sunshade to fit between plastic sunroof cover and the sunroof when cover installed — significantly reduces cabin heat in TX summers; old walmart bubble sunshade is what I used (tape edges with duct, foil, or masking tape to minimize the amount of plastic confetti entering cab when the plastic innards eventually disintegrate…
3) Filter foam installation behind side panel in vent location for where hole is cut in sidewall to transition to rear vents (back corner in both sides) — toyota parts diagrams show some sort of OE filter that slides into those body slots (side panel note two distinct rows of grilles w/ slot in the middle) but have never located. Just mount filter foam directly to body w/ doublesided tape — I got both tire road noise and muffler noise via this channel primarily
3.1) Filter foam or fatmax around rear speaker opening if you have it — non speaker believe storage boxes are there IIRC, so no need for foam (best route is to remove side panels if rear speaker
3.2) Fatmax inside the interior of the hollow opening behind rear speaker boxes or storage boxes as much as able
4) Front corner panels, both side — from factory had foam inserts stuffed in (for folks with sunroofs front drain lines terminate in these and then drain out); ensure foam is there or either stuff some foam in or fatmax or adhere foam to panel covers
5) Engine bay firewall — ensure all grommets and hole covers are intact in firewall; repairable slits in grommets hit w/ silicone but can also replace grommets for stuff like heater connections when replacing heater hoses; pinholes for screws and connectors came with little plastic button covers but the last of mine just recently fully disintegrated and came out — toyota parts sites show those covers discontinued but would imagine the parts store has options; I just haven’t looked yet
Basically, park your truck somewhere in bright sun, and anywhere you see sun entering that’s not through the window needs repaired if able.