
We opted for a dual battery installation after we purchased our ARB 37 Quart Fridge Freezer and Samlex America 1000W Inverter SSW-1000-12A
. After some consideration we also decided to install an 85W Samlex Solar panel. We hoped (and have been) spending up to a week on secluded beaches with no amenities except for what we bring in the truck. The solar panel has provided enough energy (up to 50W midday so far) to keep the fridge powered, run the Magic Bullet blender for morning smoothies and occasionally charge our laptops and camera batteries with the inverter.
Installation
Optima Batteries Yellowtop Deep Cycle Battery 34/78
Blue Sea Systems Solenoid SI Series (120A 12/24V ACR)
Blue Sea Systems 5025 ST Blade Fuse Block – 6 Circuits with Negative Bus and Cover
Samlex America 1000W Inverter SSW-1000-12A
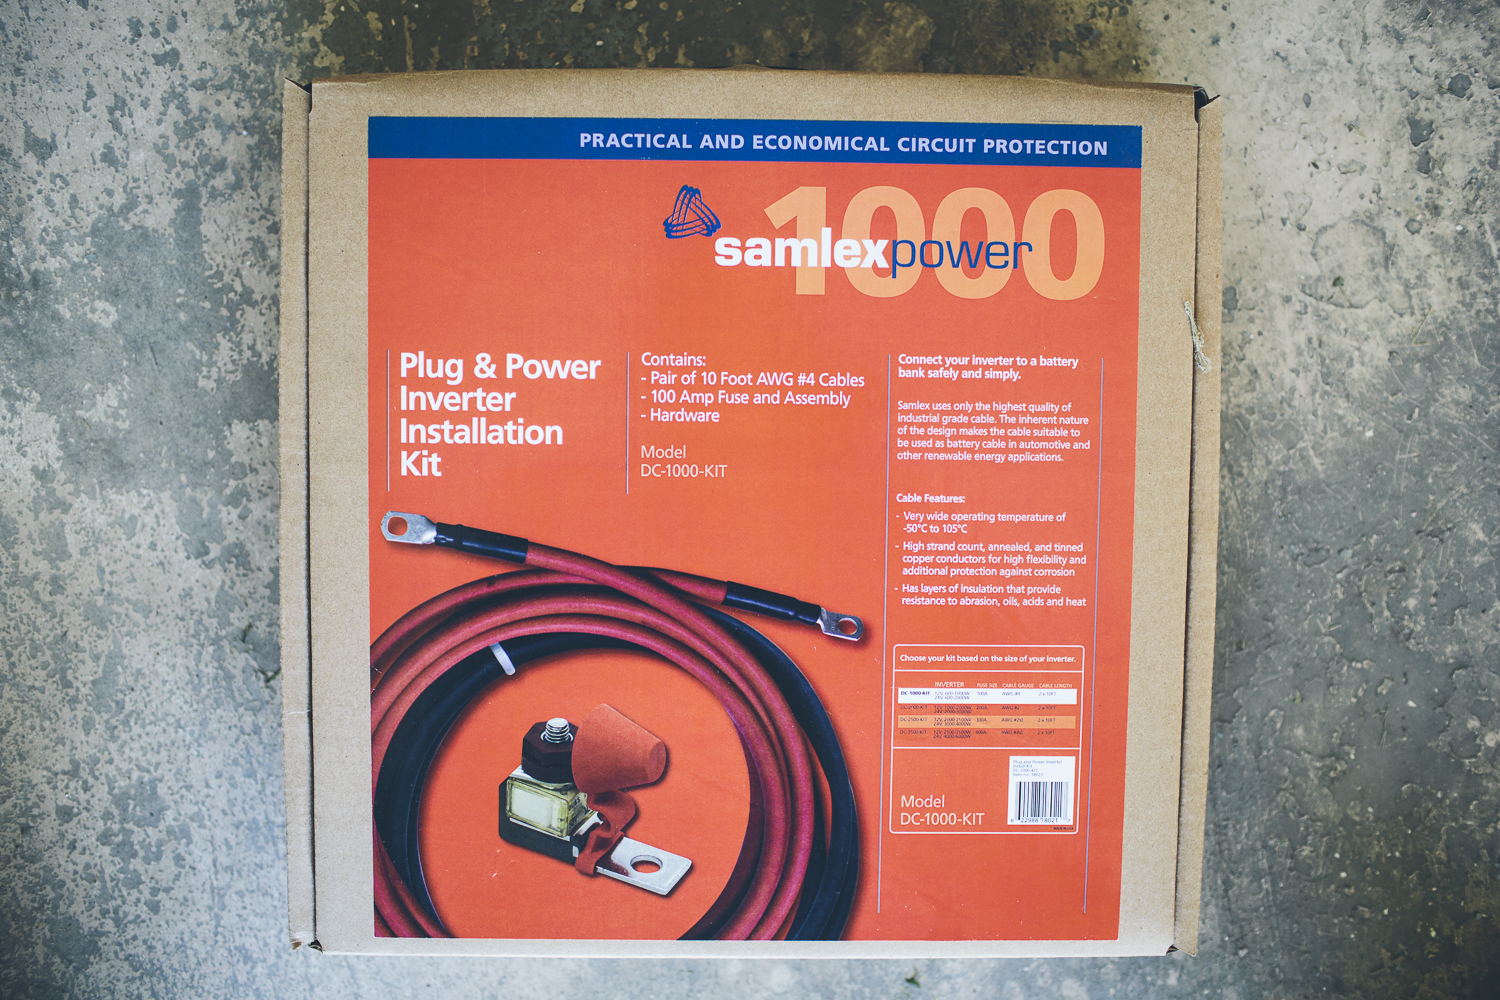
Samlex America DC1000KIT Inverter Install Kit
Samlex America SRV85KIT 85W Solar Charging Kit
4ga Electrical Cables throughout with 100A fuses. From local stereo installation shop.
I initially thought the installation of the components may be time consuming (and it would have been for a really clean installation) but we threw this together the day before we left on our trip. It has been working flawlessly since then. Make sure to follow the manufacturers instructions for exact installation details.
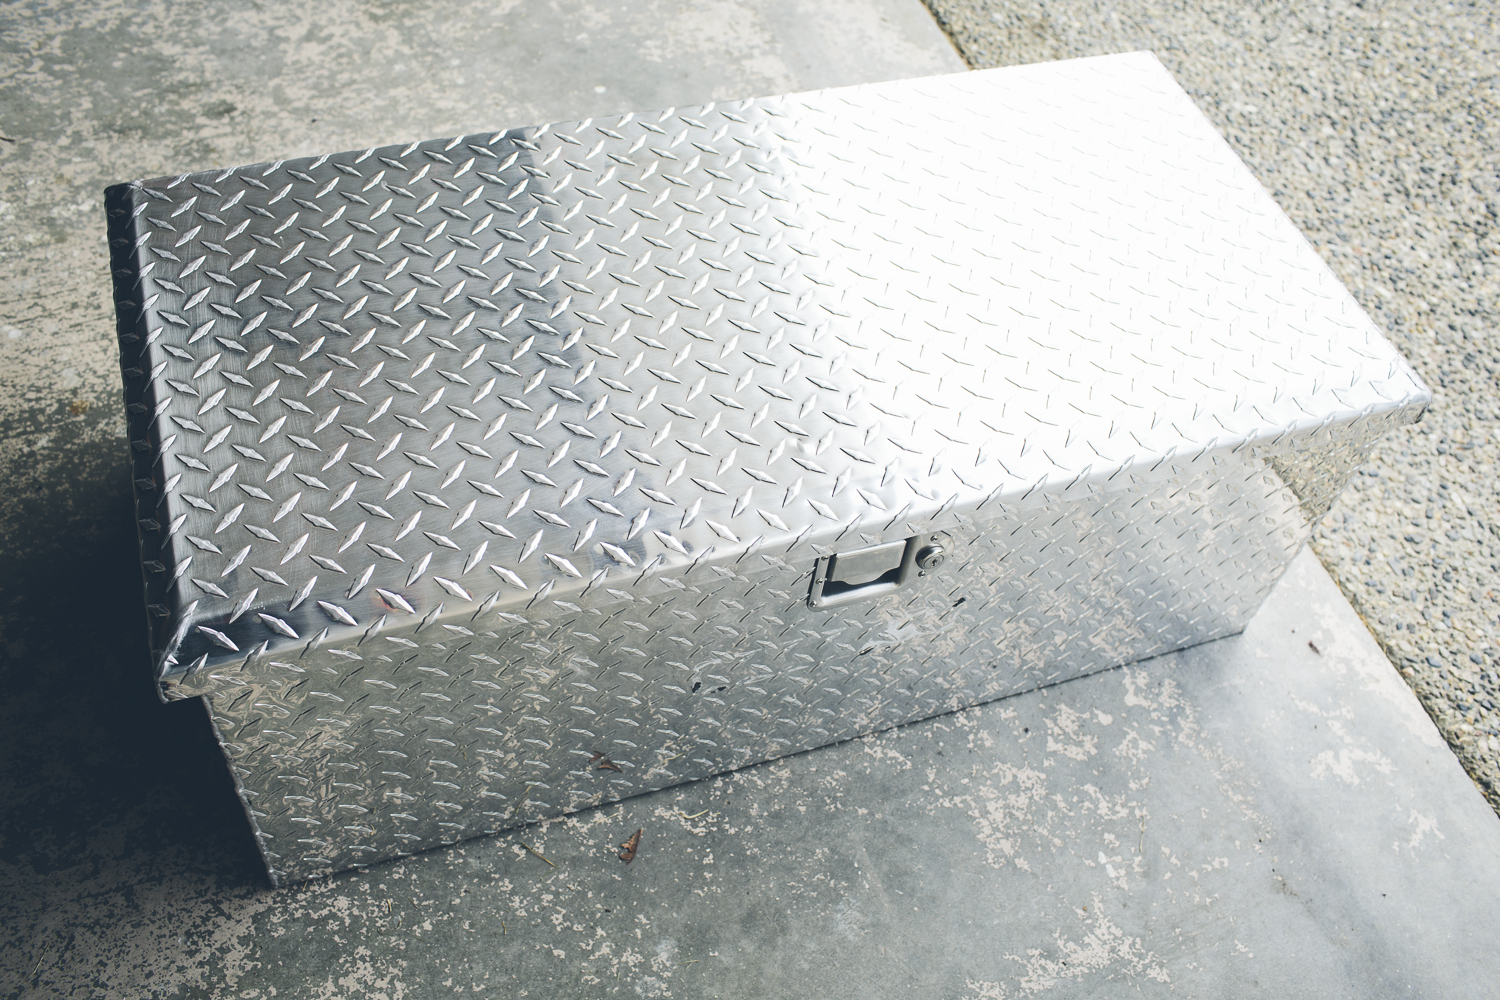
1. Select a Mounting Location
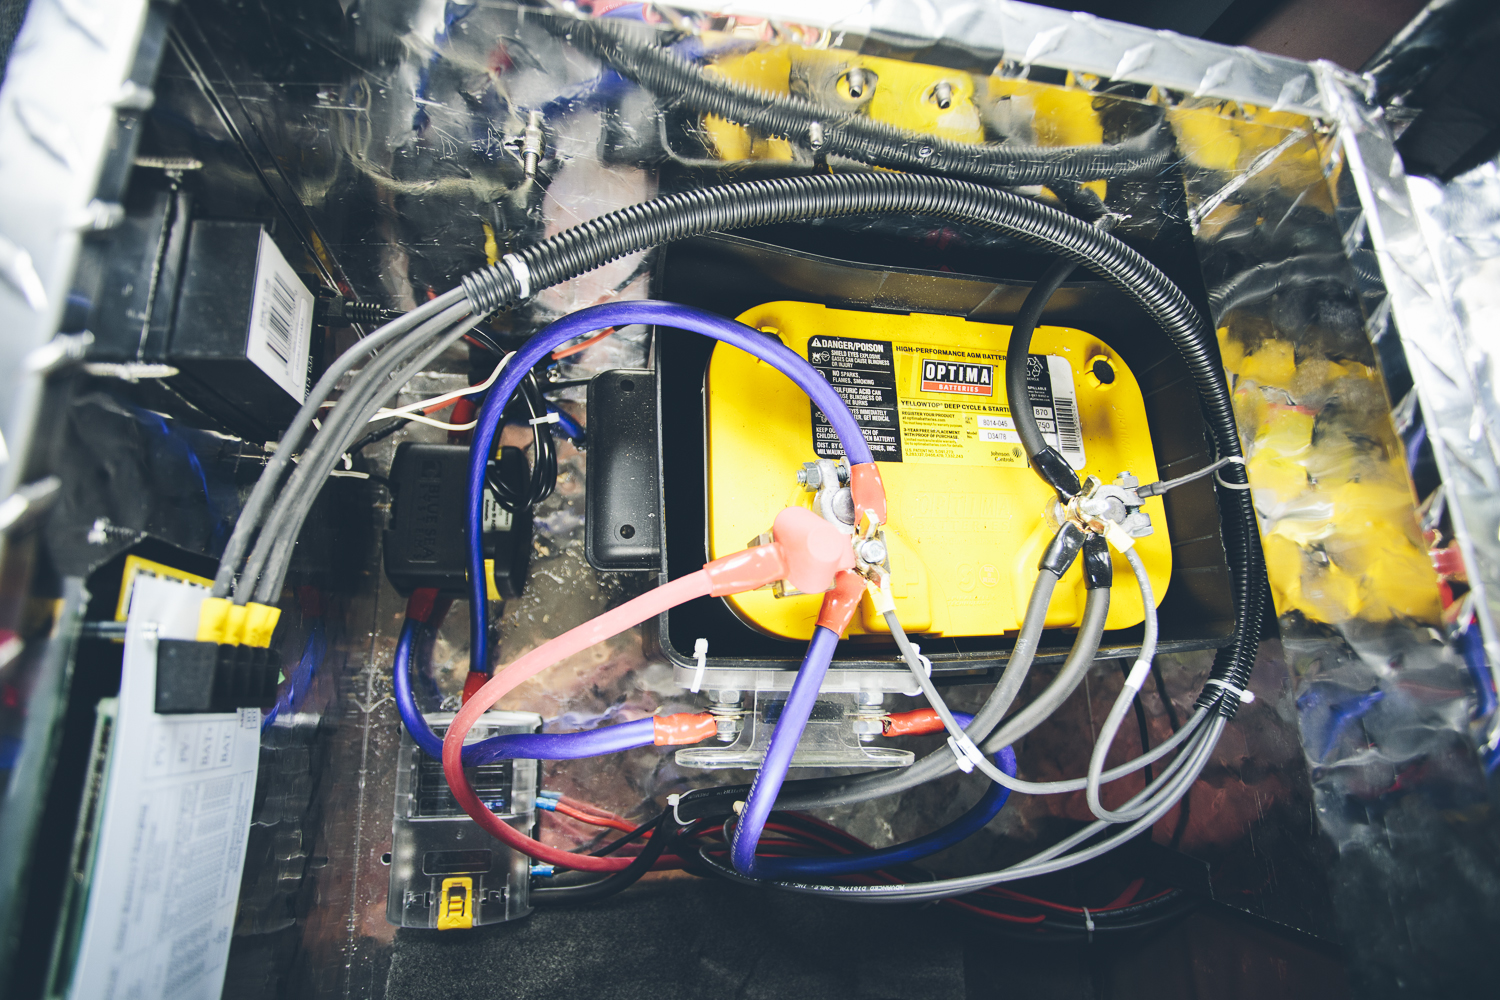
We chose to install Delta 37″ Aluminum Tool Chest where our rear seats used to reside. We installed a battery box to house our Optima Battery. The rest of our components were screwed or bolted to the inside of the tool box. Don’t forget to install a good quality ground cable from the battery to your truck frame. We used a couple of marine style battery terminals to attach all of the components to the battery posts. A couple of terminal strips would make for a cleaner install, but this way works and was really quick.
2. Connect Blue Sea ACR Isolator
We used 4ga cable and a 100A fuse to connect our two Optima Yellowtops together. Once one of the batteries reaches 13.5V the ACR closes and connects the two batteries in parallel. The truck alternator charges the ‘house’ battery when running, but the solar can also charge the truck battery when it’s not.
3. Connect Blue Sea 6 Circuit Fuse Block
We used a couple of short lengths of 4ga cable to connect the fuse block to the battery. 10ga Cable was installed from one of the connections to the fridge.
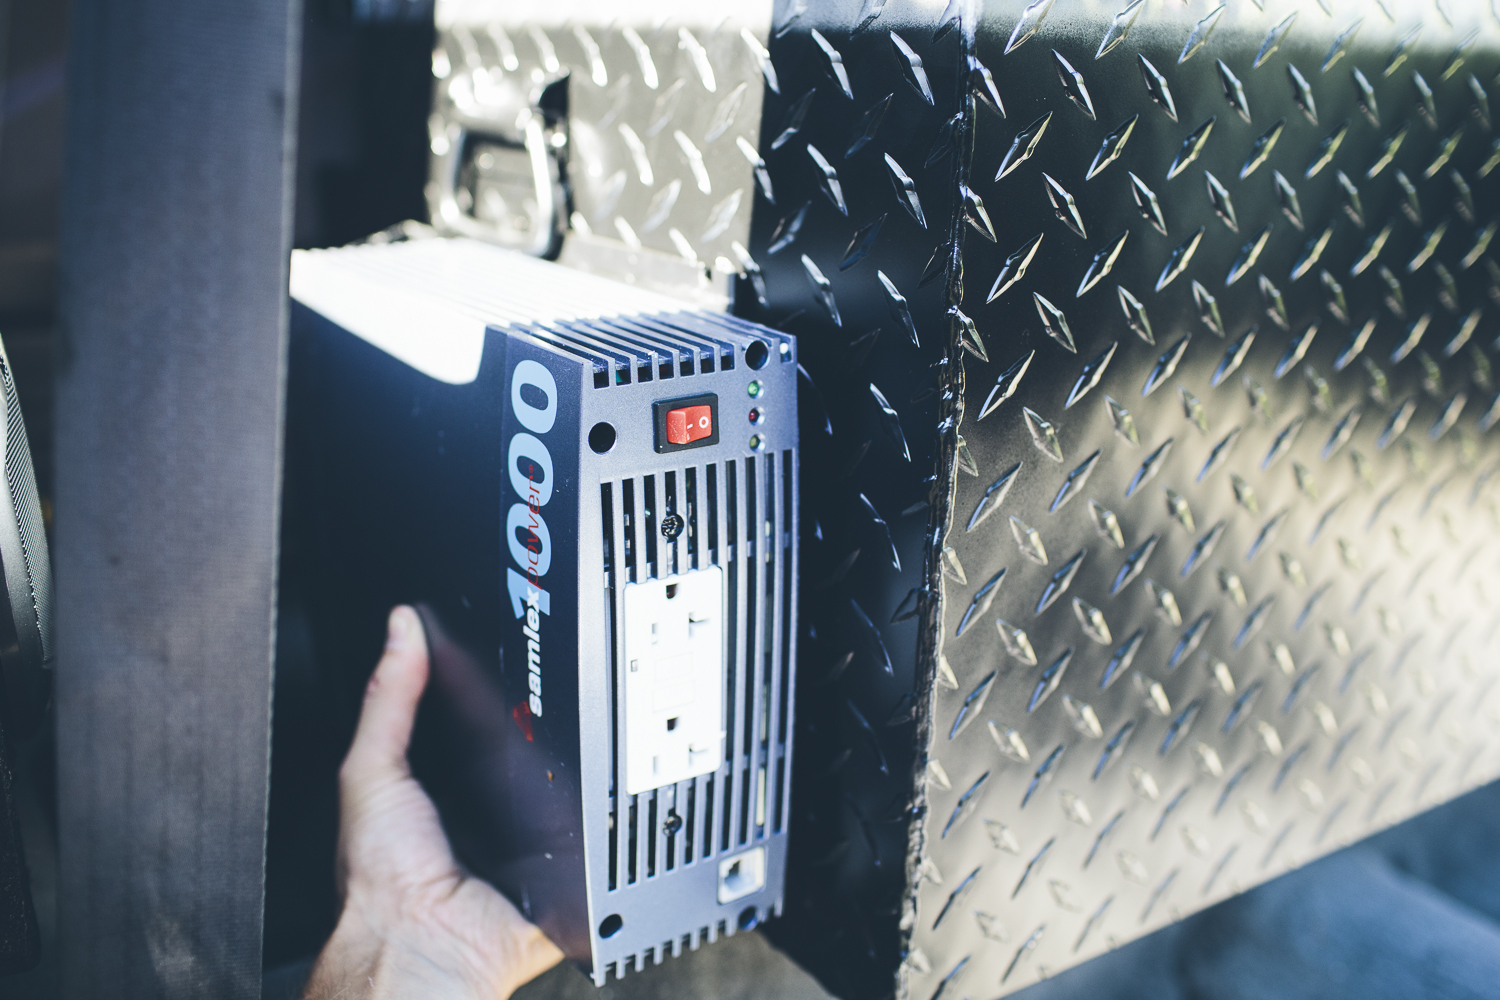
4. Install Samlex America 1000W Pure Sine Wave Inverter
We took the really easy route here and used one of the Samlex inverter installation kits to connect this to the battery. Four screws attached the inverter to the outside of the tool box and then a couple of 4ga cables connect the inverter to the battery. Easy.
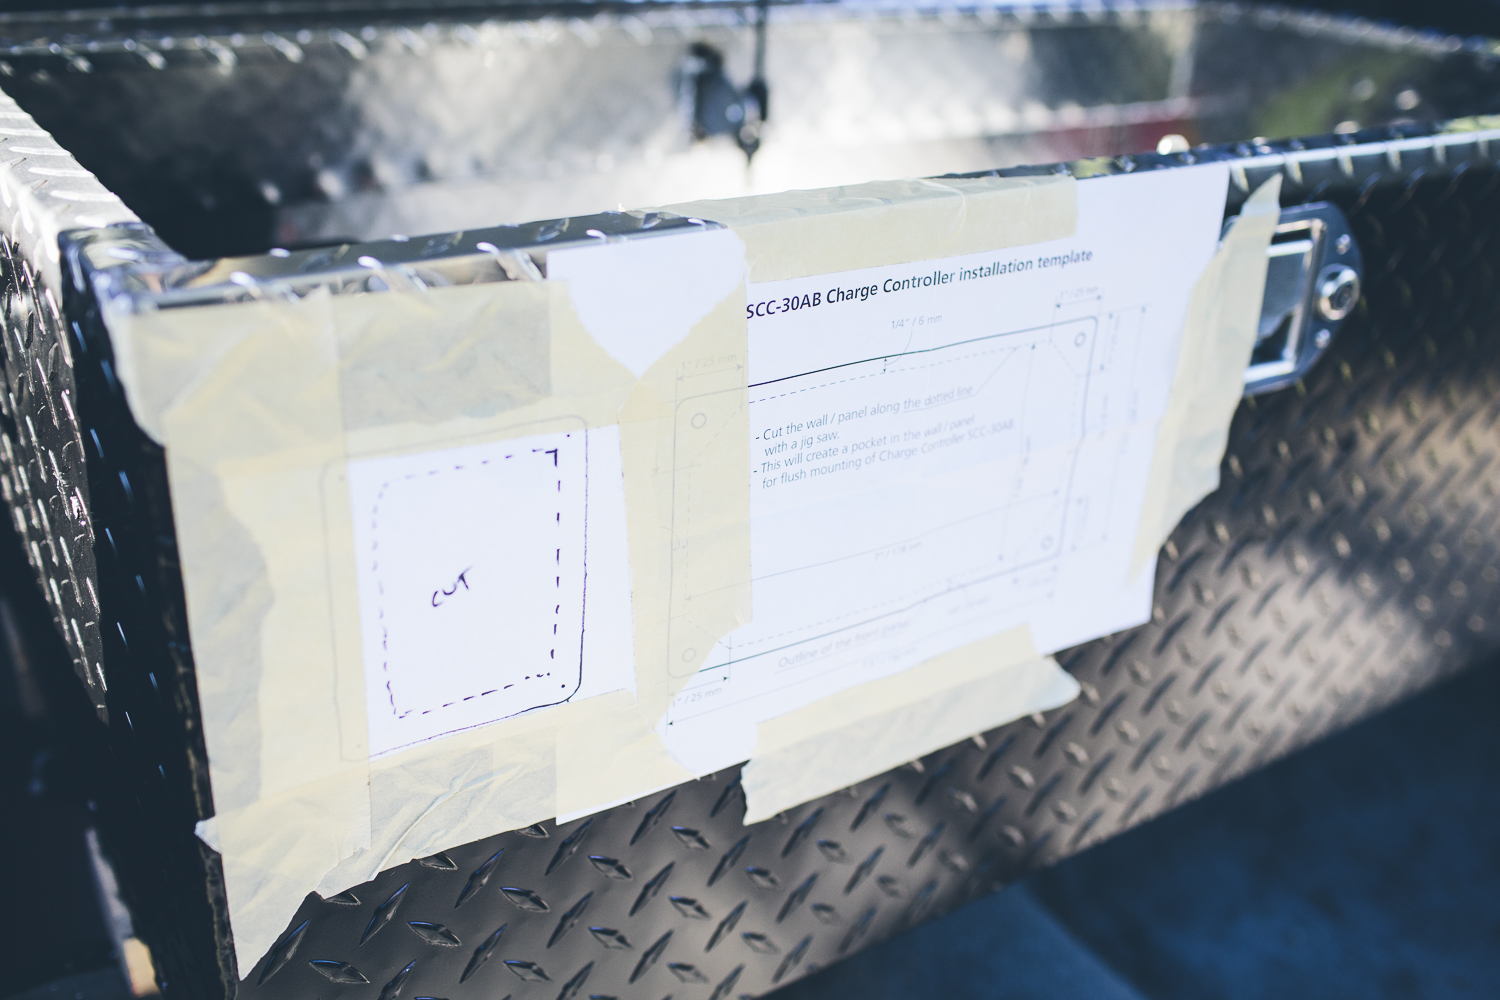
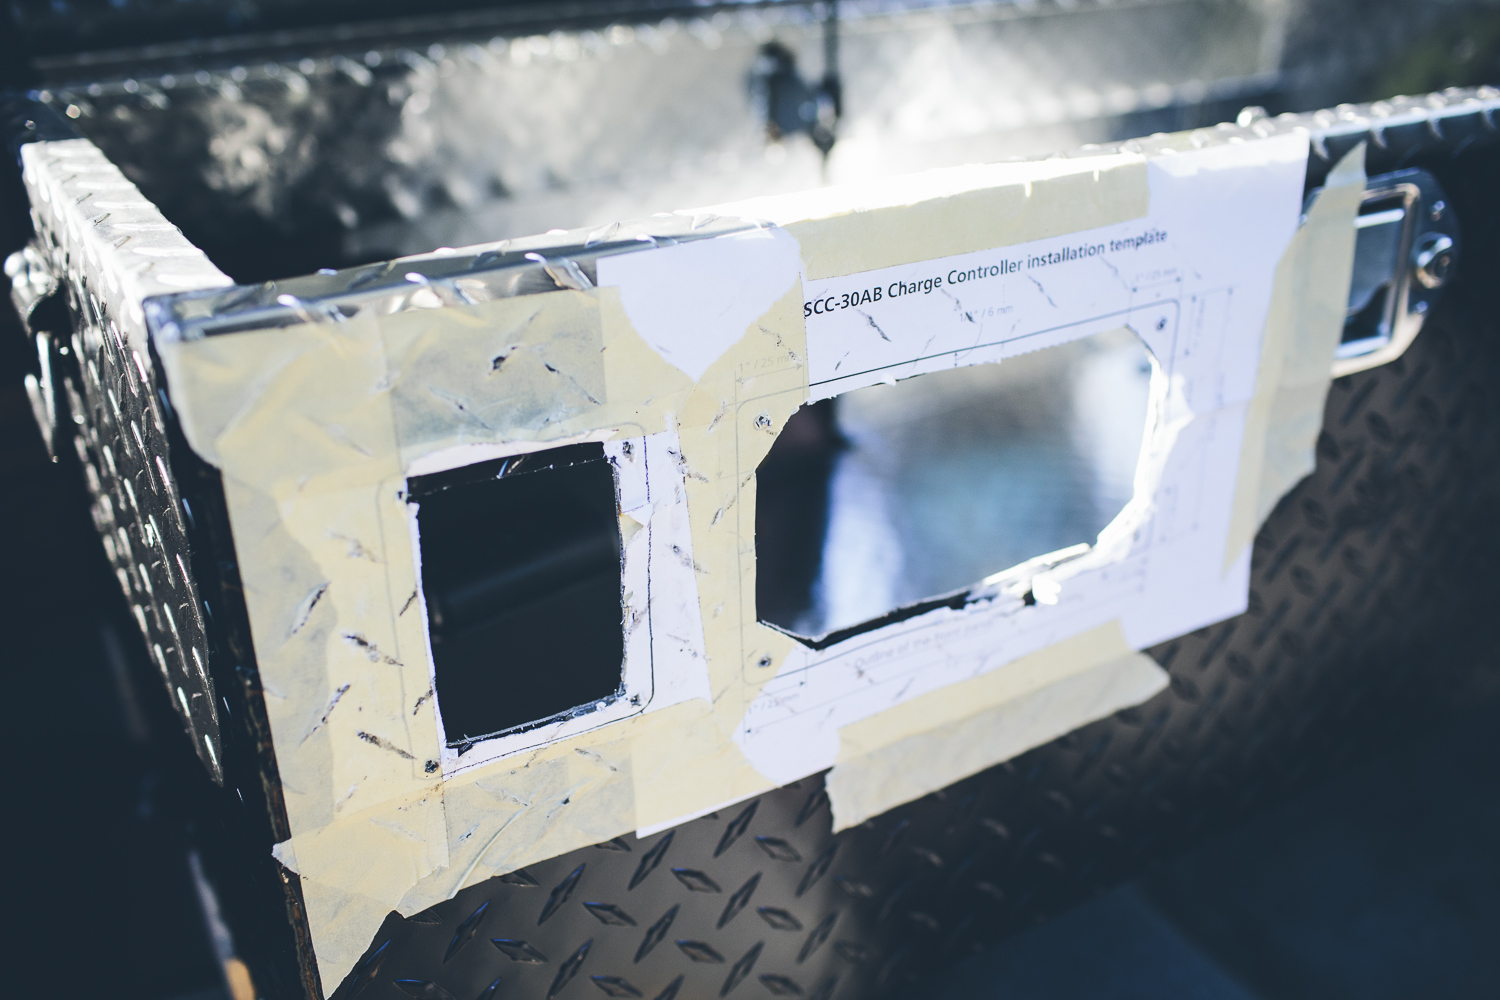
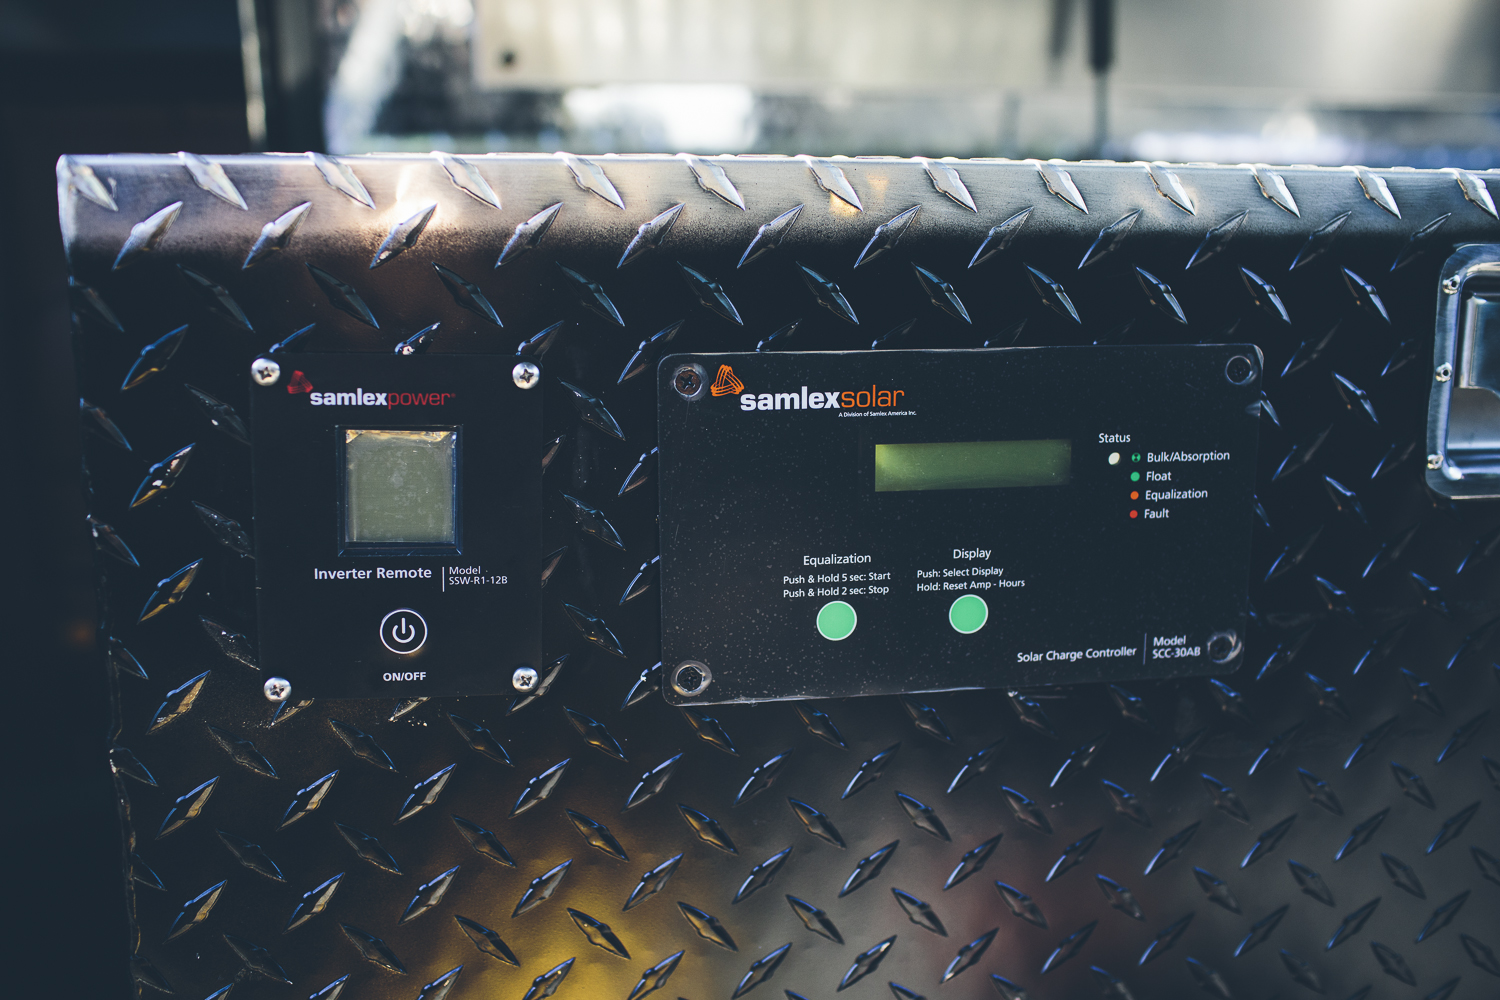
The inverter remote was installed in our aluminum lock box. The supplied template was used to mark the box where it needed to be cut and have holes drilled.
5. Install Samlex America 85W Solar Charging Kit
Once again, the Samlex kit came with everything needed to do the job. We mounted the 85W solar panel on the front half of our fiberglass canopy. The panel would be more efficient if we could angle it perpendicular to the sun, but this definitely works well and doesn’t require any effort once installed. All it took to install the panel was to mark four holes on the canopy, drill the holes, insert the supplied anchors, and bolt it down. We kept the panel covered to avoid having it create any voltage before connecting it to the charge controller.
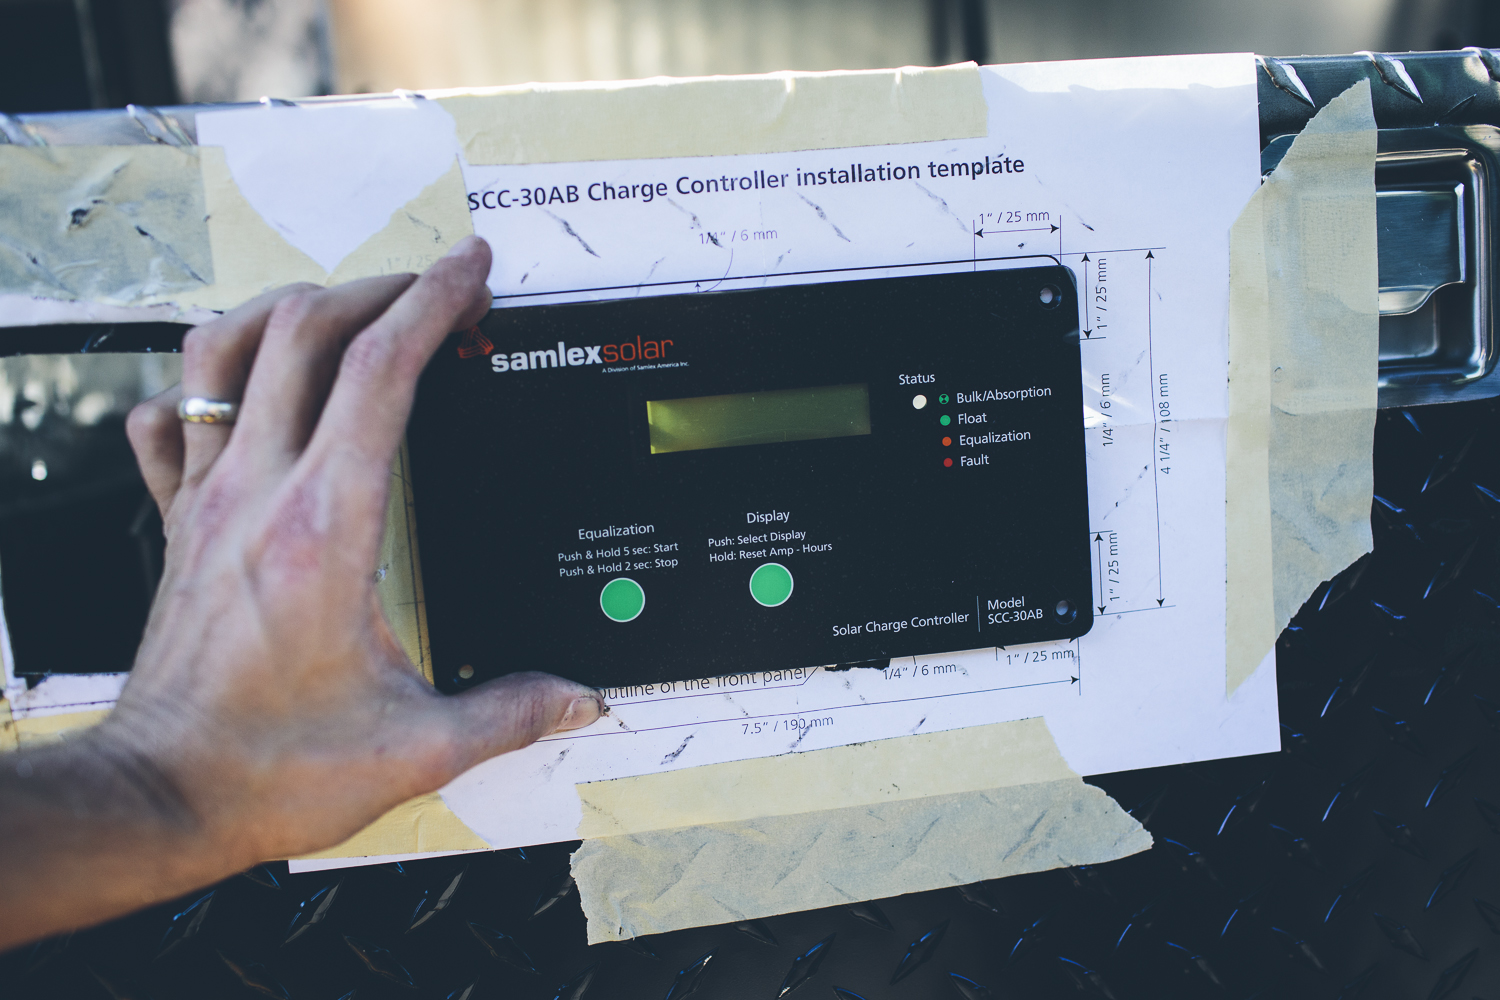
The solar charge controller was installed in our aluminum lock box. The supplied template was used to mark the box where it needed to be cut and have holes drilled.
We used the 10ga cables from the kit to connect the battery to the charge controller. Then another set of cables were used to connect the solar panel to the battery. Once the cover was removed from the panel we were charging the battery. Done!


Click the affiliate link below to purchase the equipment for your solar kit. Your price always remains the same, but we get a little percentage of each sale from Amazon, so we’d appreciate the click!
Very clear article! The pictures make it very easy to install a dual battery.
Great article; I used it as a basis for my Quigley van system. Thanks for the great writeup!
No problem Taylor! Glad it was helpful!
Great write up, I have a question about the blue sea solenoid. Does it automatically isolate the starter battery from being rundown and let you run off the “house” battery when the engine is off?
I’m looking to get a dual bat system and want to keep it as simple as possible.
Thanks!
Hey Ben,
Yes, the Blue Sea isolator automatically disconnects the batteries from one another when there is no longer a charge present.
Thanks,
Richard
You should have tested your hi-tech battery against interstate 2 gc2 6-volt true deep cycle batteries in series.